Wildflower Botanical Masks

Take a moment and hop on over to StencilGirl to learn more and watch a two part video on how to create with this beautiful new collection.

COLORLOGUE

Swatch, mix and document your favorite colors with confidence!

Months in the making, Rae and Sandi have designed Colorlogue - Demystifying Color Mixing. There is so much content in this class that we had to reimagine how we present material! In addition to our video lessons we have developed a 100+ page PDF downloadable/printable workbook that takes you step by step through the exercises that demonstrate the power of color in our homes, our closets and our art.

- over 14 hours of video instruction

- 64 easy to watch top quality videos

- pre-recorded end of chapter reflection chats with Rae & Sandi

- 100+ page printable workbook filled with art, exercises, instructions and more

- color theory basics including the color wheel and how to use it in your art practice along with several color wheel projects

- field trips into our homes, our closets, our art studios to see how color is telling a story about who we are and what we prefer

- a creative and fun system for documenting the color inspirations that stop us in our tracks

- color mixing basics and explorations using watercolor

- mixing beautiful "muds" and when they are the perfect touch

- exploring the power of neutral tint to transform a color palette

- using stencils as a swatching and color discovery tool

- fieldwork uncovering the colors of our favorites stores, catalogues, magazines and social media accounts and how to record for later use and so much more…

Join us in the classroom as we demystify COLOR!

NEW! Color Swatch Collection

Swatch Grid 9" x 12" Stencil, L826

Swatch Grid 9" x 12" Stencil, L826

I am so excited to finally be able to share my collection with you and I can’t wait to watch you explore all things color with these 10 NEW! Color Swatch Stencils.

There are a total of 10 Color Gradient Stencils (1 large and 9 small) in this new set I created. I was eager to have a set of stencils that would allow me to unlock color in a variety of ways. I wanted it to be a tool that I could use alongside of my creative projects.

I find that color is valuable because it allows us to look at the world around us in a unique way. I use color to help define the direction of projects, to record custom color mixes, and to explore composition ideas for paintings, needlework, photographic layouts, and even stitching projects. Color takes the lead in all of my artwork. By putting color to work for us we can discover so much about what we love in both our art and the world around us.

These stencils are perfect for watercolor or acrylic paints. New to watercolor and stencils? You will learn all the tips and tricks for making it work in the class STENCIL MAGIC that I co-teach with my artist friend Sandi Keene.

8 Color Swatch Wheel Stencil, S834

8 Color Swatch Wheel Stencil, S834

Take a moment and hop on over to StencilGirl to read more about how I envisioned using each of these stencils as a color swatching tool.

Stencil Club Collection

Join the Stencil Club Collection today and get a special project video to go along with these new stencils!

I am so happy to share my newest Botanical Treasures with you today!

I love botanicals. That is no secret. I will turn any and all flowers and plants inside out to find a creative use for the. This special collection does just that. It looks at botanicals from the inside out.

With this new set of stencils, exclusively for StencilClub members, I am diving deeper into the plants themselves and revealing their inner cellular nature in the 9 x 12 stencil. The 6" x 6" stencil in this set is the outside leaves. Rotating this stencil will allow you use the individual branches as separate, smaller sprigs of a plant. The mini mask (it's about 3" x 4") is based on a the root and stem system of a plant and is prefect for layering.

Stand alone, each of these stencils and masks are striking but layer them and find yourself building a plants system that is detailed, patterned, and unique.

IMG_2133.jpg

Stencil Magic


STENCIL MAGIC - TURNING STENCILS INSIDE OUT

You have them.  We have them.

Is there a mixed media creative that doesn’t have a stack of stencils in their workstation? If there is, we haven’t met them.

Stencils are a versatile tool BUT they don't come with a manual of techniques beyond pouncing paint through them.  We are going to turn stencils upside down and inside out.

Rae & Sandi are bringing their Two Takes approach to stenciling. Whether you prefer acrylics, watercolor or both, we have new ideas, techniques and tips to discover the ways you can enhance your stencil use today.

You get two styles of using texture paste, 3 dimensional stencil work, continuous line drawing, stitching, sketching, combining multiple stencil in one element and more. You will walk away with Technique Cards, projects, inspiration and a new outlook on your art practice.

We weren’t kidding about the magic part.  Grab your stencils and let’s conjure up a new appreciation for this under-used design tool.


Botanicals & Art Marks

I am in love with both botanicals and art marks, but combine them and make them small and I am one happy artist!

newsletter botanical atc stencils.png

This stencil set was inspired by and compliments my Botanical Stem, Botanical Wildflowers, and Ferns & Florals stencil collections. In addition to being the perfect size for ATC’s I really wanted these stencils to pair perfectly with all of the working small art journals that are the craze these days, like my own personal Pocket Journal. Whether you are creating cards, collage elements or miniature paintings for your journal, these stencils will make creating an endless combination of botanical images fun and easy!

newsletter art marks atc stencils.png

This stencil set was inspired by my love all things art marks as shared in my book Paint Play Explore: Mark Making Techniques in Mixed Media and my joy of working small. Perfect for all those tiny paintings, cards, ATC’s, collage paper, and small Pocket Journal pages, these stencils will fill the void when looking to create backgrounds, filler, or a space to fill with words.

Learn a few of my favorite ways to make art papers using my stencils and a few simple art supplies in the quick video below. Perfect additions to my next Pocket Journal !

a collaborative project

Seth Apter recently asked me to be part of his online project, a collaborative between StencilGirl and Aladine, were Seth currently sells some really interesting and fun mixed media art supplies. I couldn’t resist the urge to play with some new to me art mediums, so myself, along with several other talented artists will be sharing what we created as we played with some very interesting new art tools.

You can find all the artist links to their amazing projects over at SethApter.com . And true to Seth’s generosity he will be holding a giveaway as well. You won't want to miss out on that!

Rae_Missigman_Seth_Apter_Adaline_Project_small 2.jpg
Rae_Missigman_Seth_Apter_Adaline_Project_small 3.jpg

I created pieces using both acrylic paints and Seth’s new IZINK ICE, which is a translucent glaze that I fell in love with when added into the mix using my Gelli Plate. I also added some of Seth’s new IZINK MY DYE Ink Sprays. The combination of these mediums was so beautiful and unexpected. I love how the glaze really changed the layers as they evolved. They are very dreamy in color. I have worked with inks before but something about how these two products combined resulted in colors and layers that made me want to keep experimenting.

I think my favorite discovery was how translucent the IZINK ICE was and yet it added a layer of color that allowed the layer beneath to morph into something new. The slightest hint of a change that had the power to change the entire look and feel the piece.

Rae_Missigman_Seth_Apter_Adaline_Project_small.png

The IZINK ICE colors I am using are Greenland, Winters Night, Snowball and Polar Pink. I am using IZINK DYE SPRAY in Flamingo Pink. I also used the Botanical Stem Stencil/Mask, Botanical Wildflowers Stencils/Masks, the Longwood Florals Mask, and the Floral Frolics Stencil.

Rae_Missigman_Seth_Apter_Adaline_Project_small 5.jpg
Rae_Missigman_Seth_Apter_Adaline_Project_small 6.jpg

It is no secret that I love using my stencils and masks with acrylic paint and my GelliArts® Printing Plate. It’s always fun to see how different each of these patterned prints looks in its smaller, more detailed form. I can’t wait to add these into the pages of my of Pocket Journal .

To find more color, pattern, and inspiration visit raemissigman.com

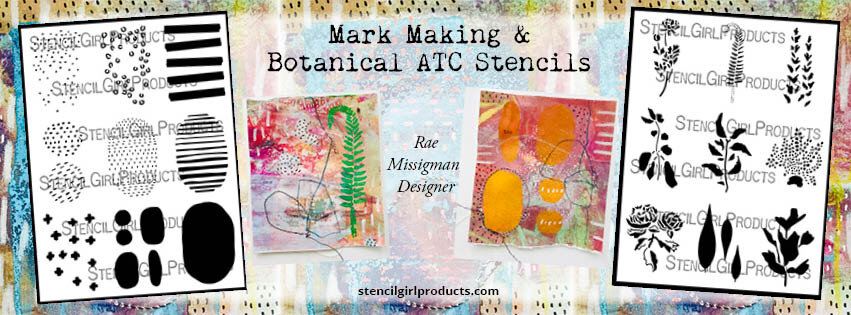
Botanical Stencil Collection

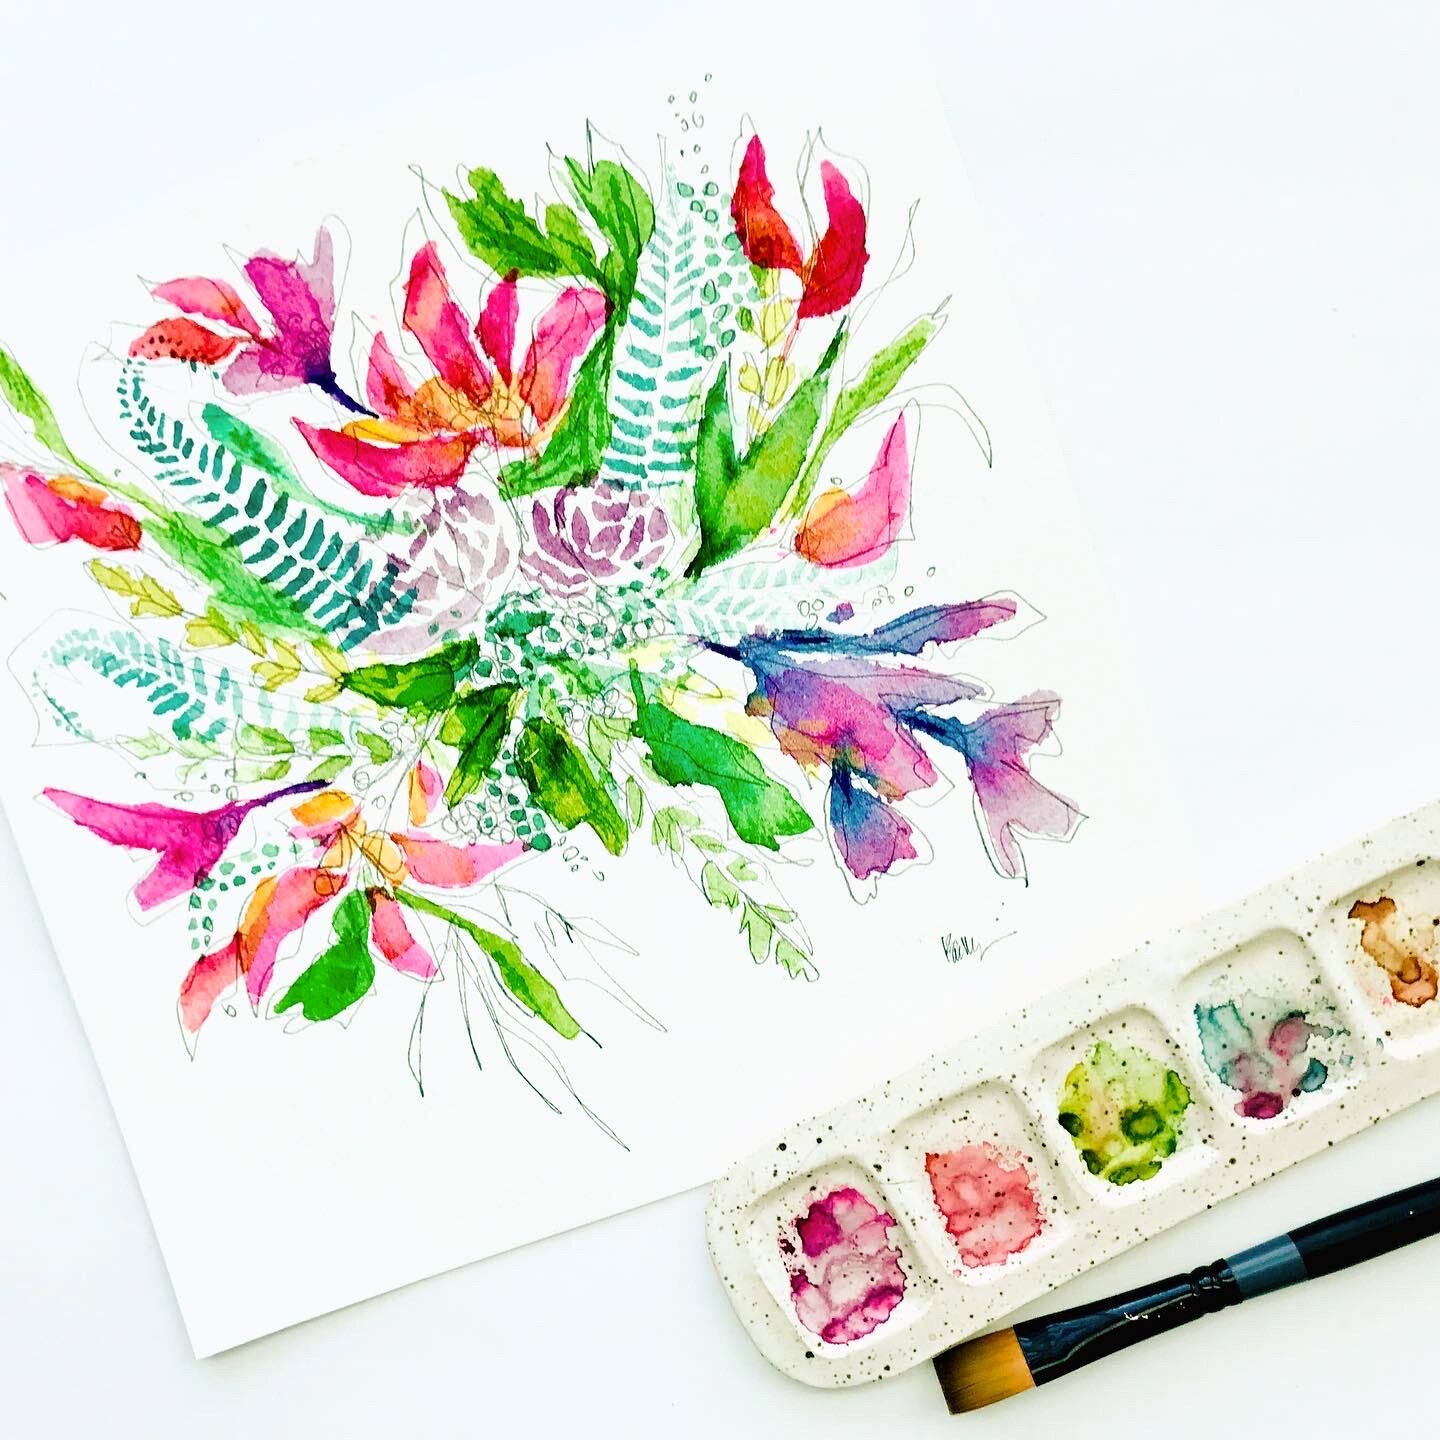
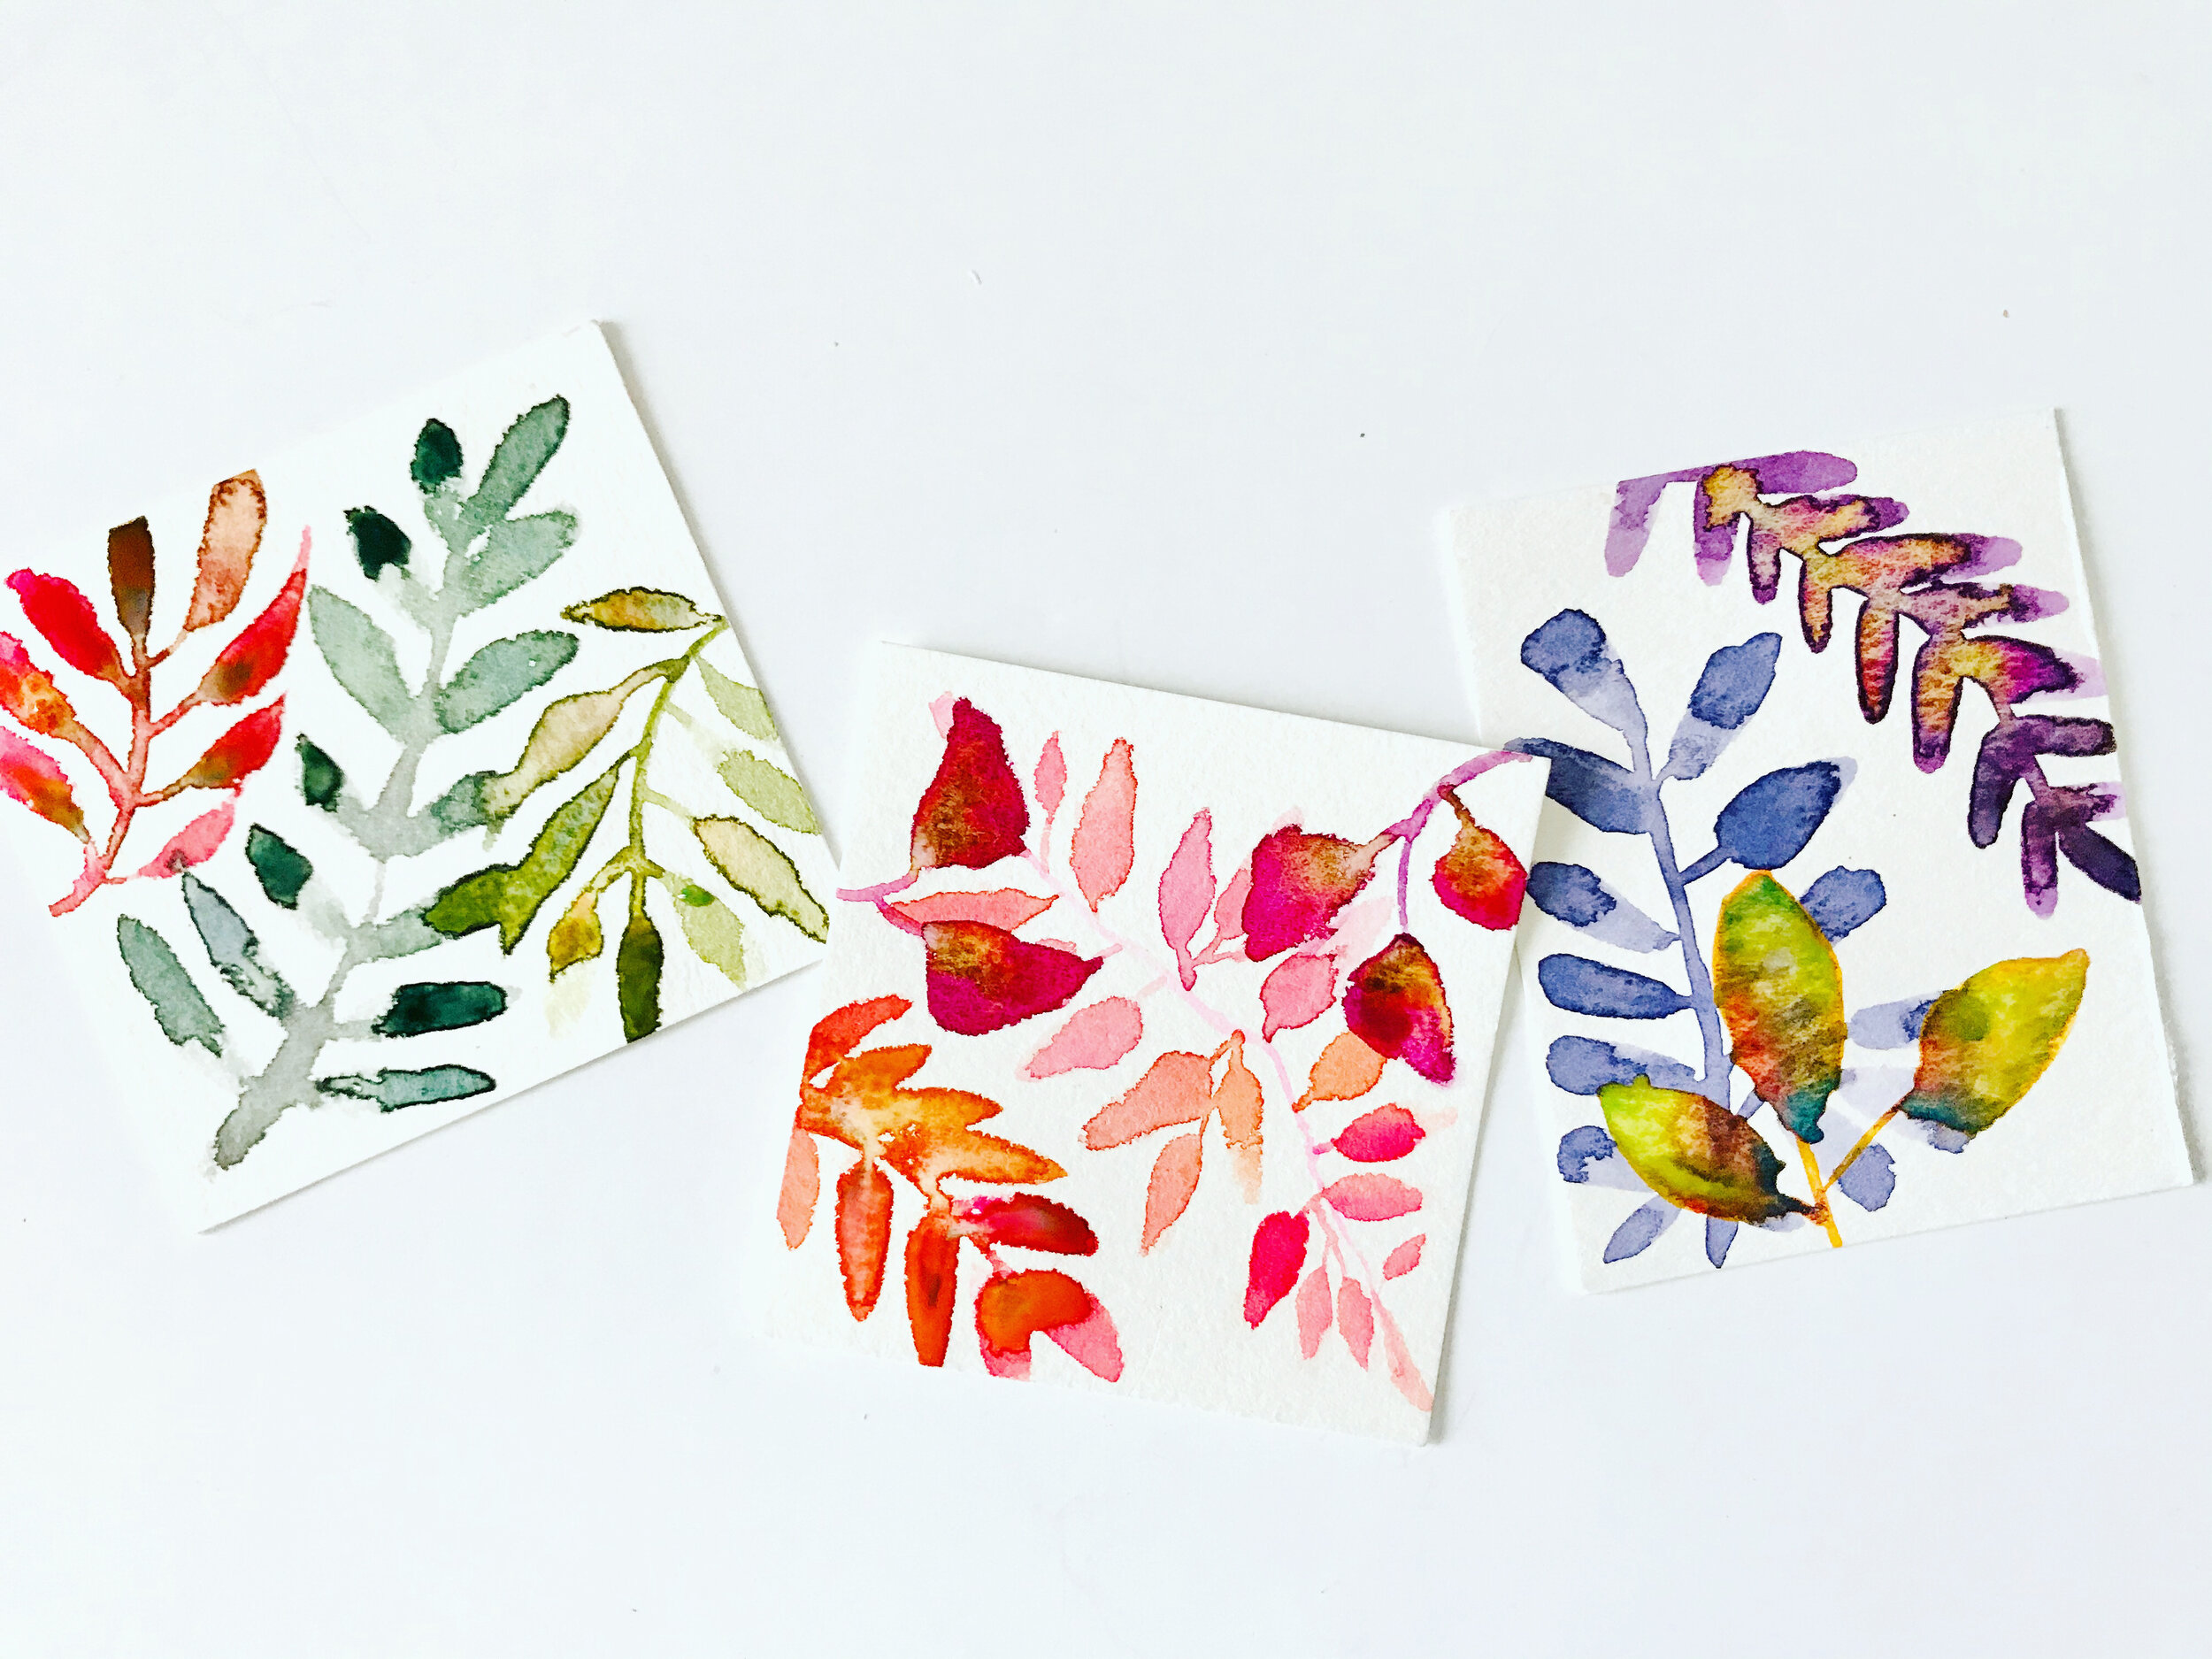
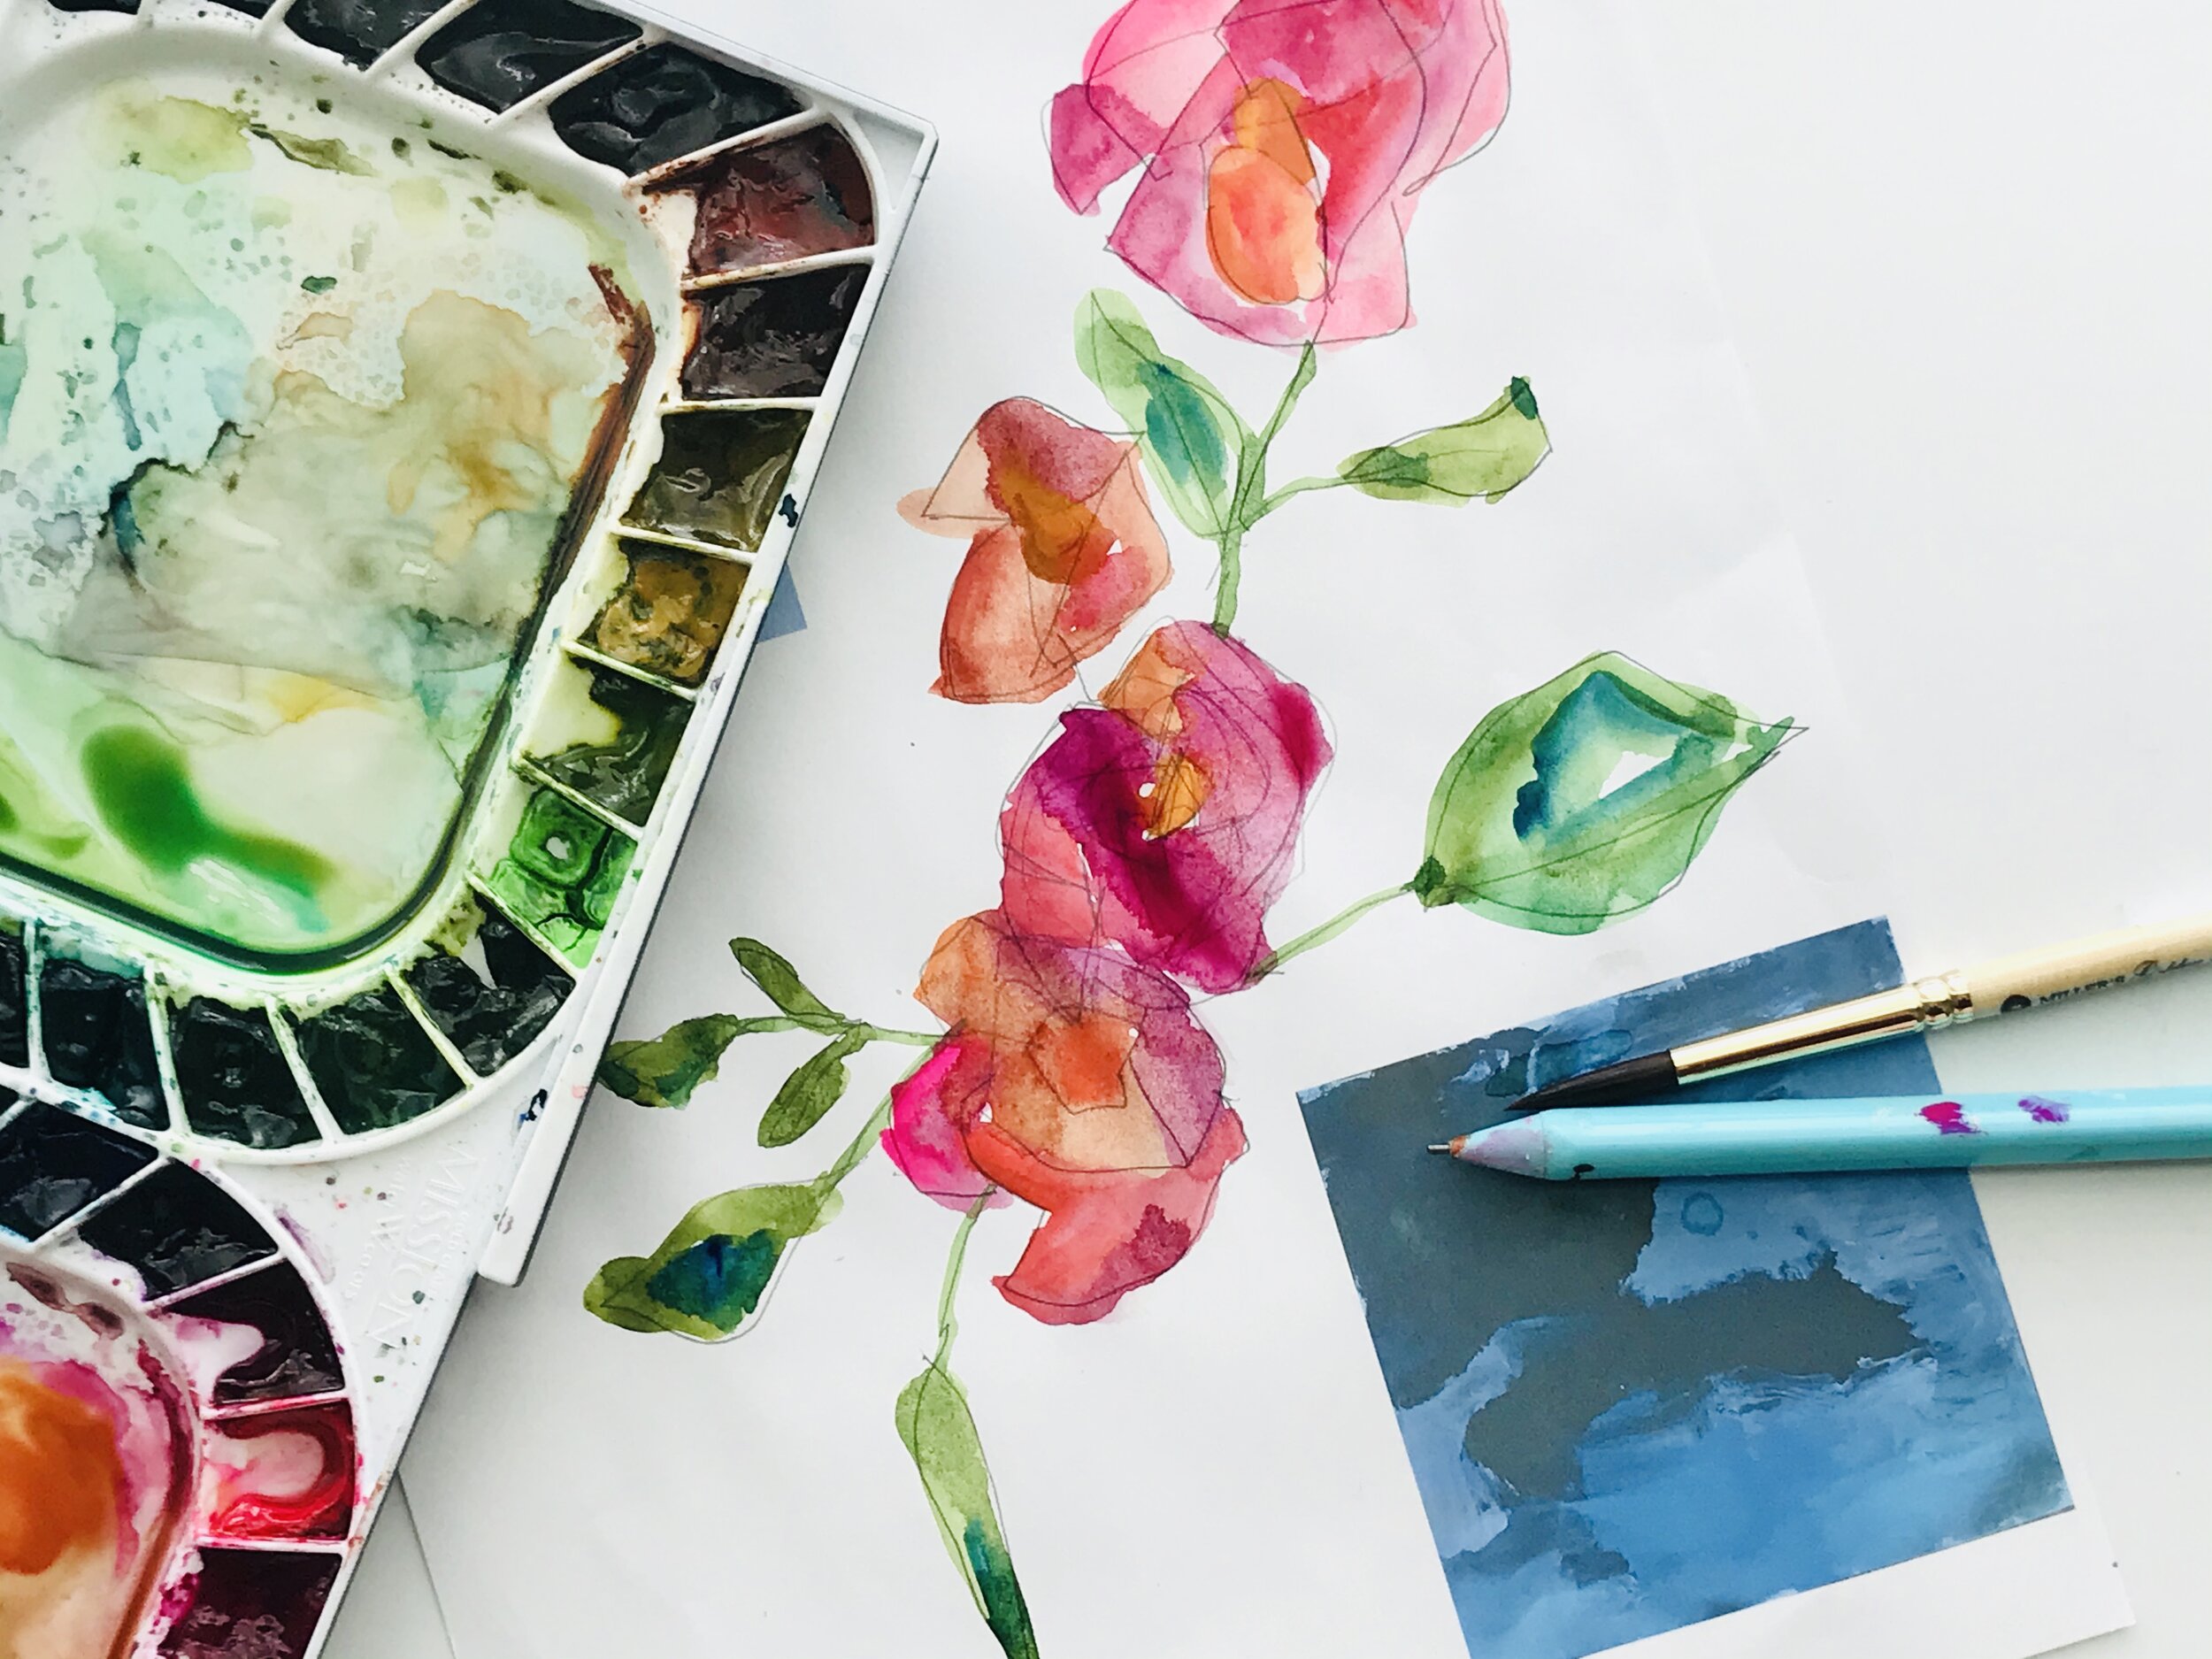
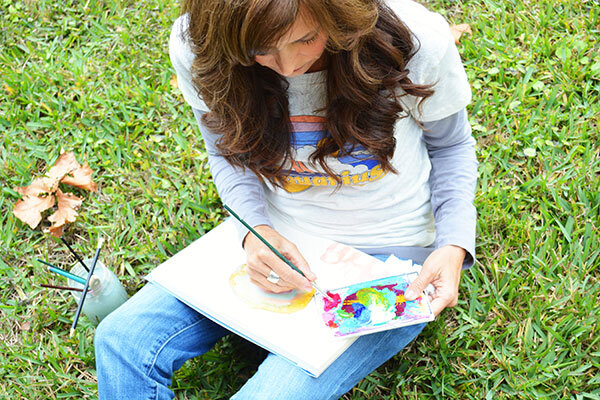
Inspired by the flora of the oldest, continually operating Botanic Garden in the United States these illustrative renditions are the result of hours of study. The gardens are one of my favorite haunts when I visit Washington DC, so I always make time to sit and sketch plant after plant in great detail. Once back in the studio it is a favorite pastime to take these sketches and recreate them from memory. The result is a unique version of each flower or stem that reflects my own personal style of art.

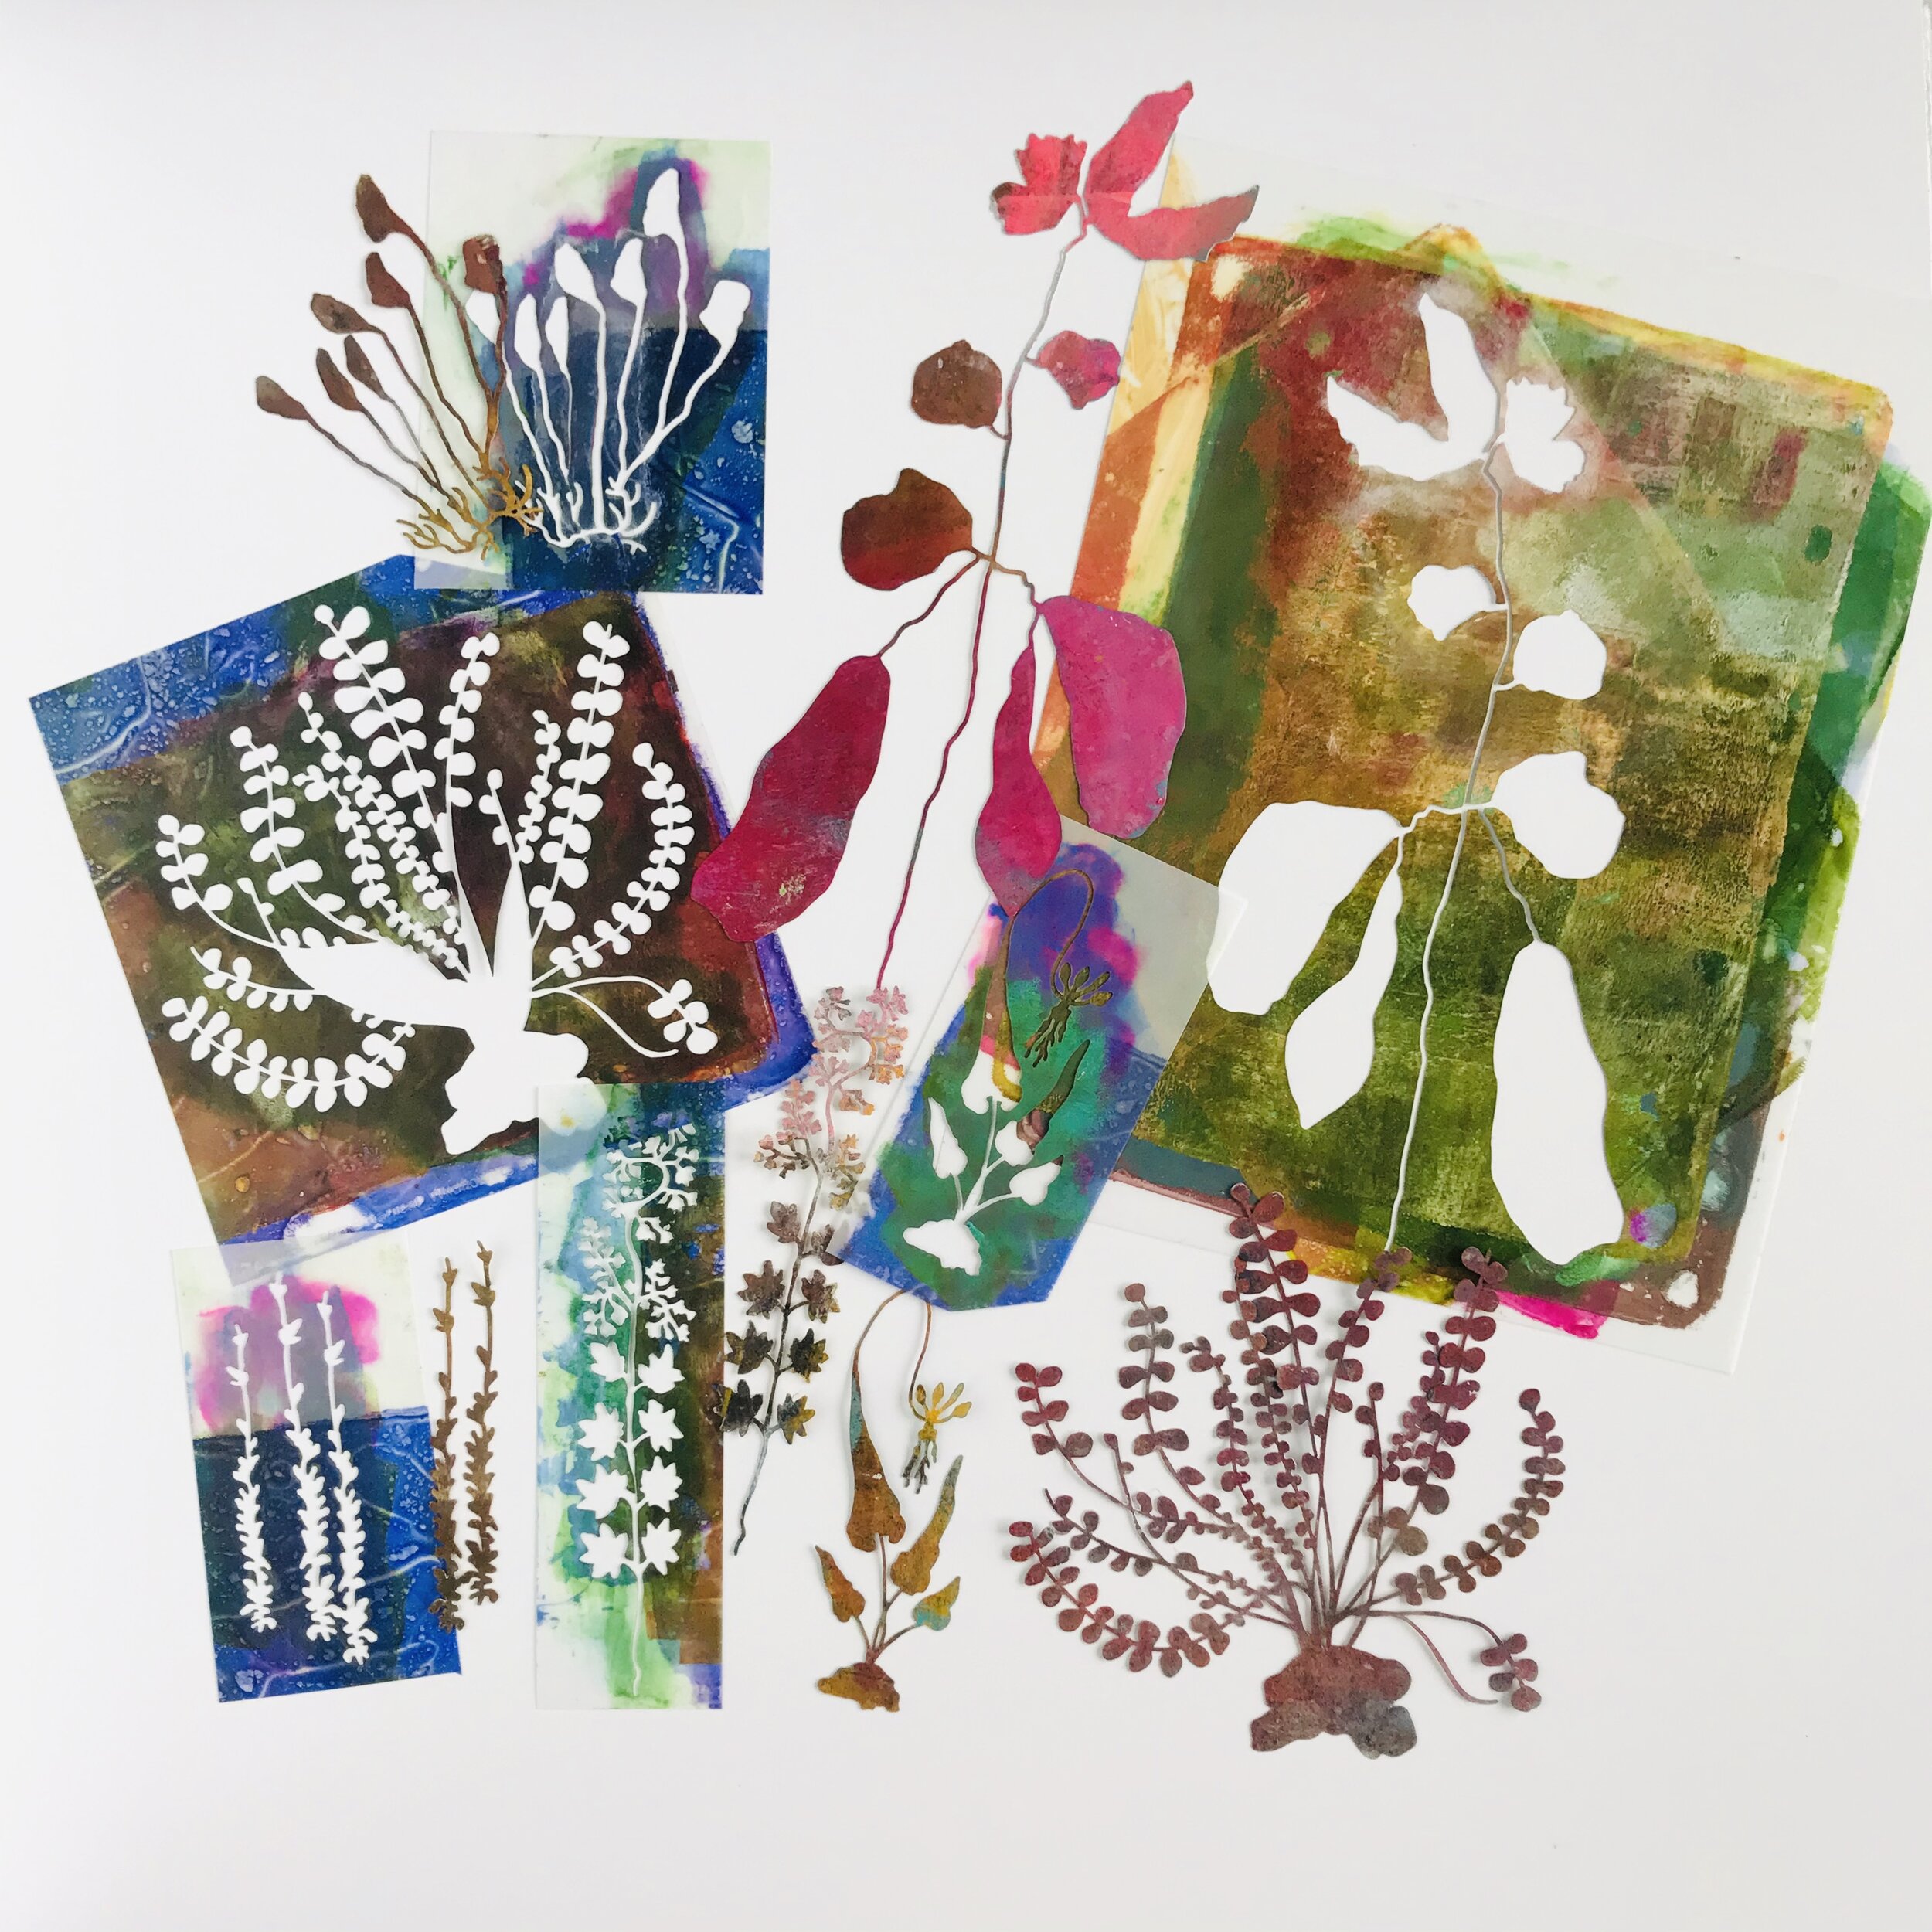
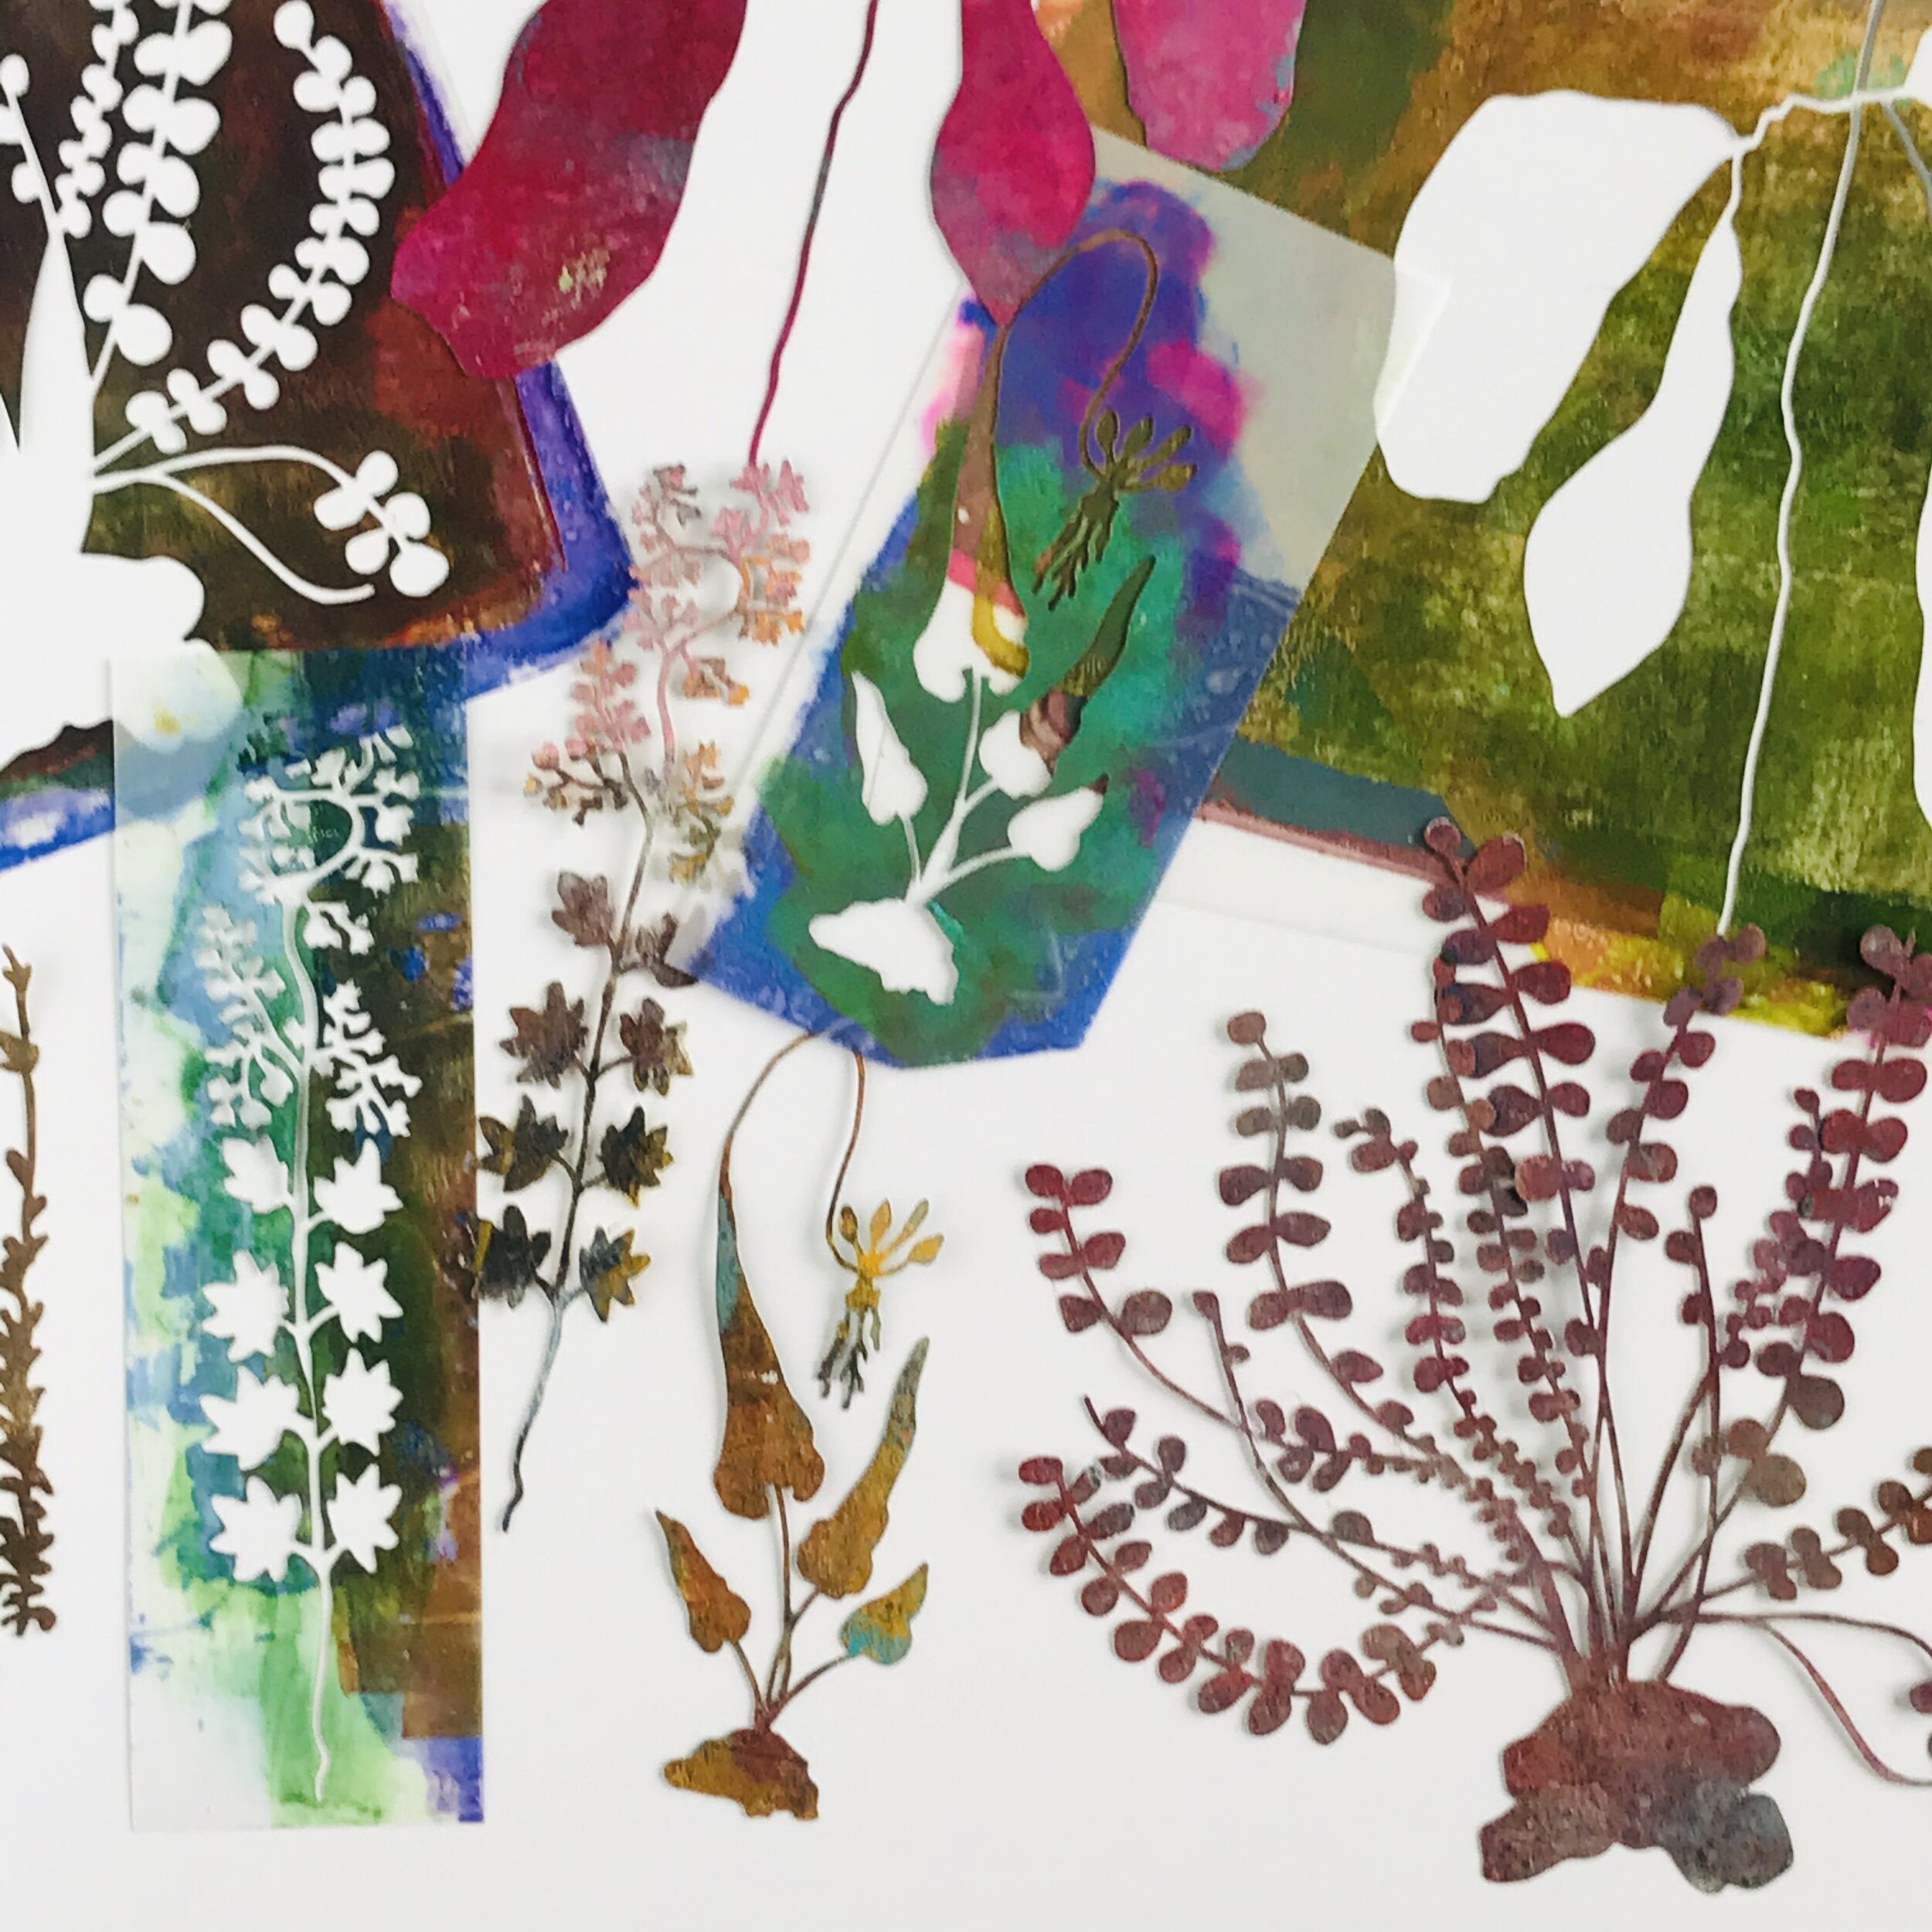
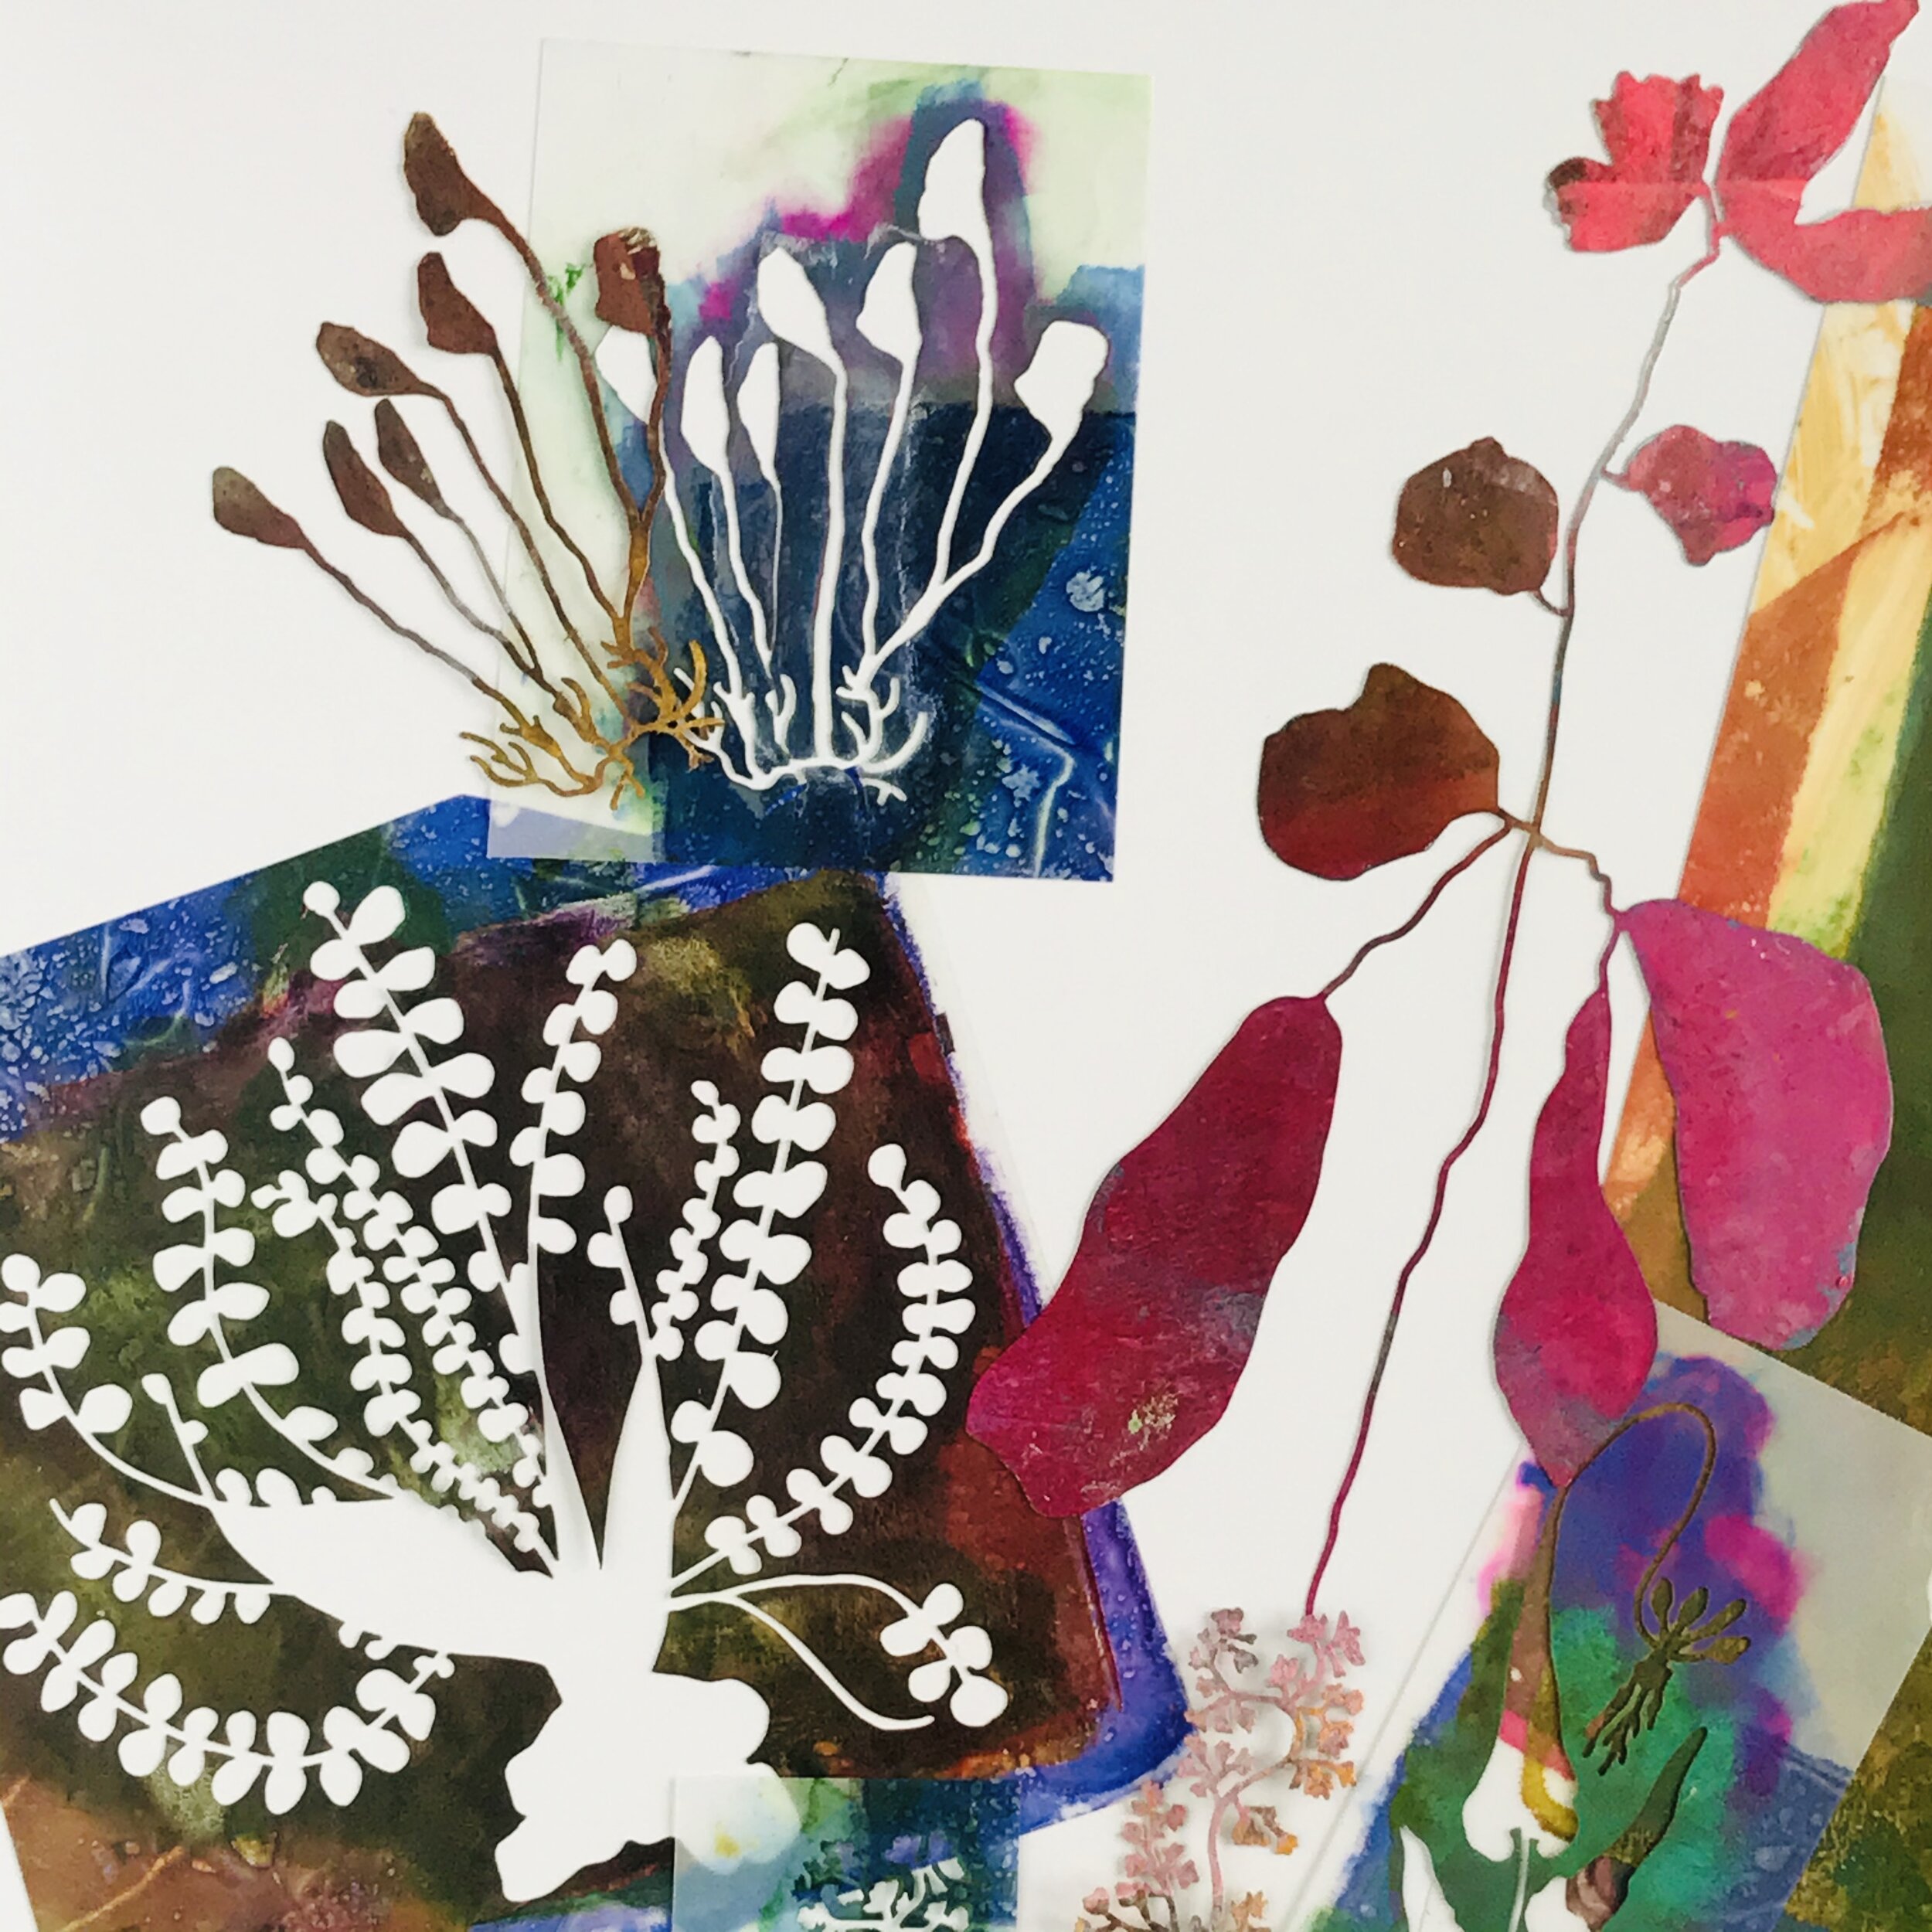
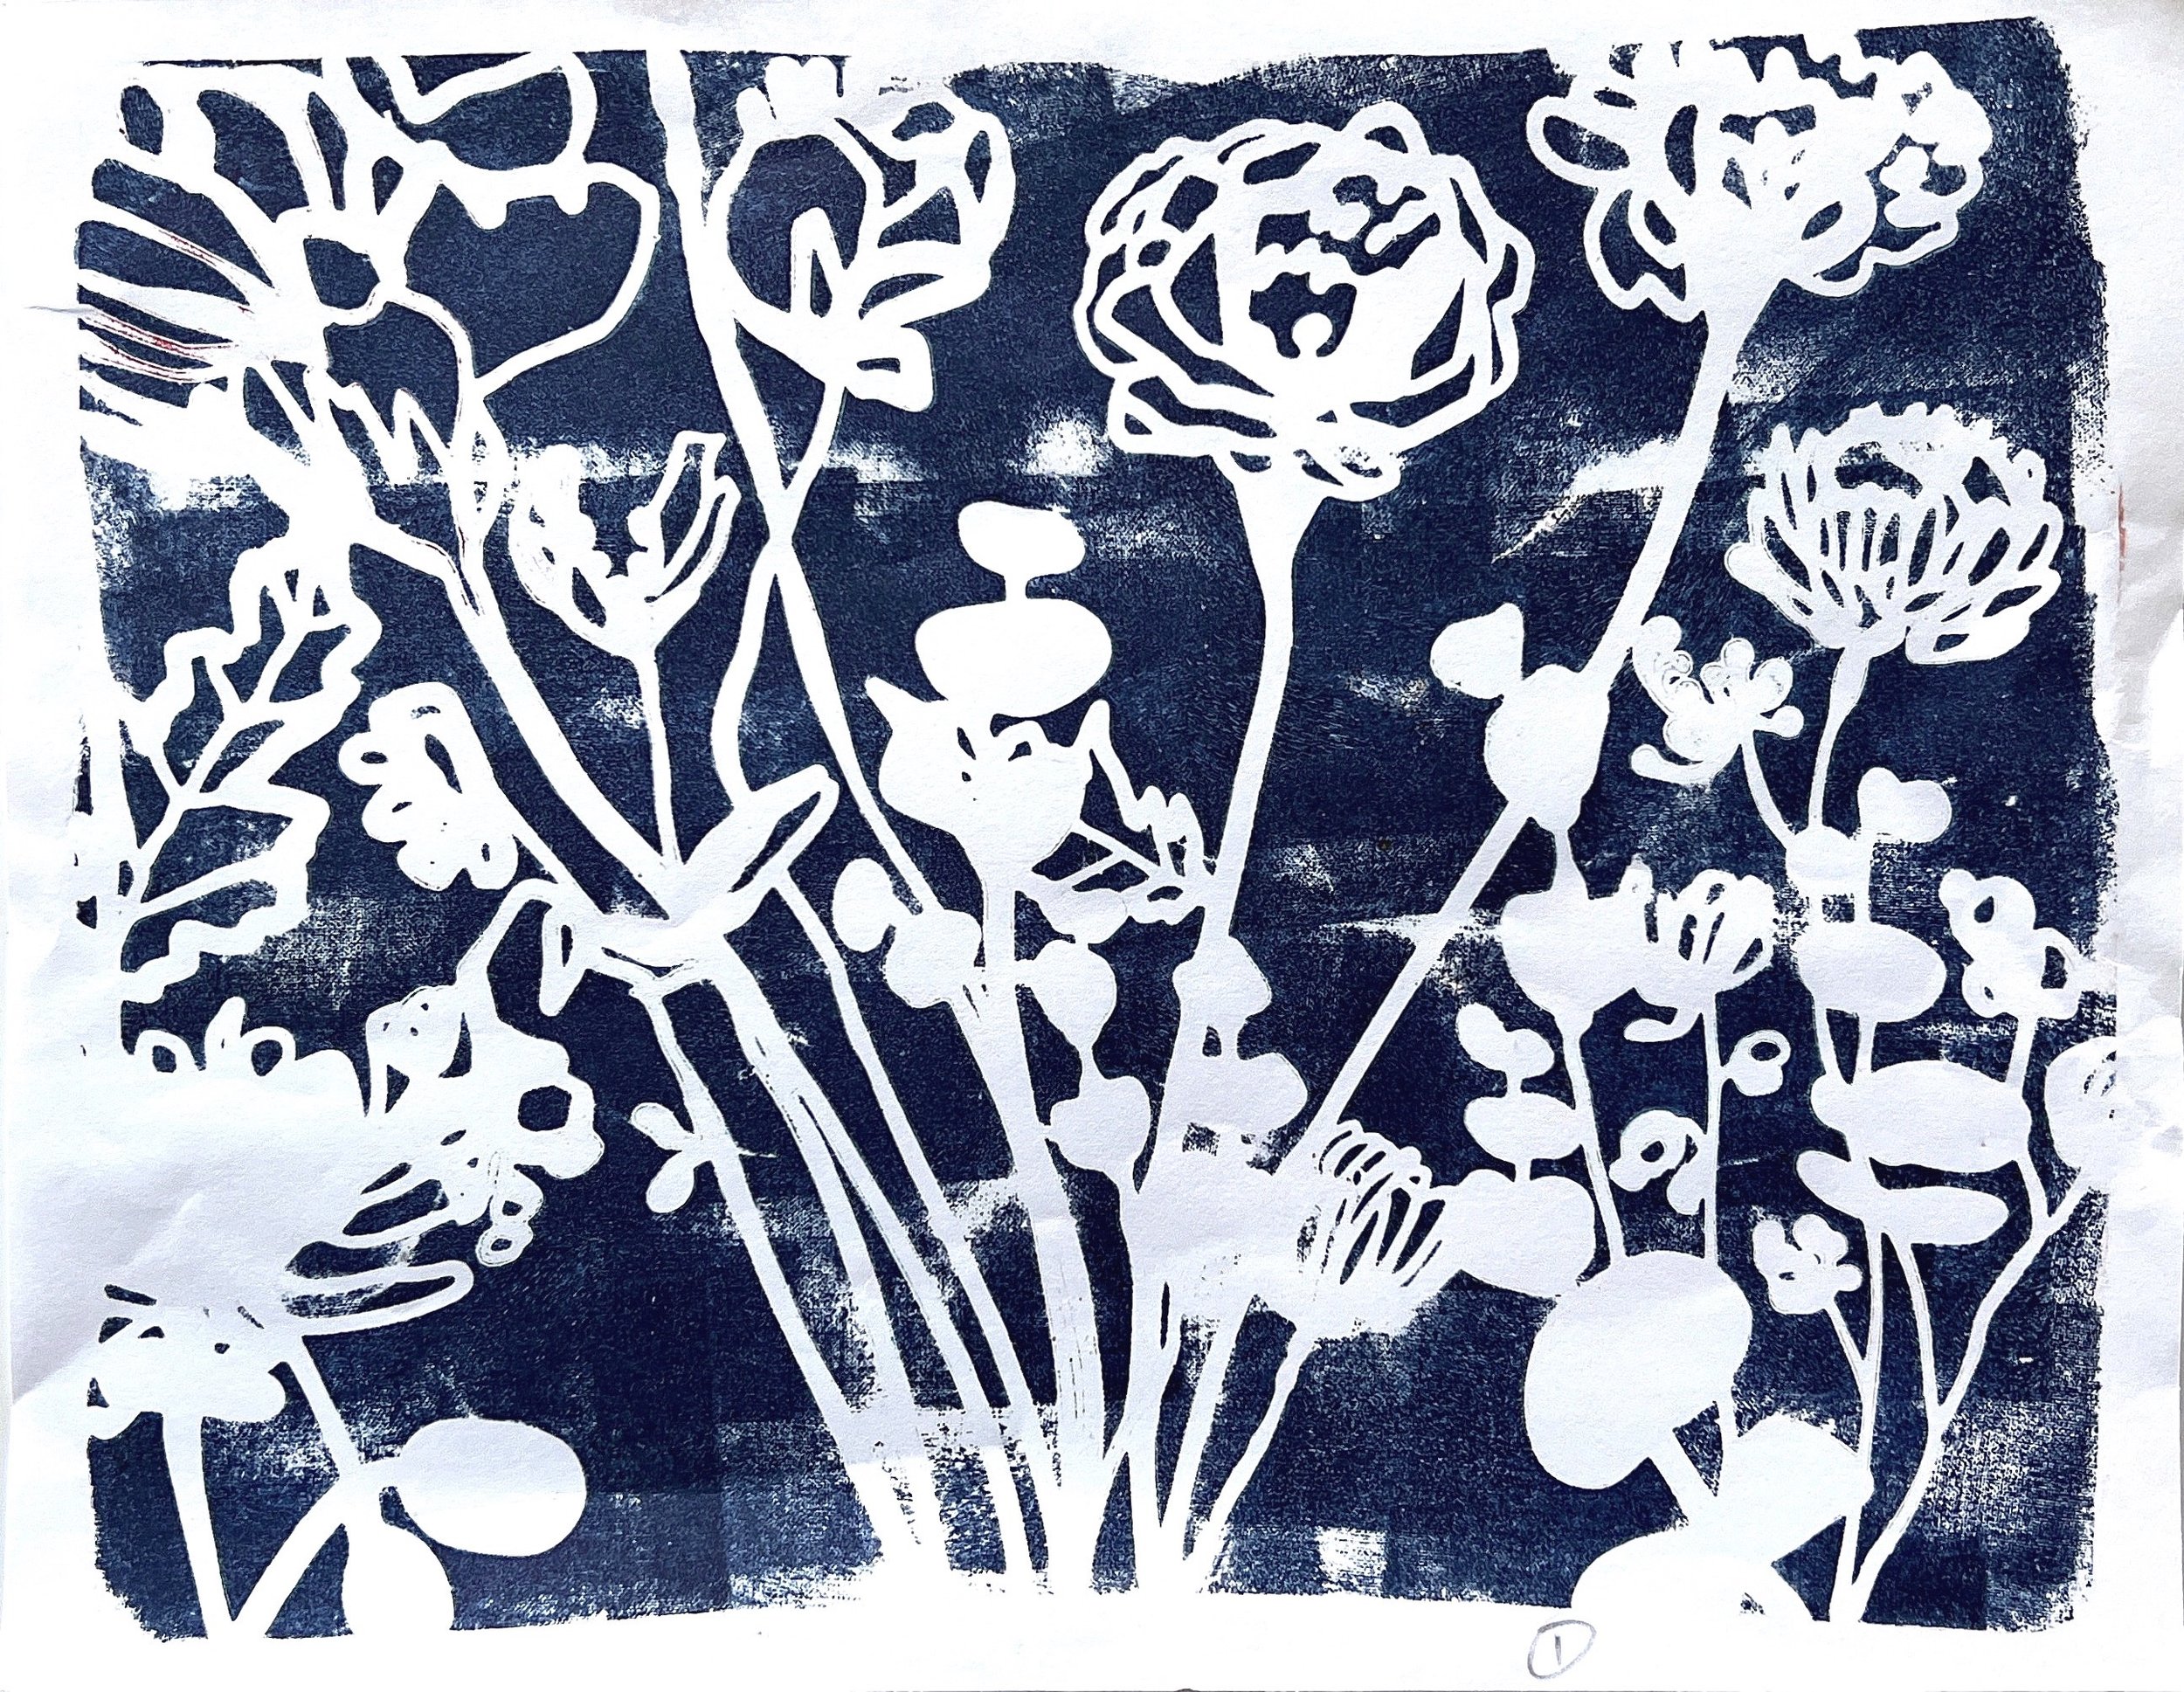
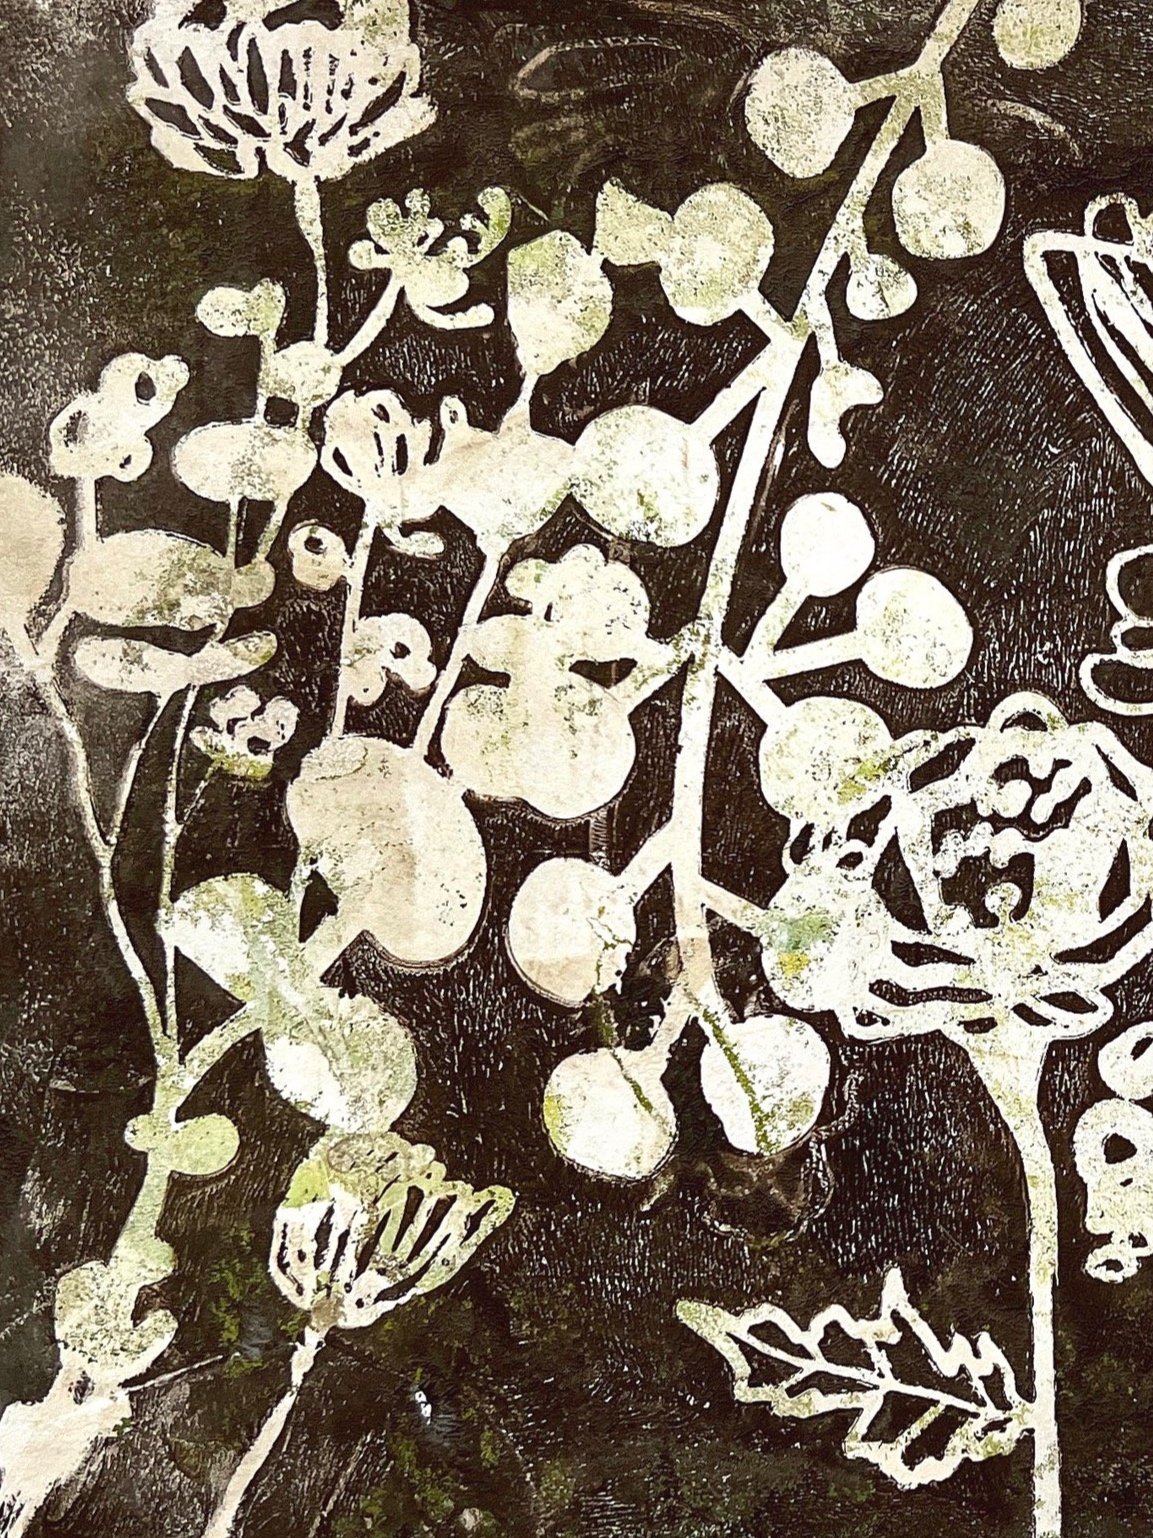
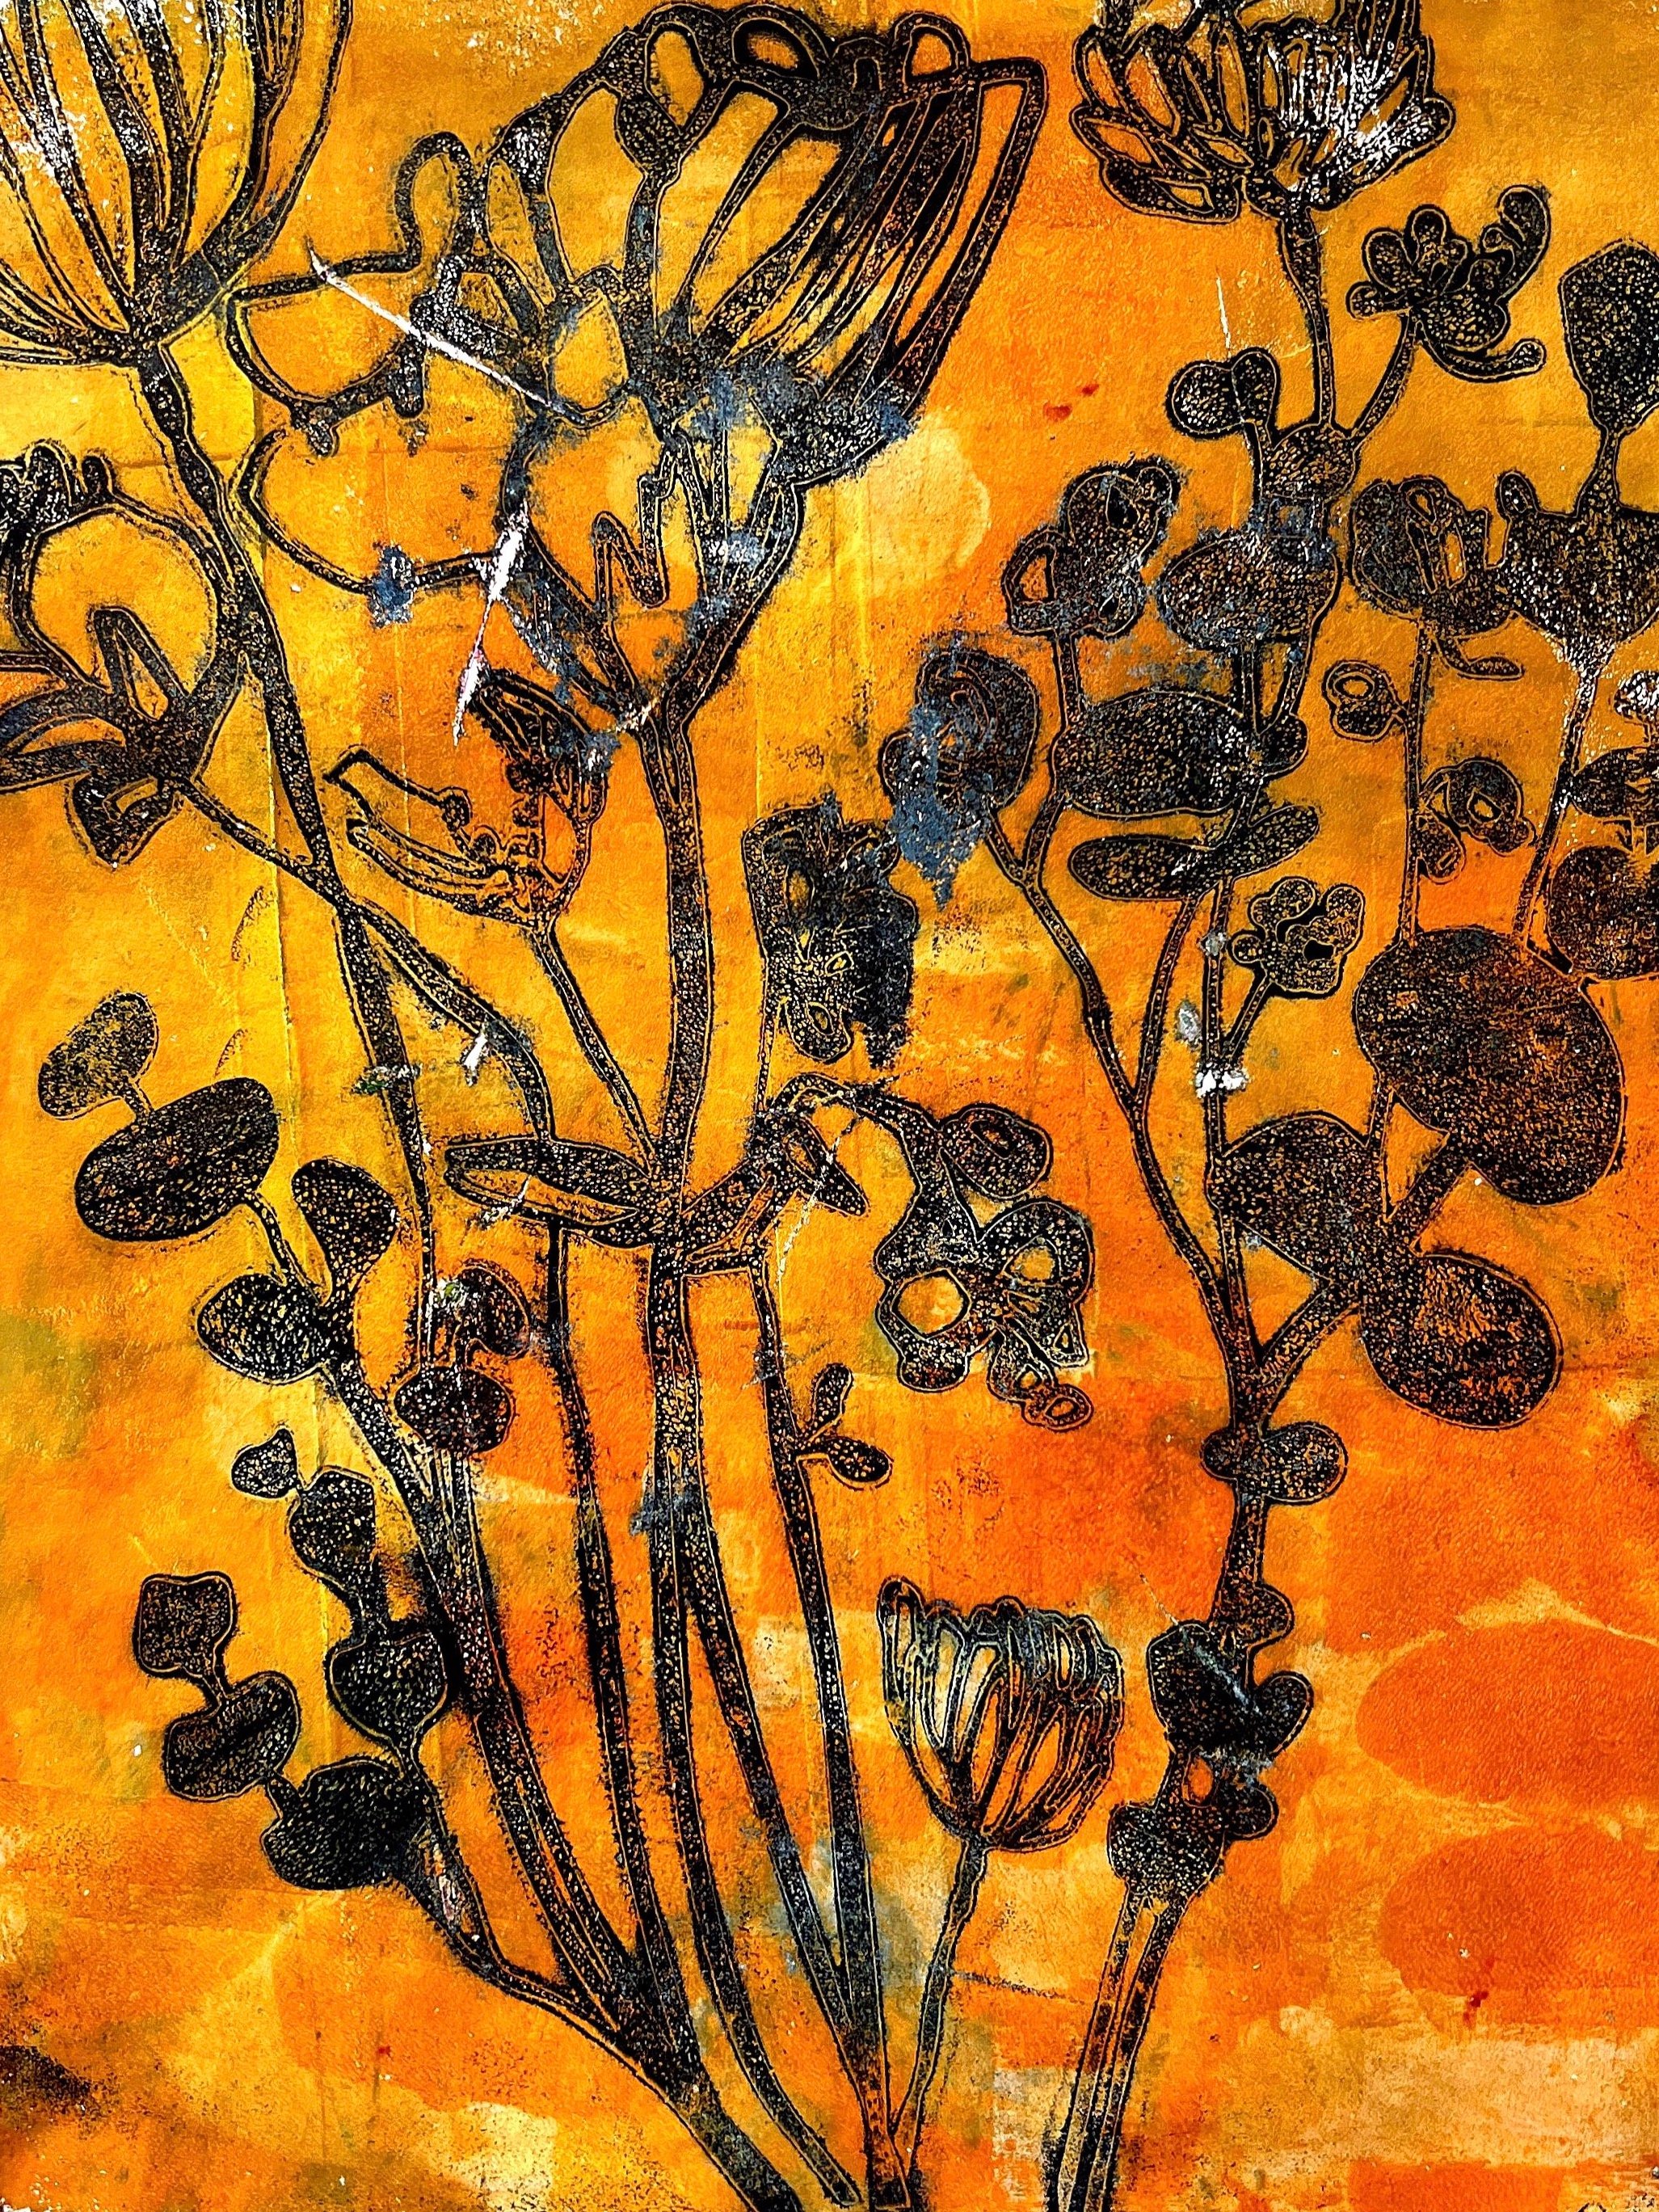
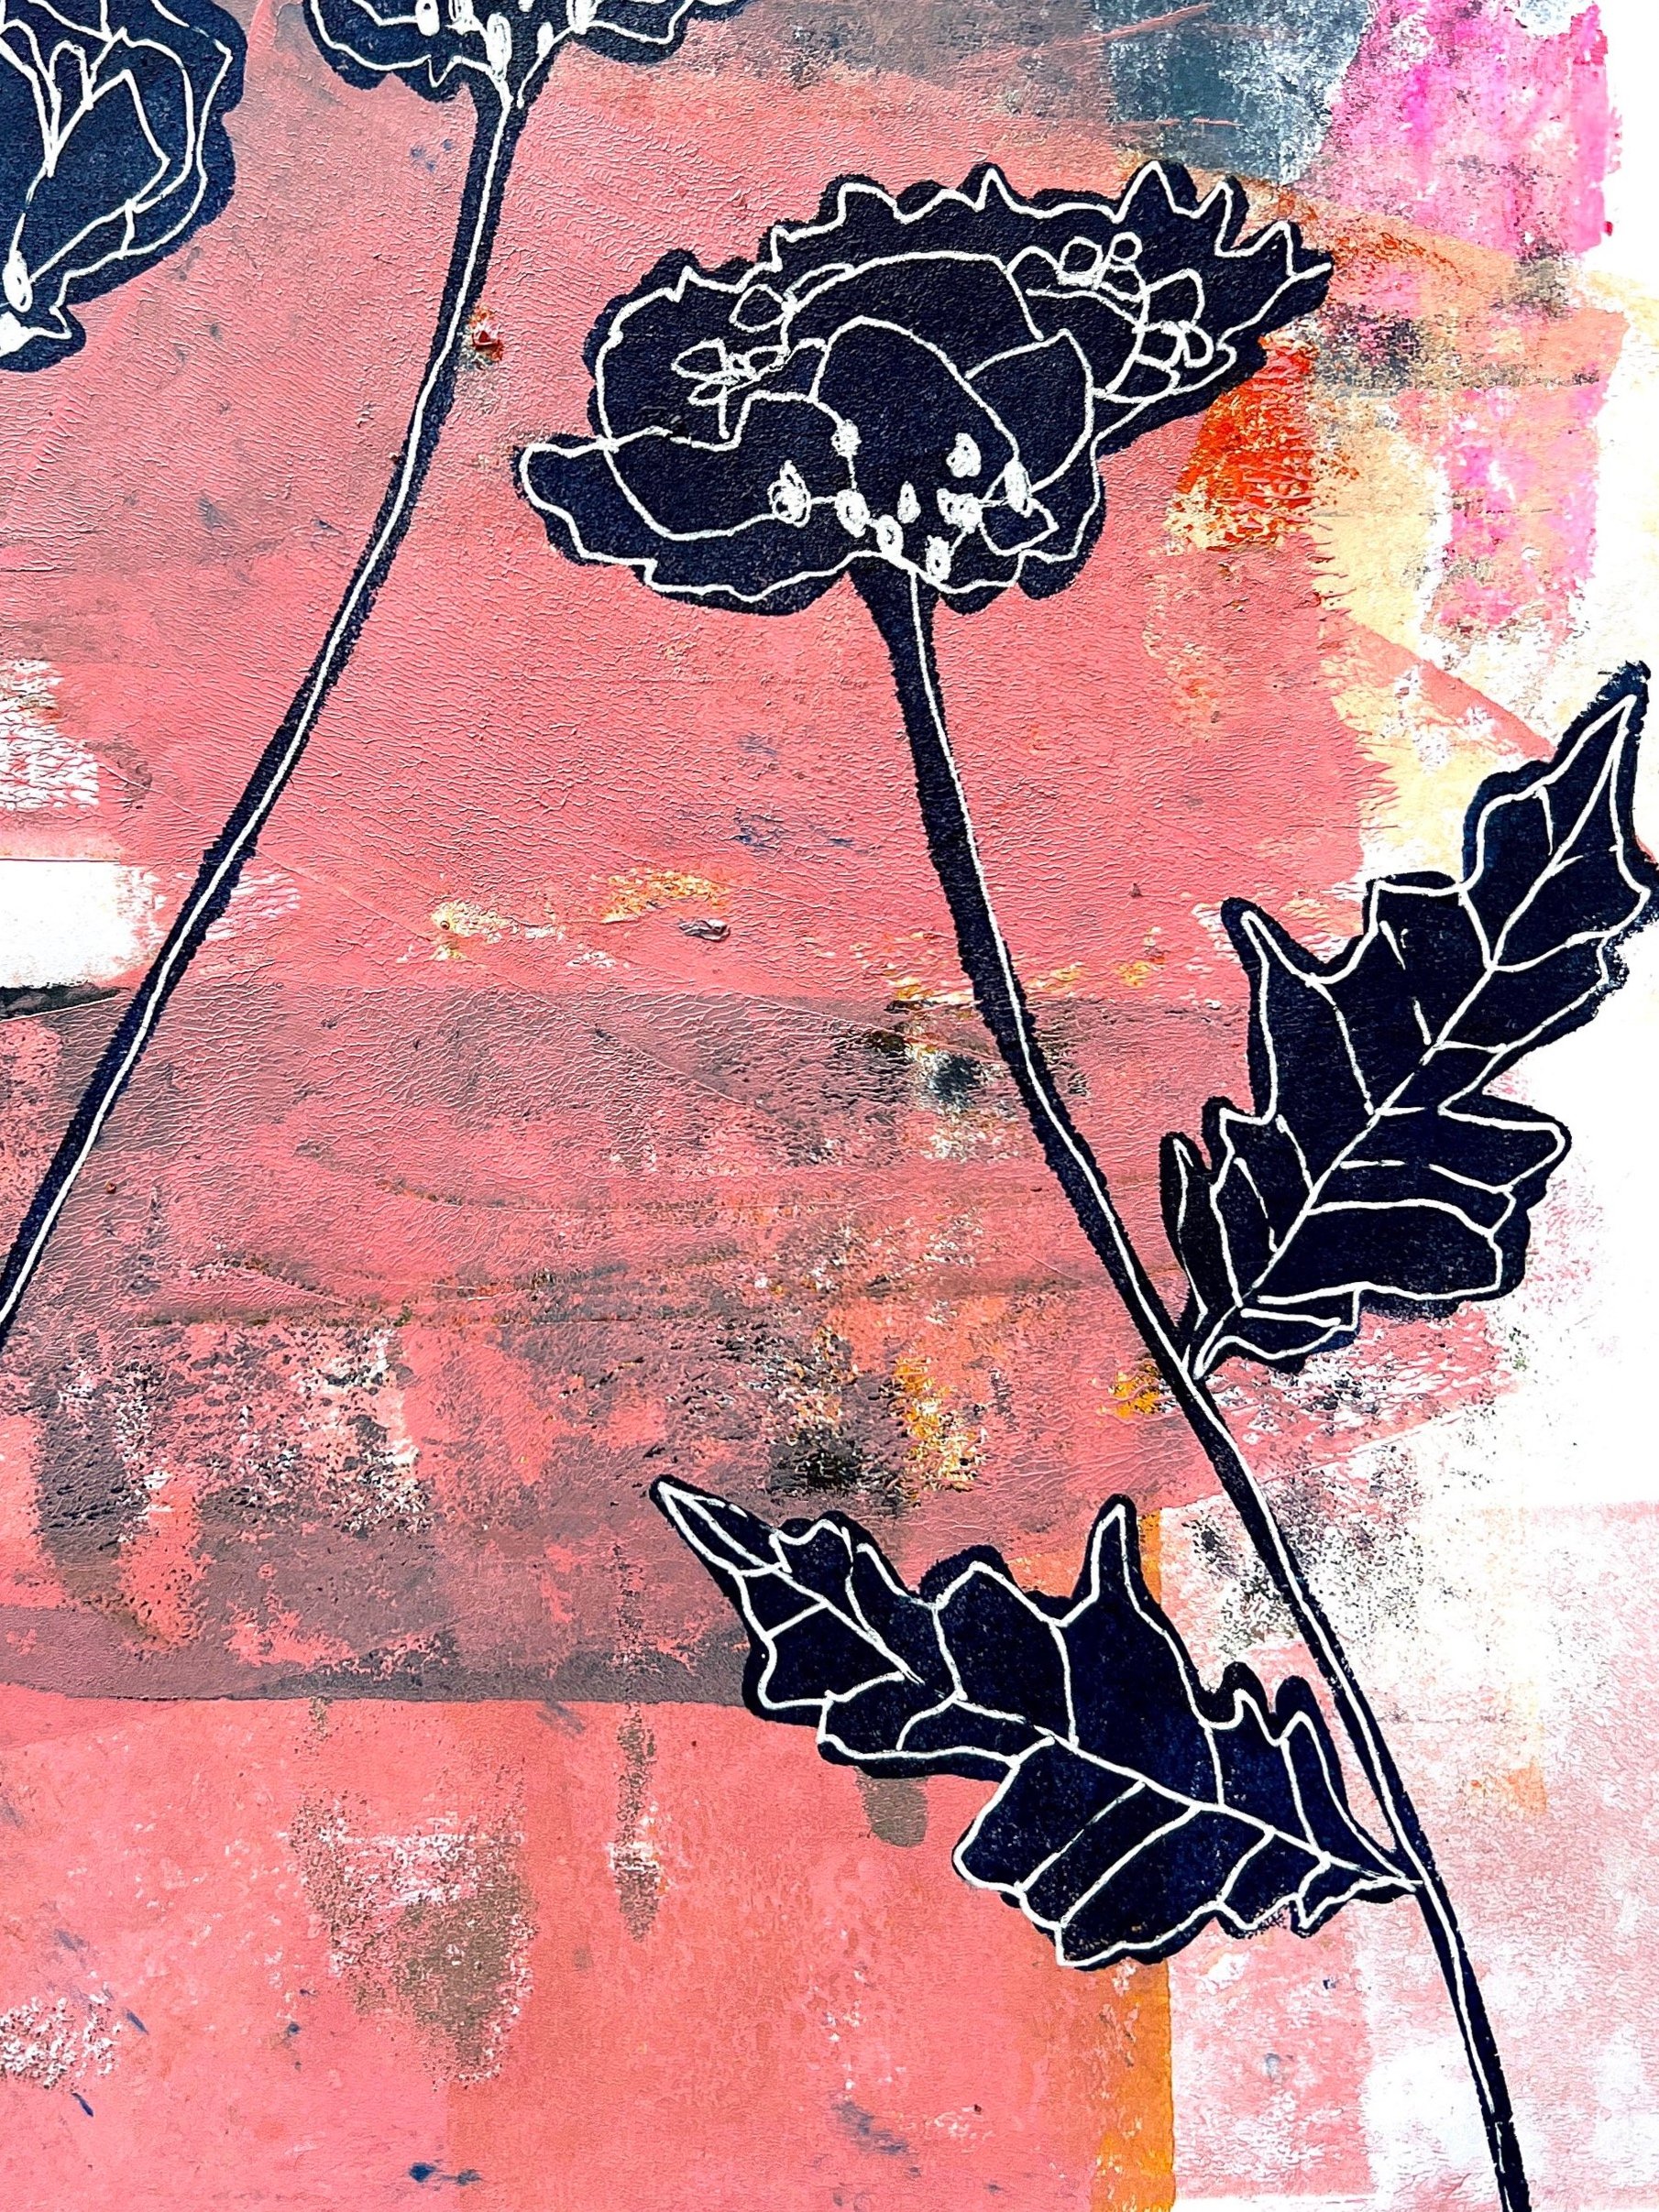
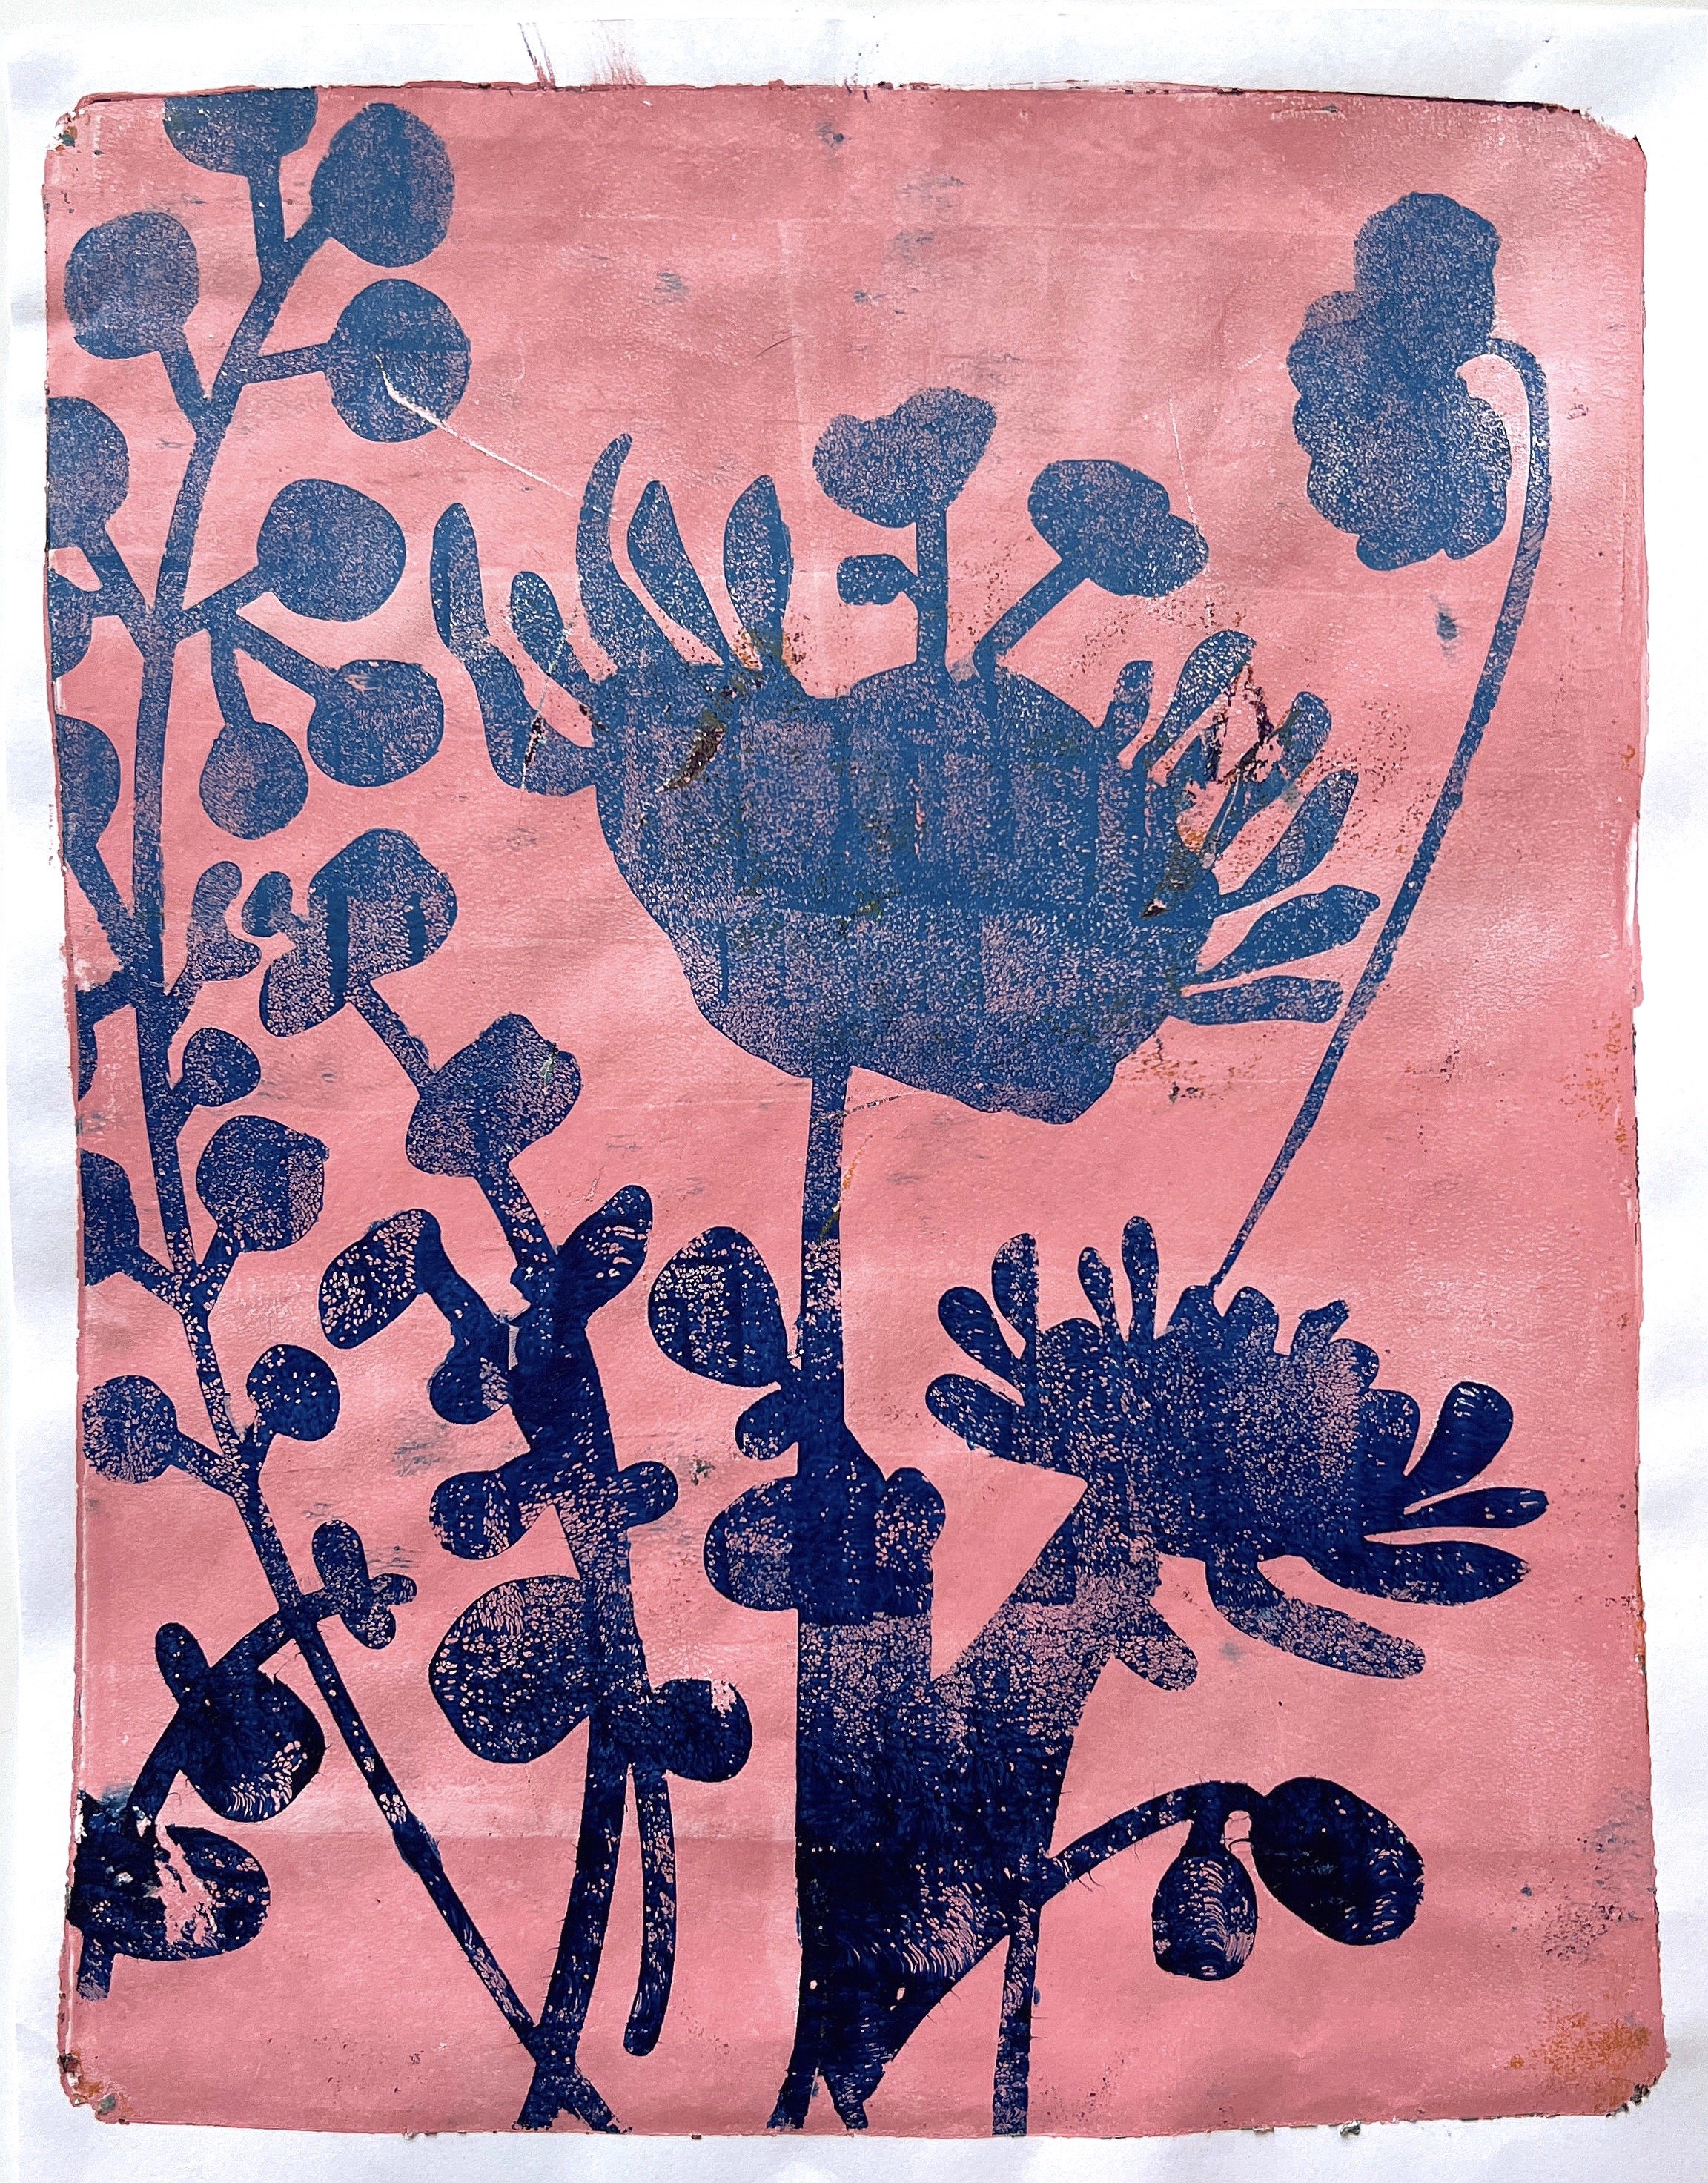
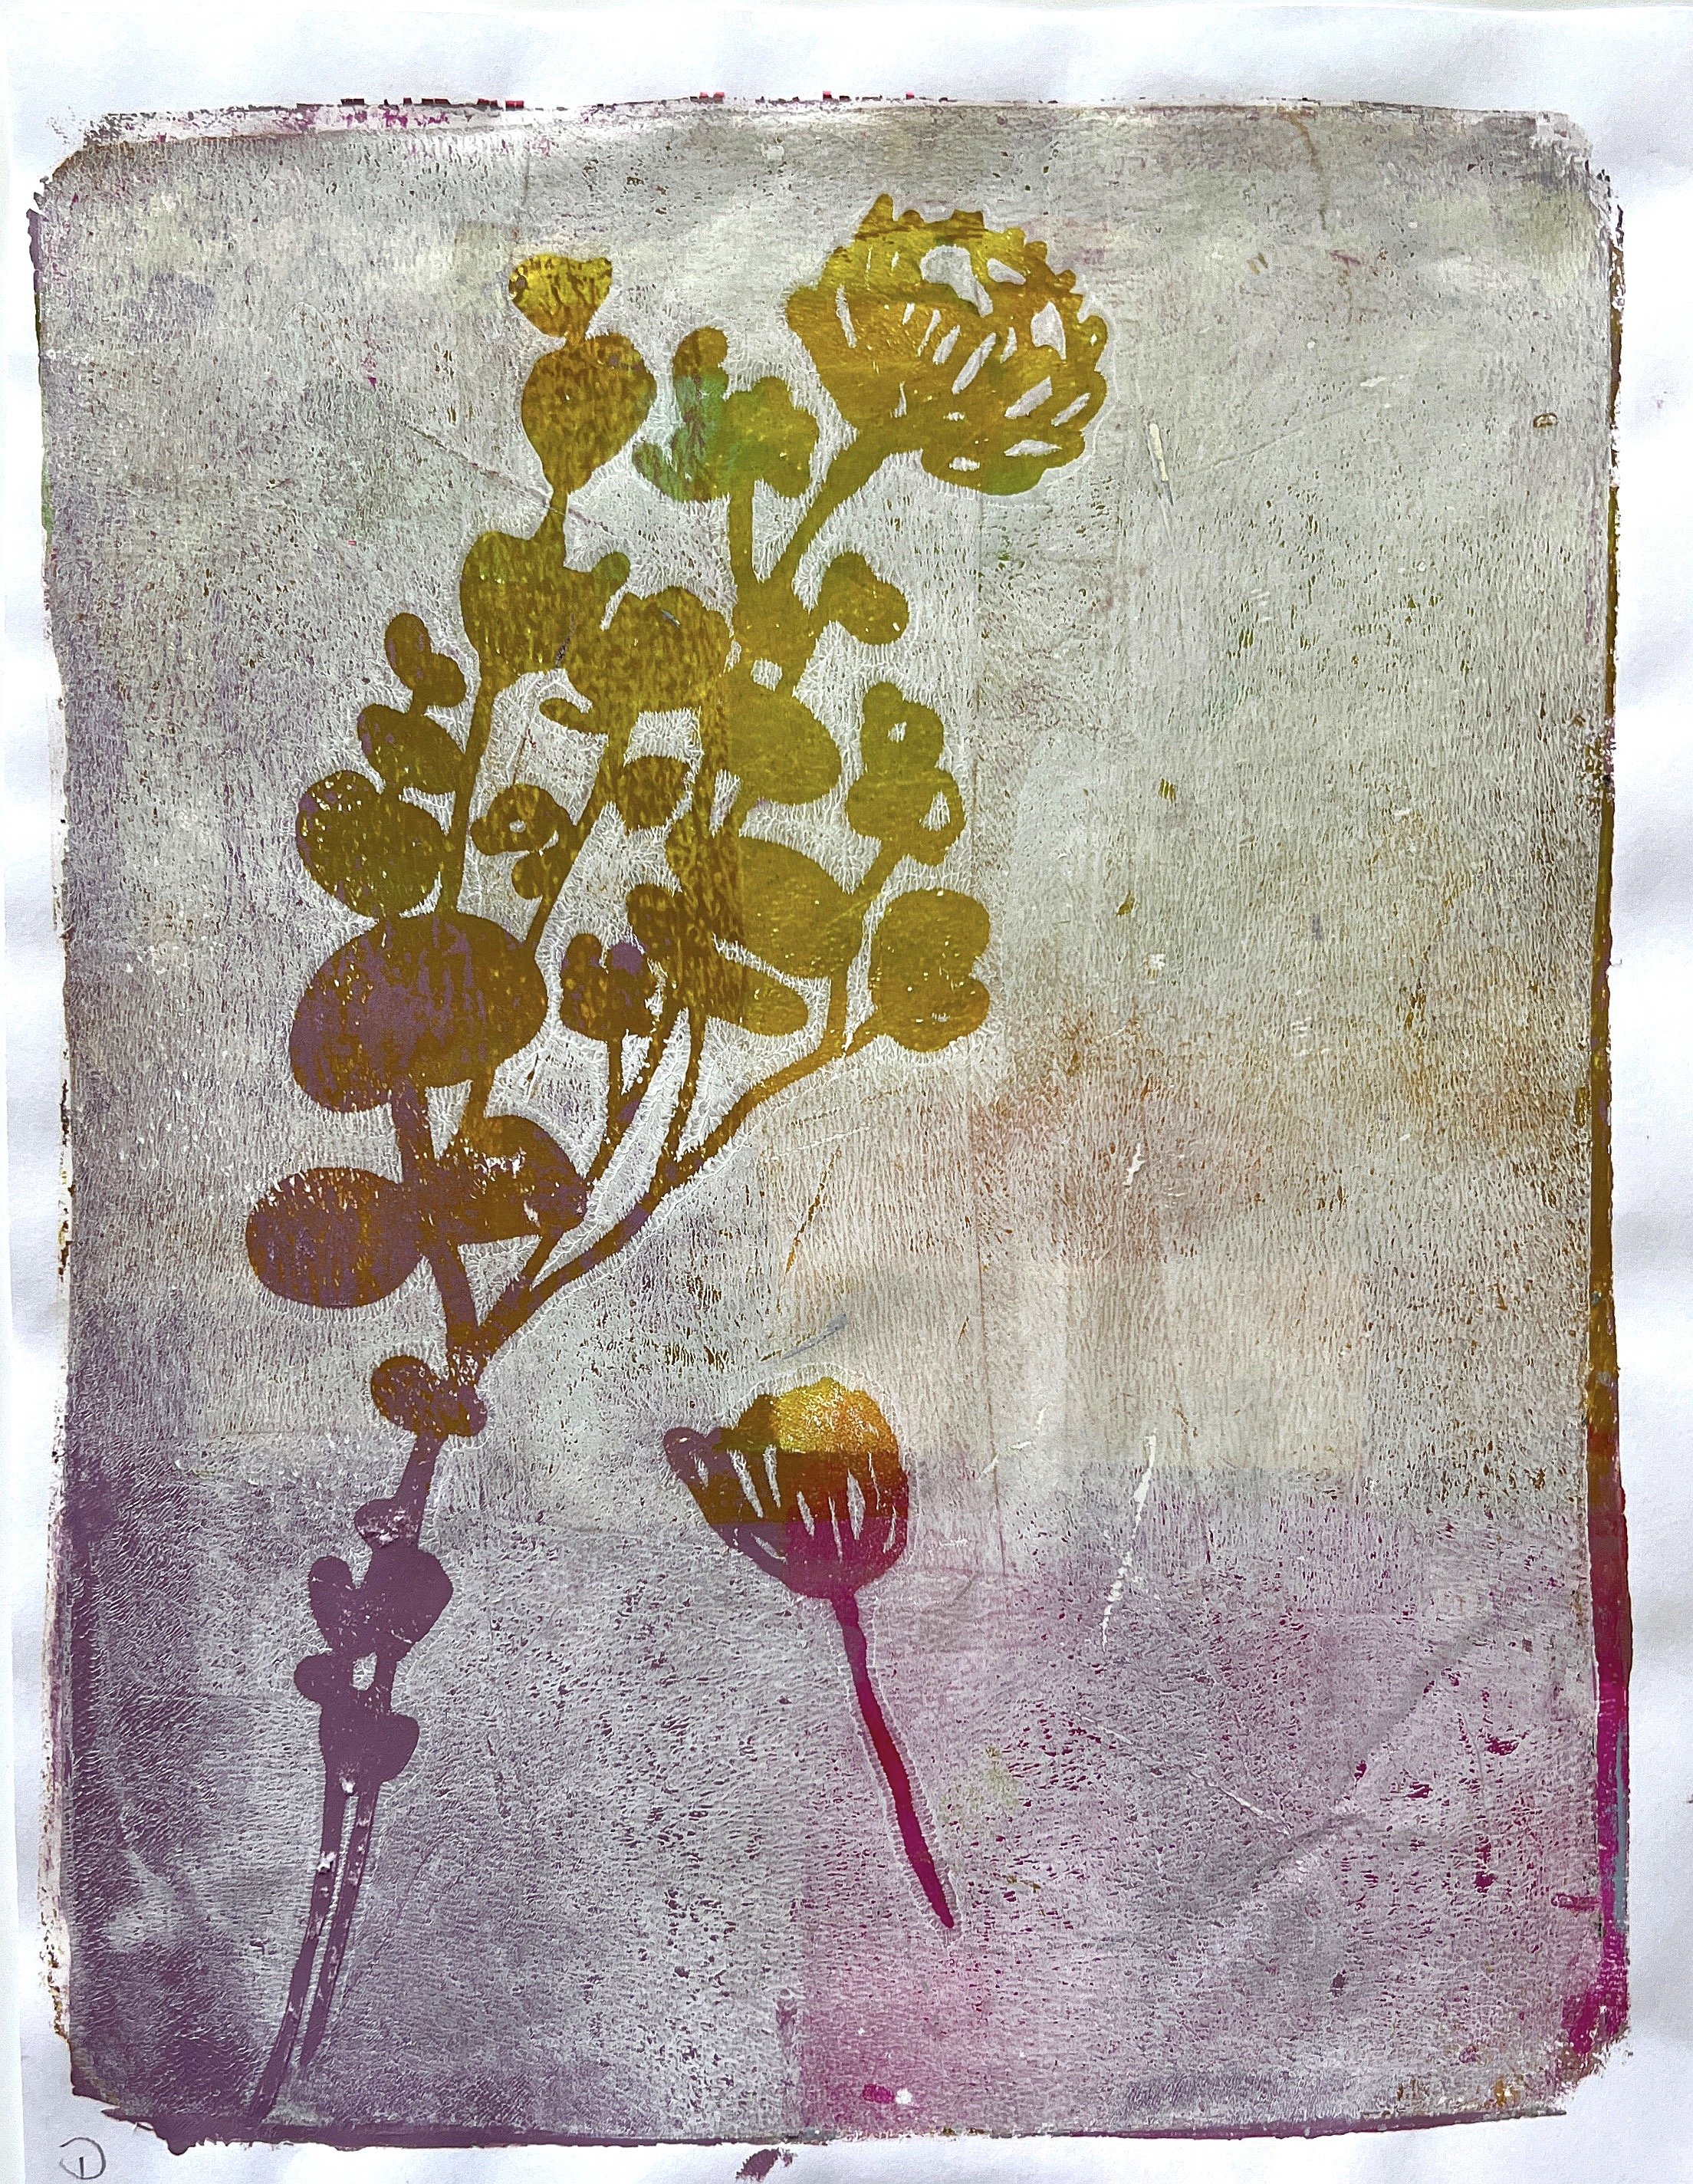
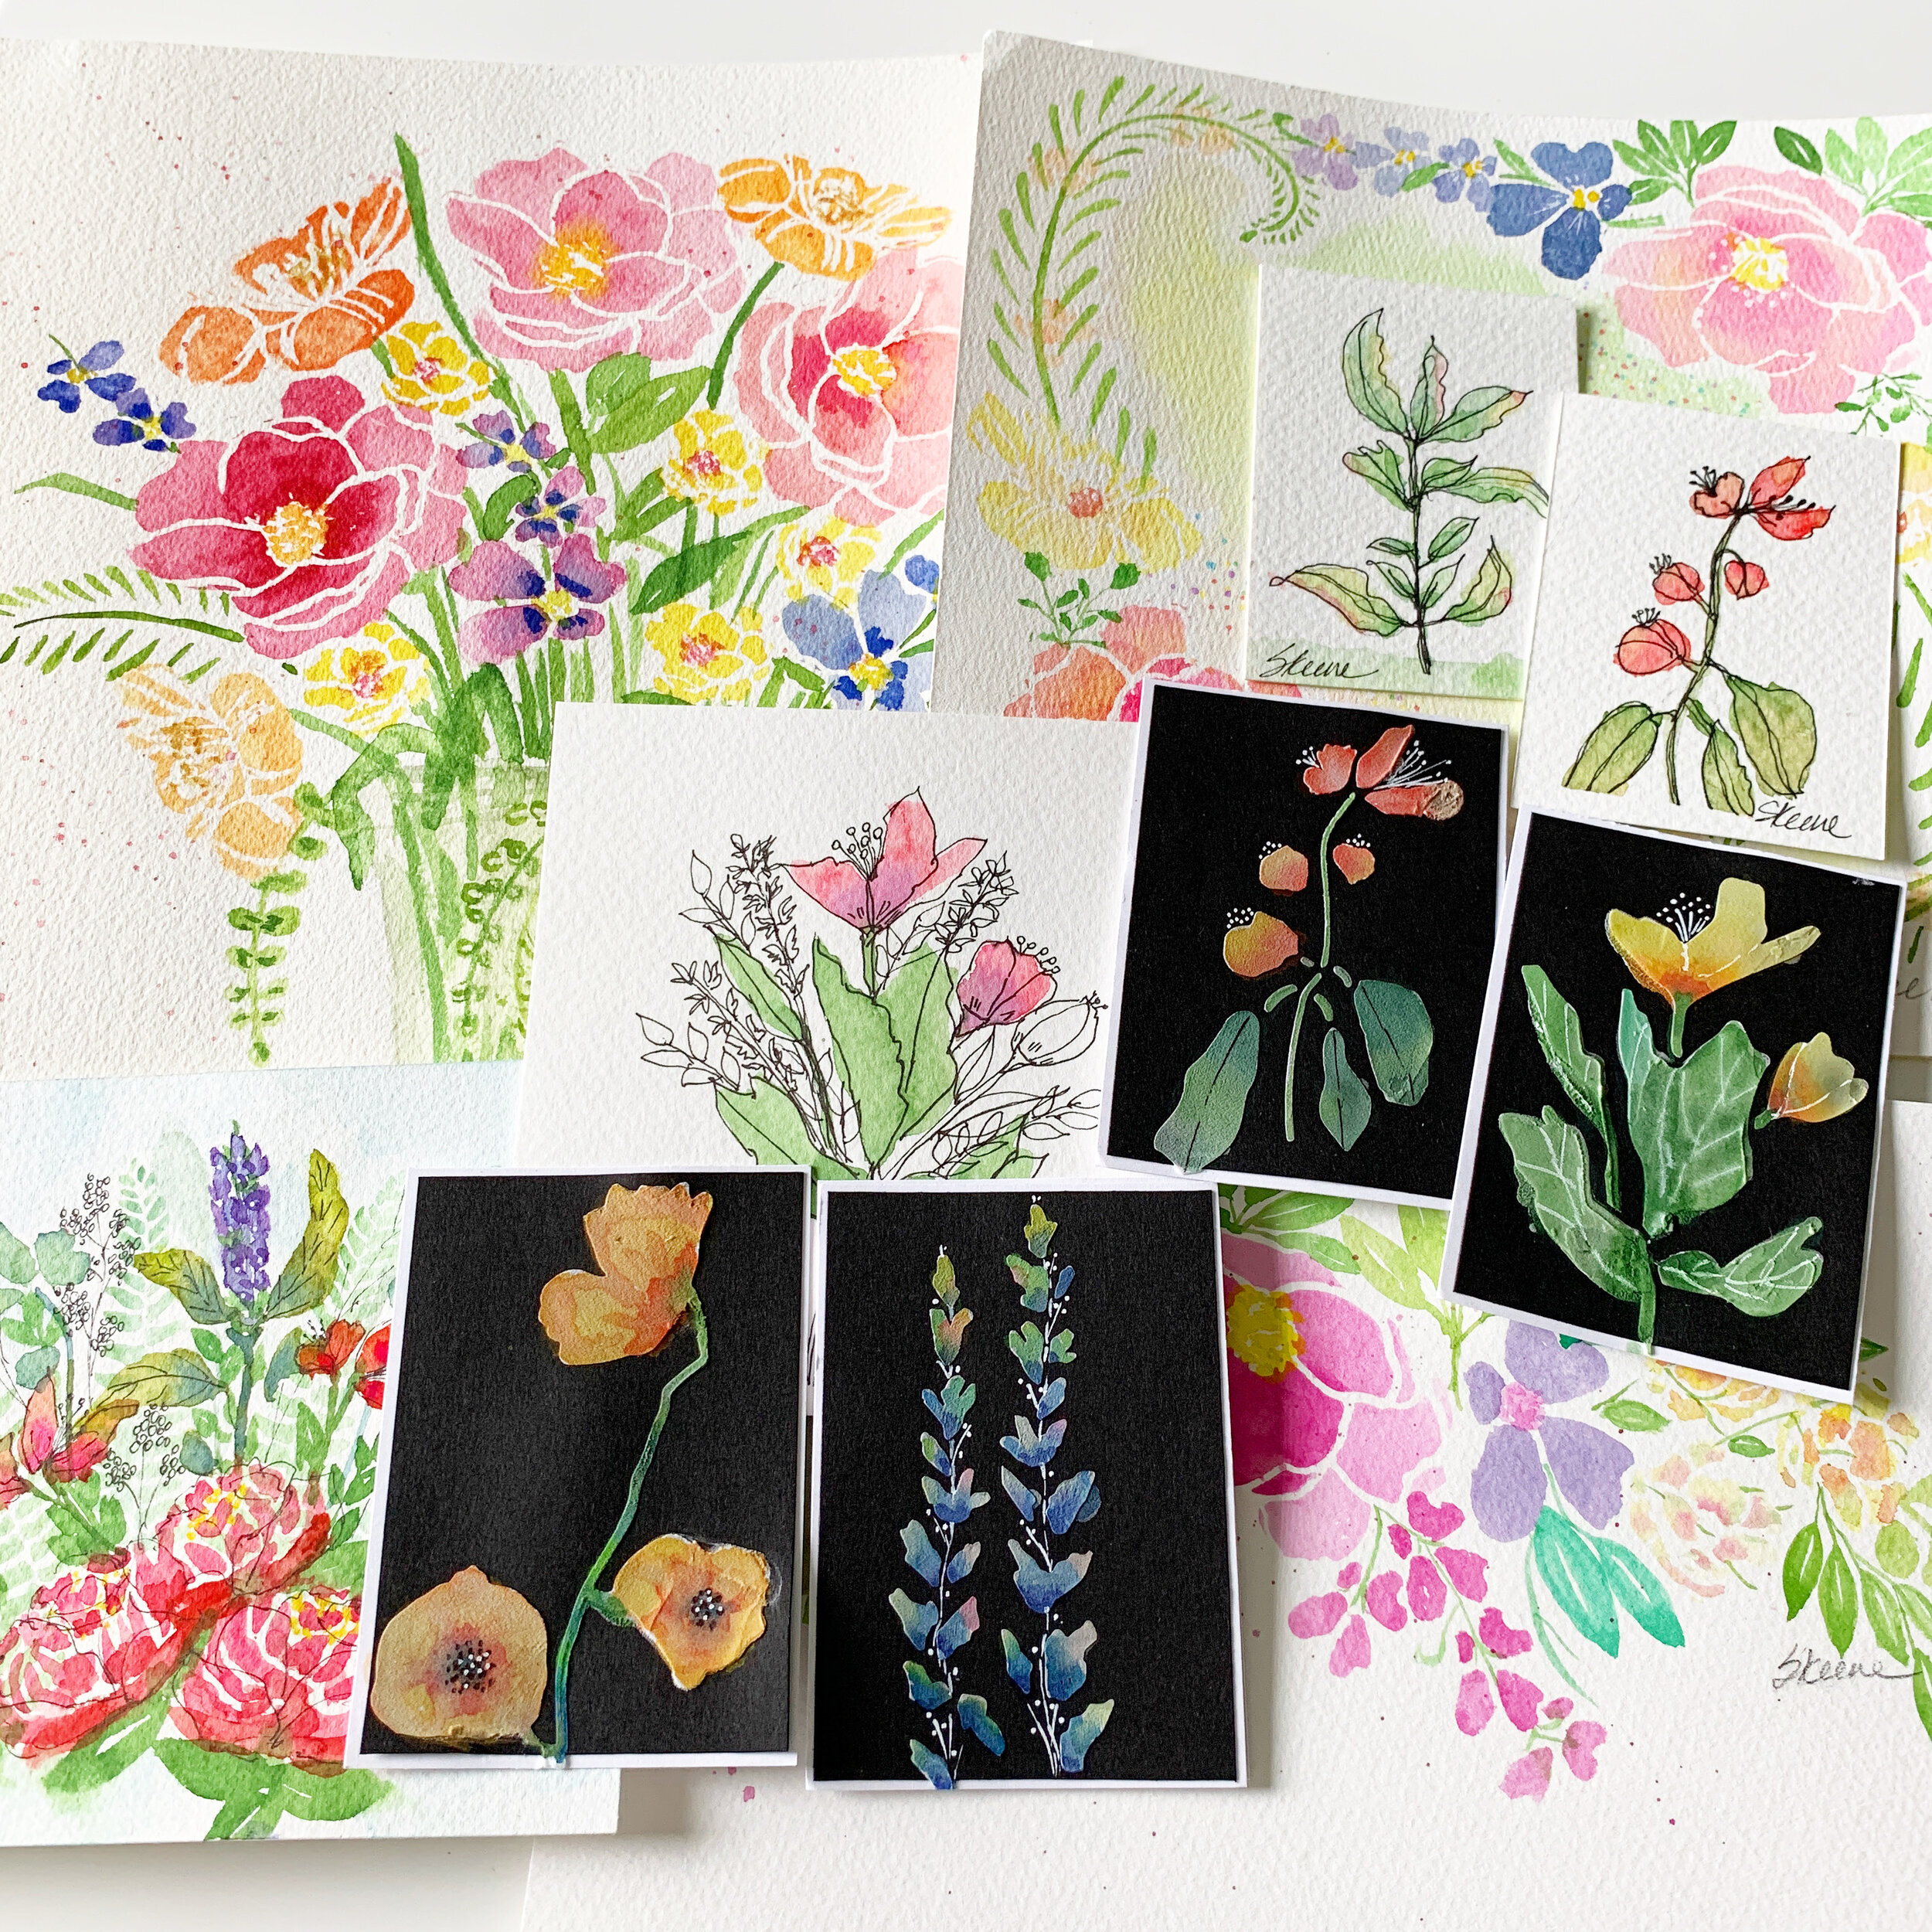
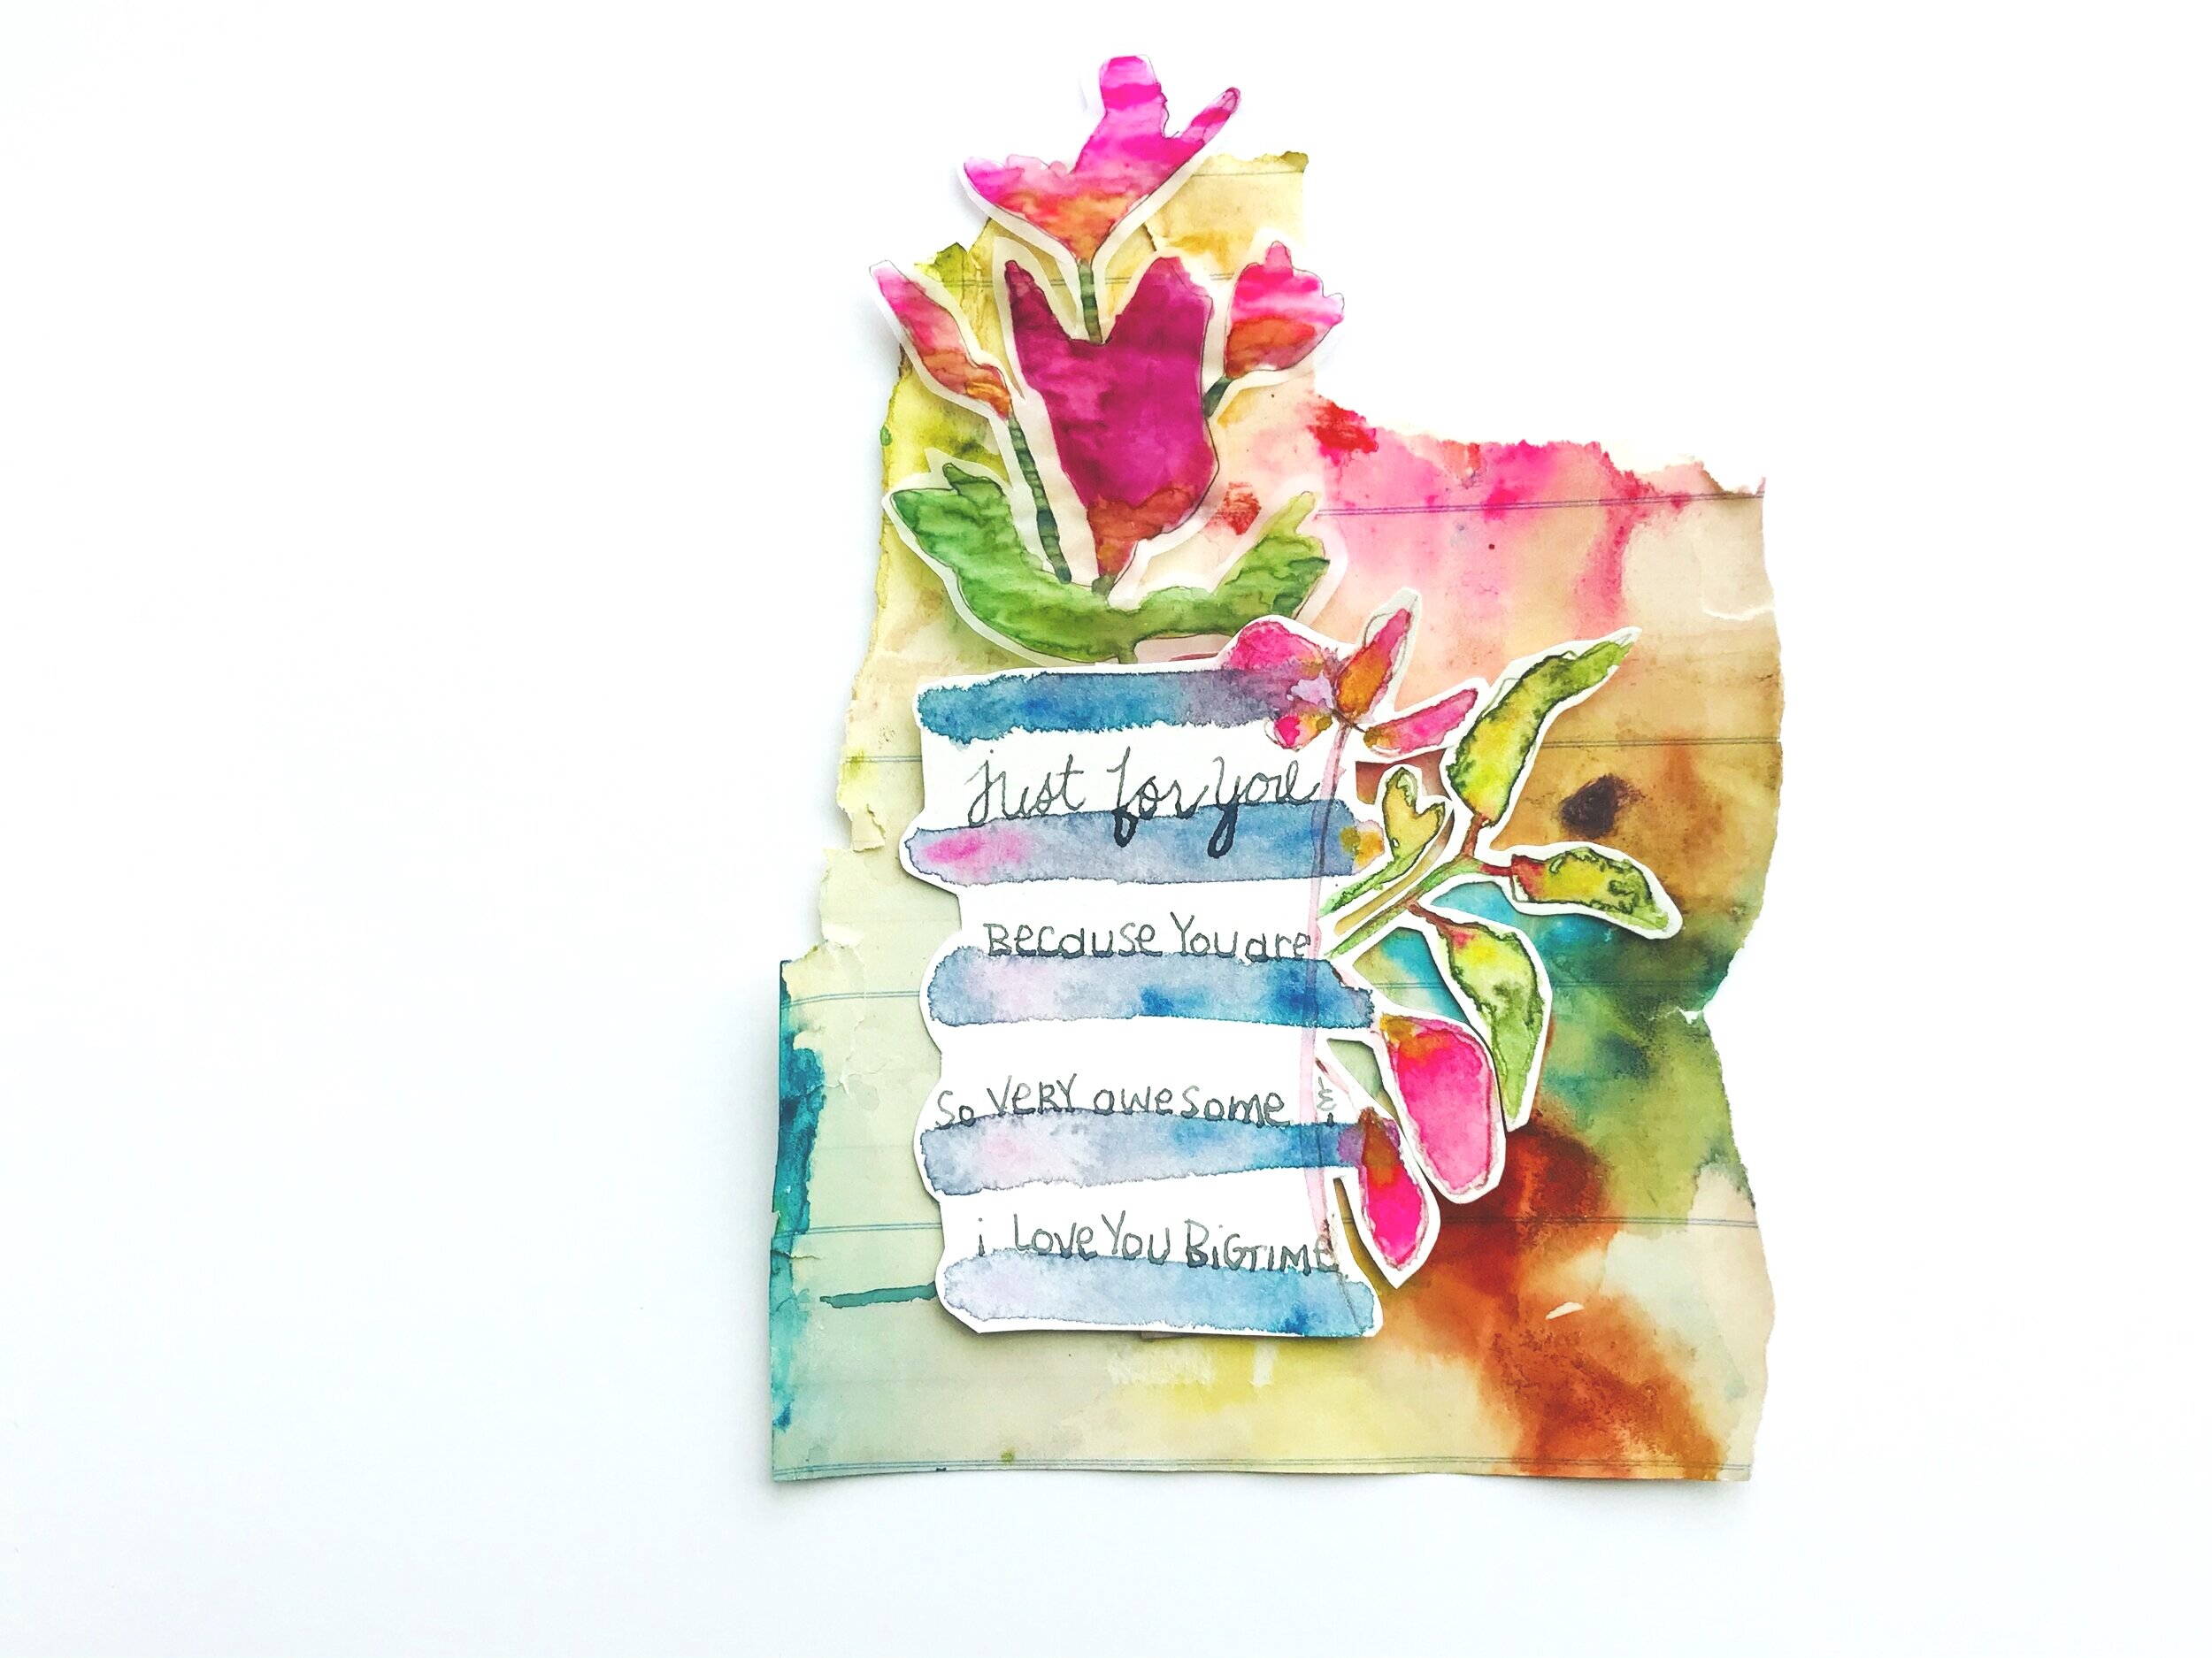
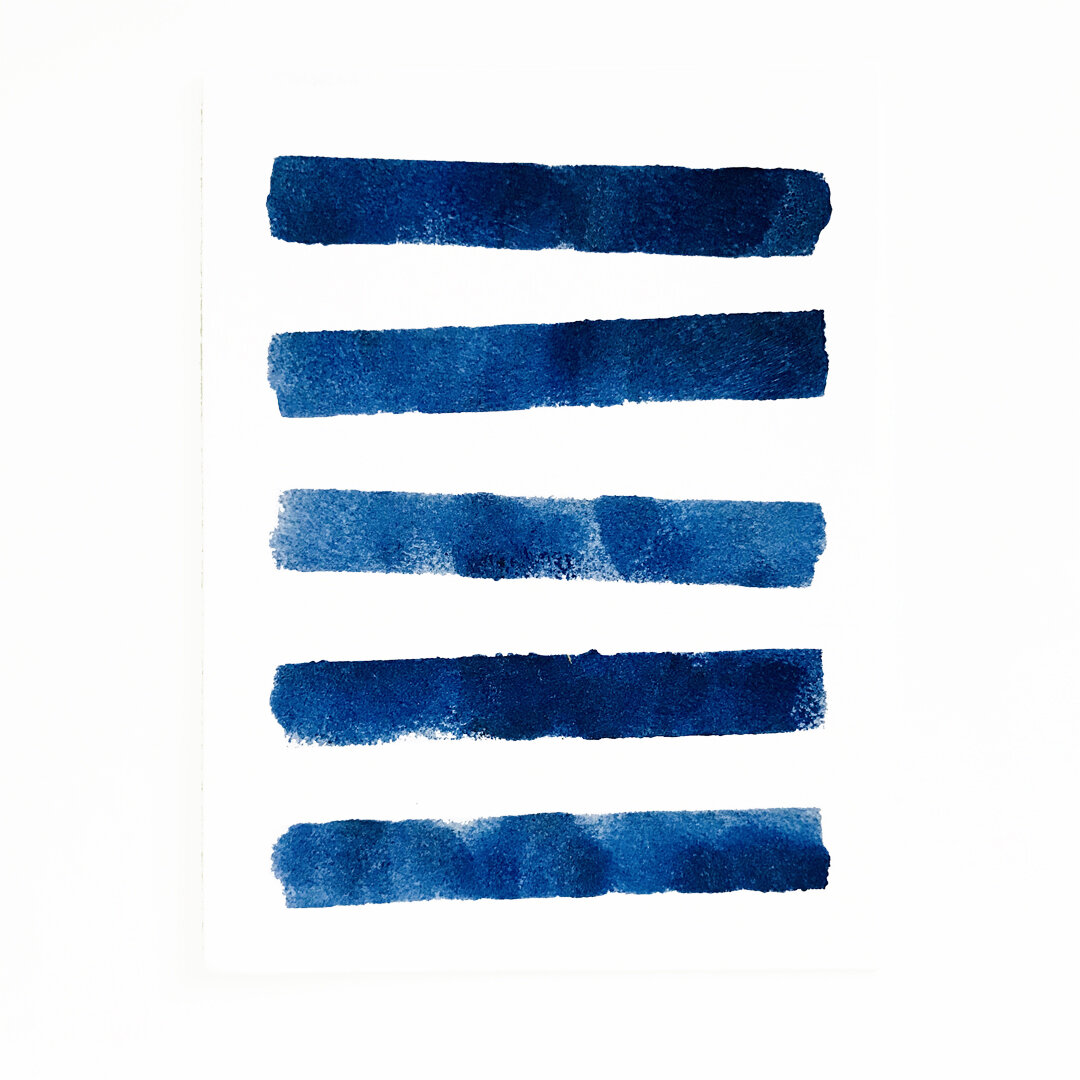
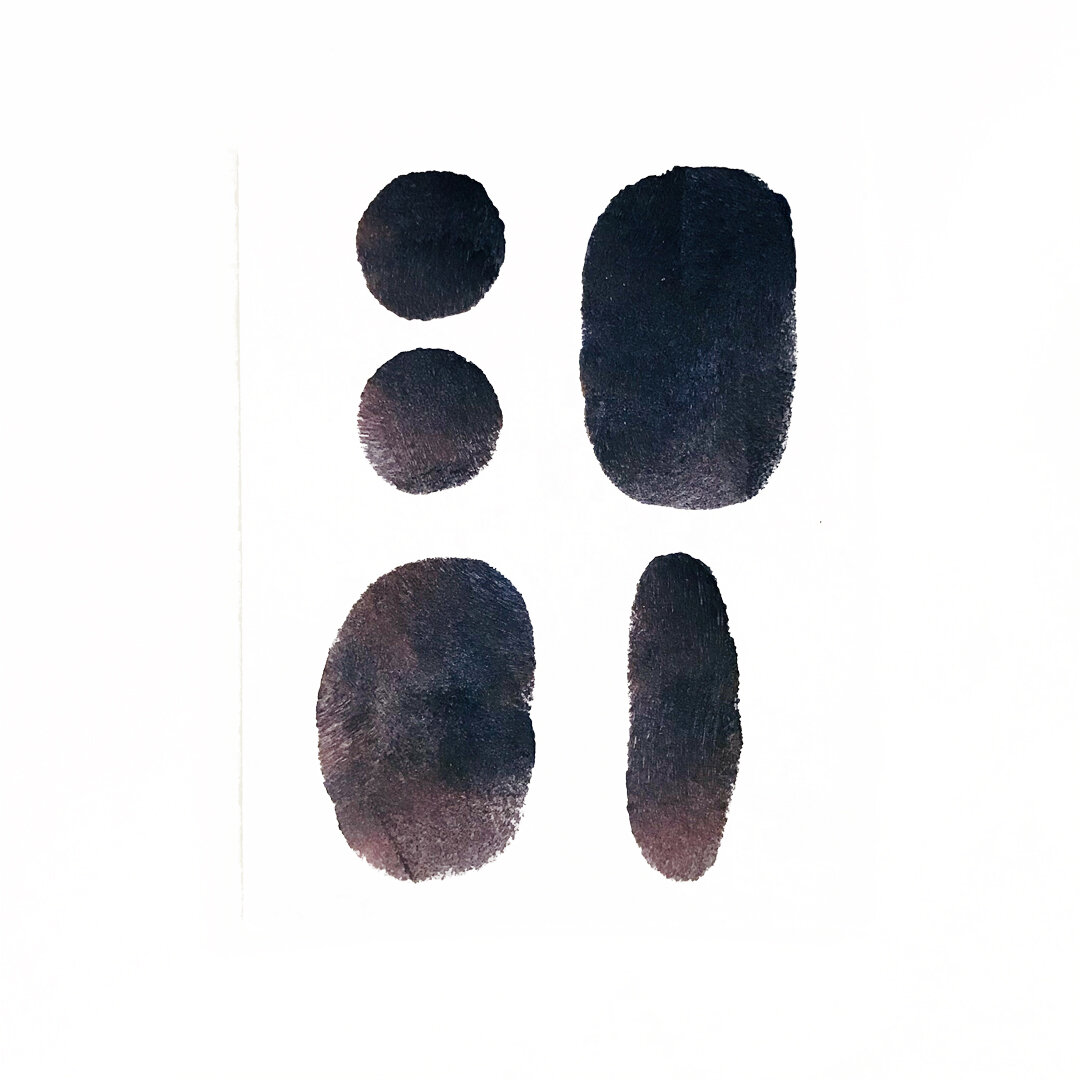
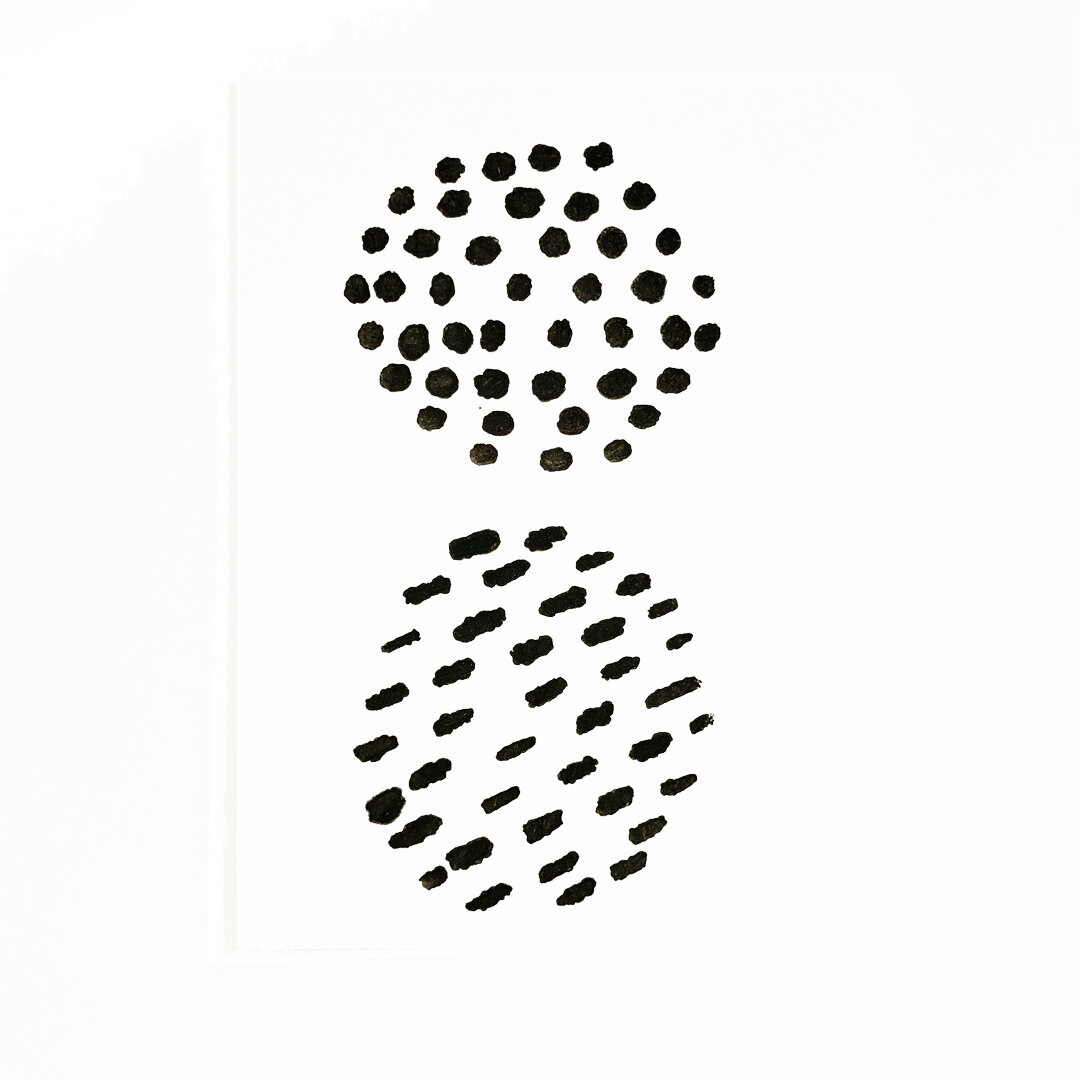
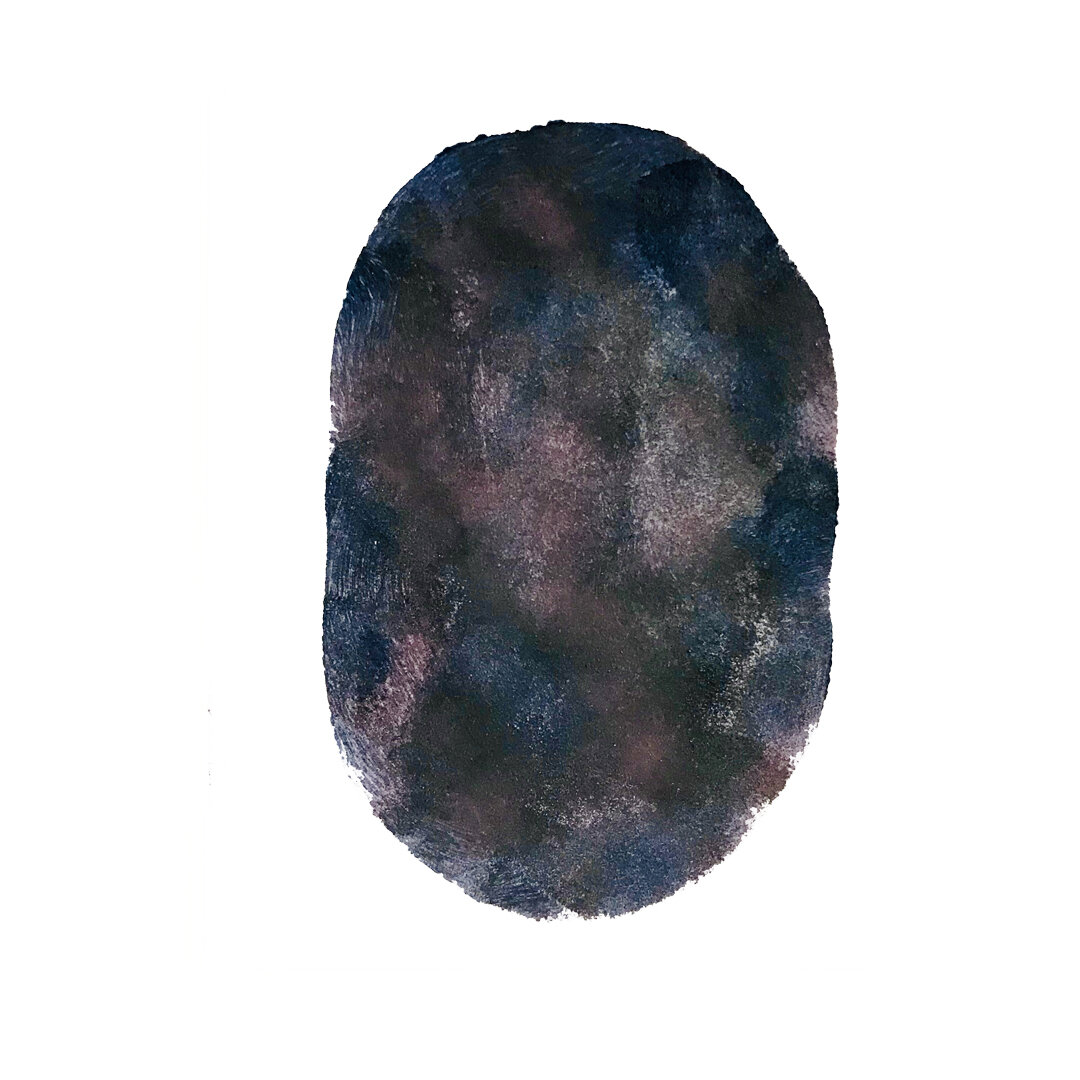
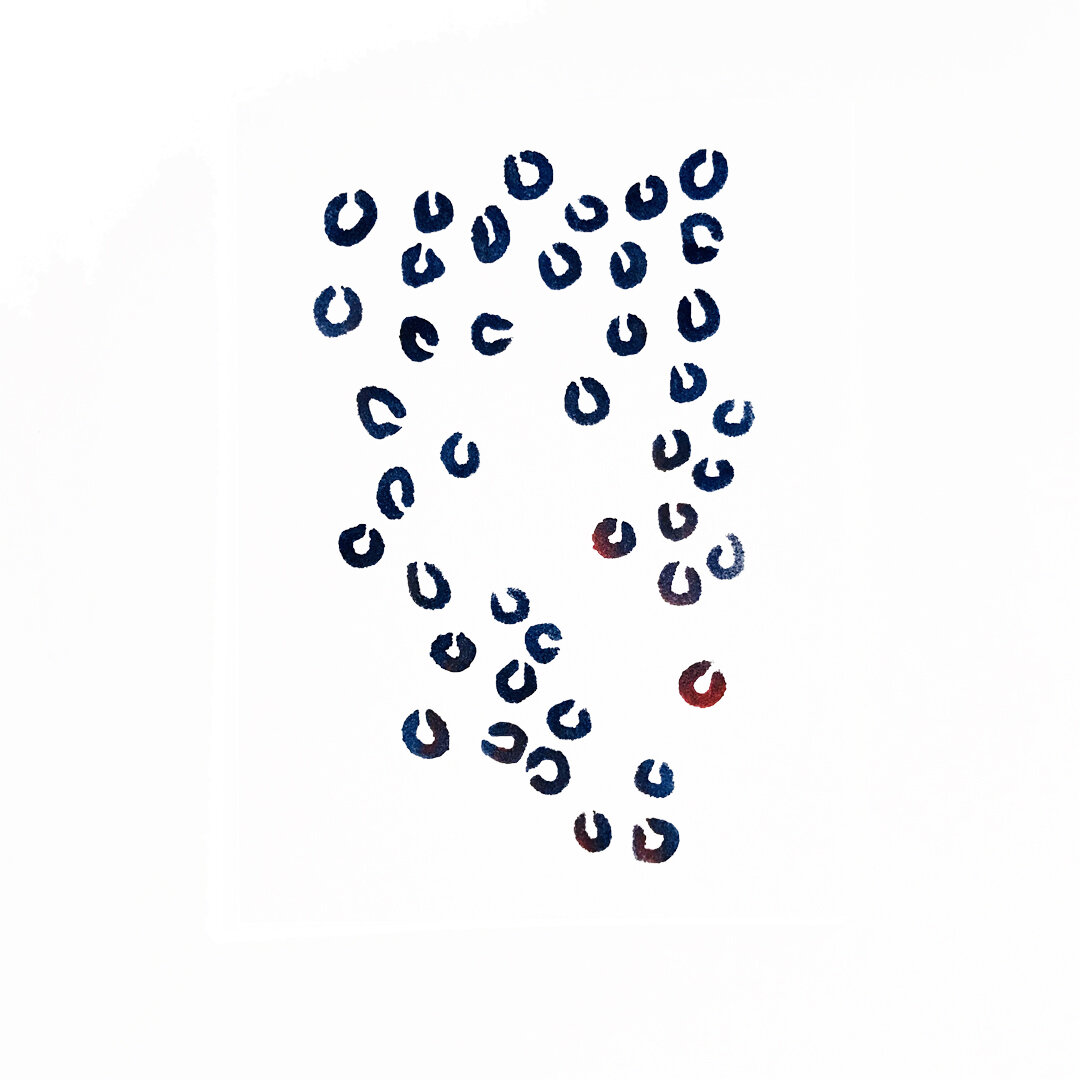
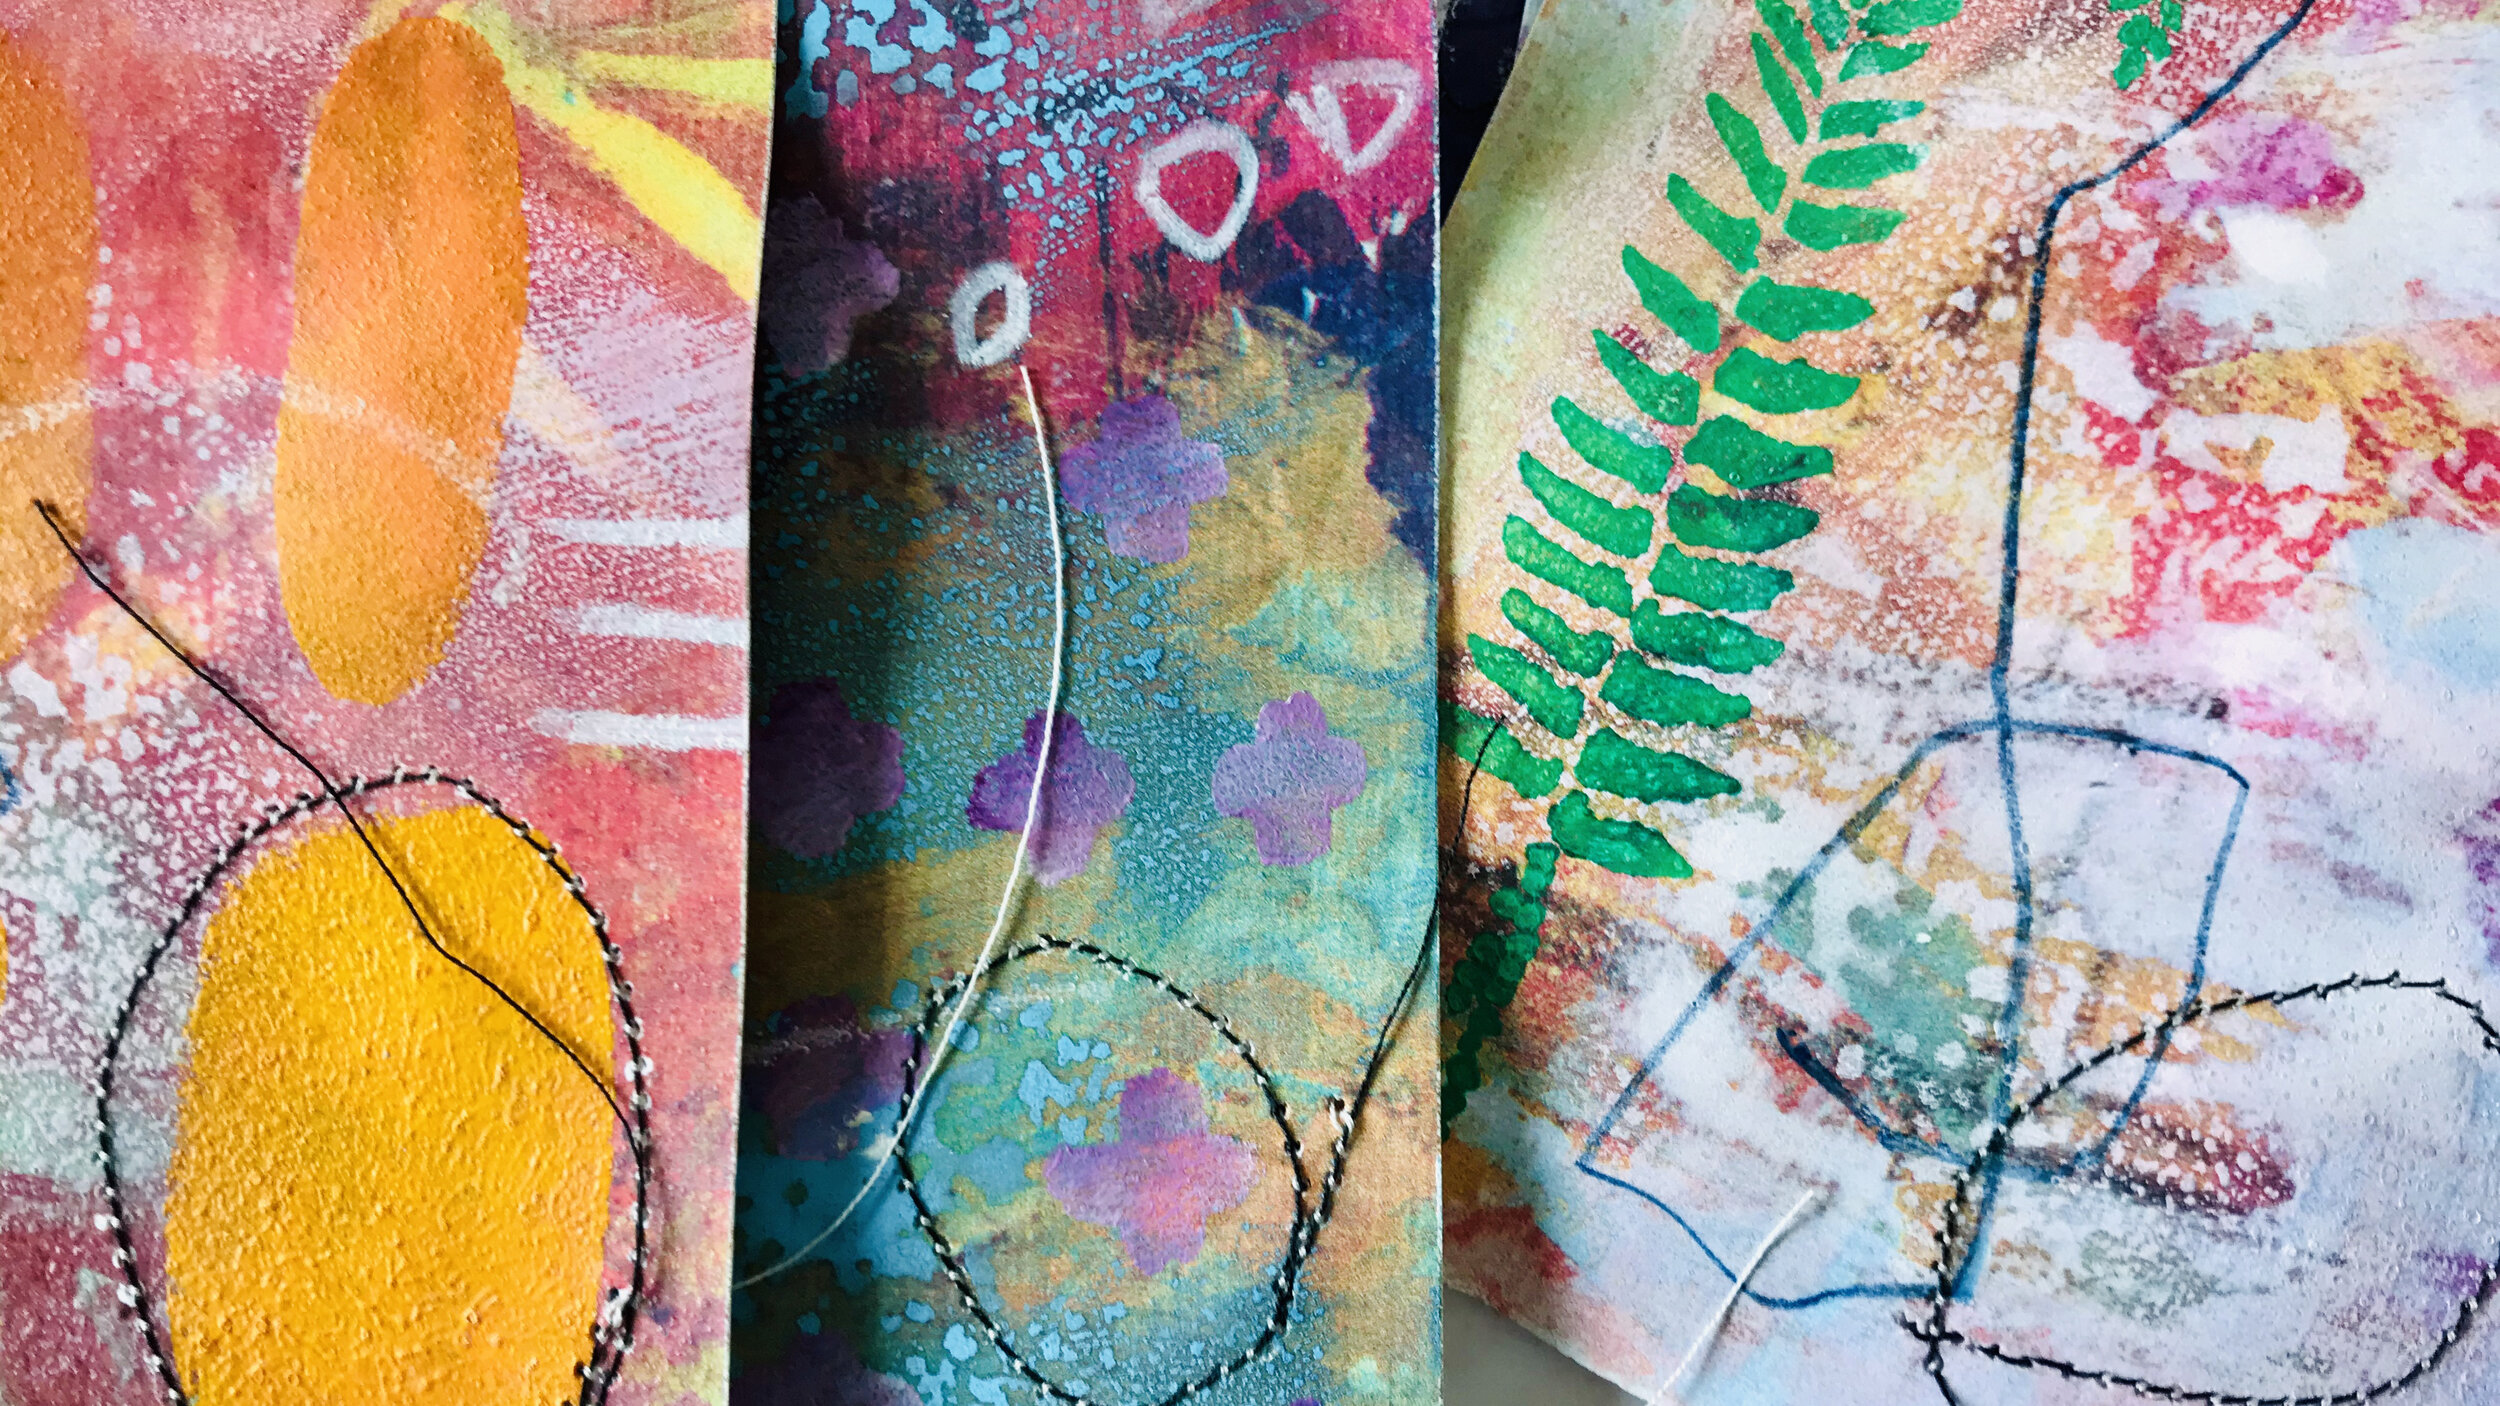
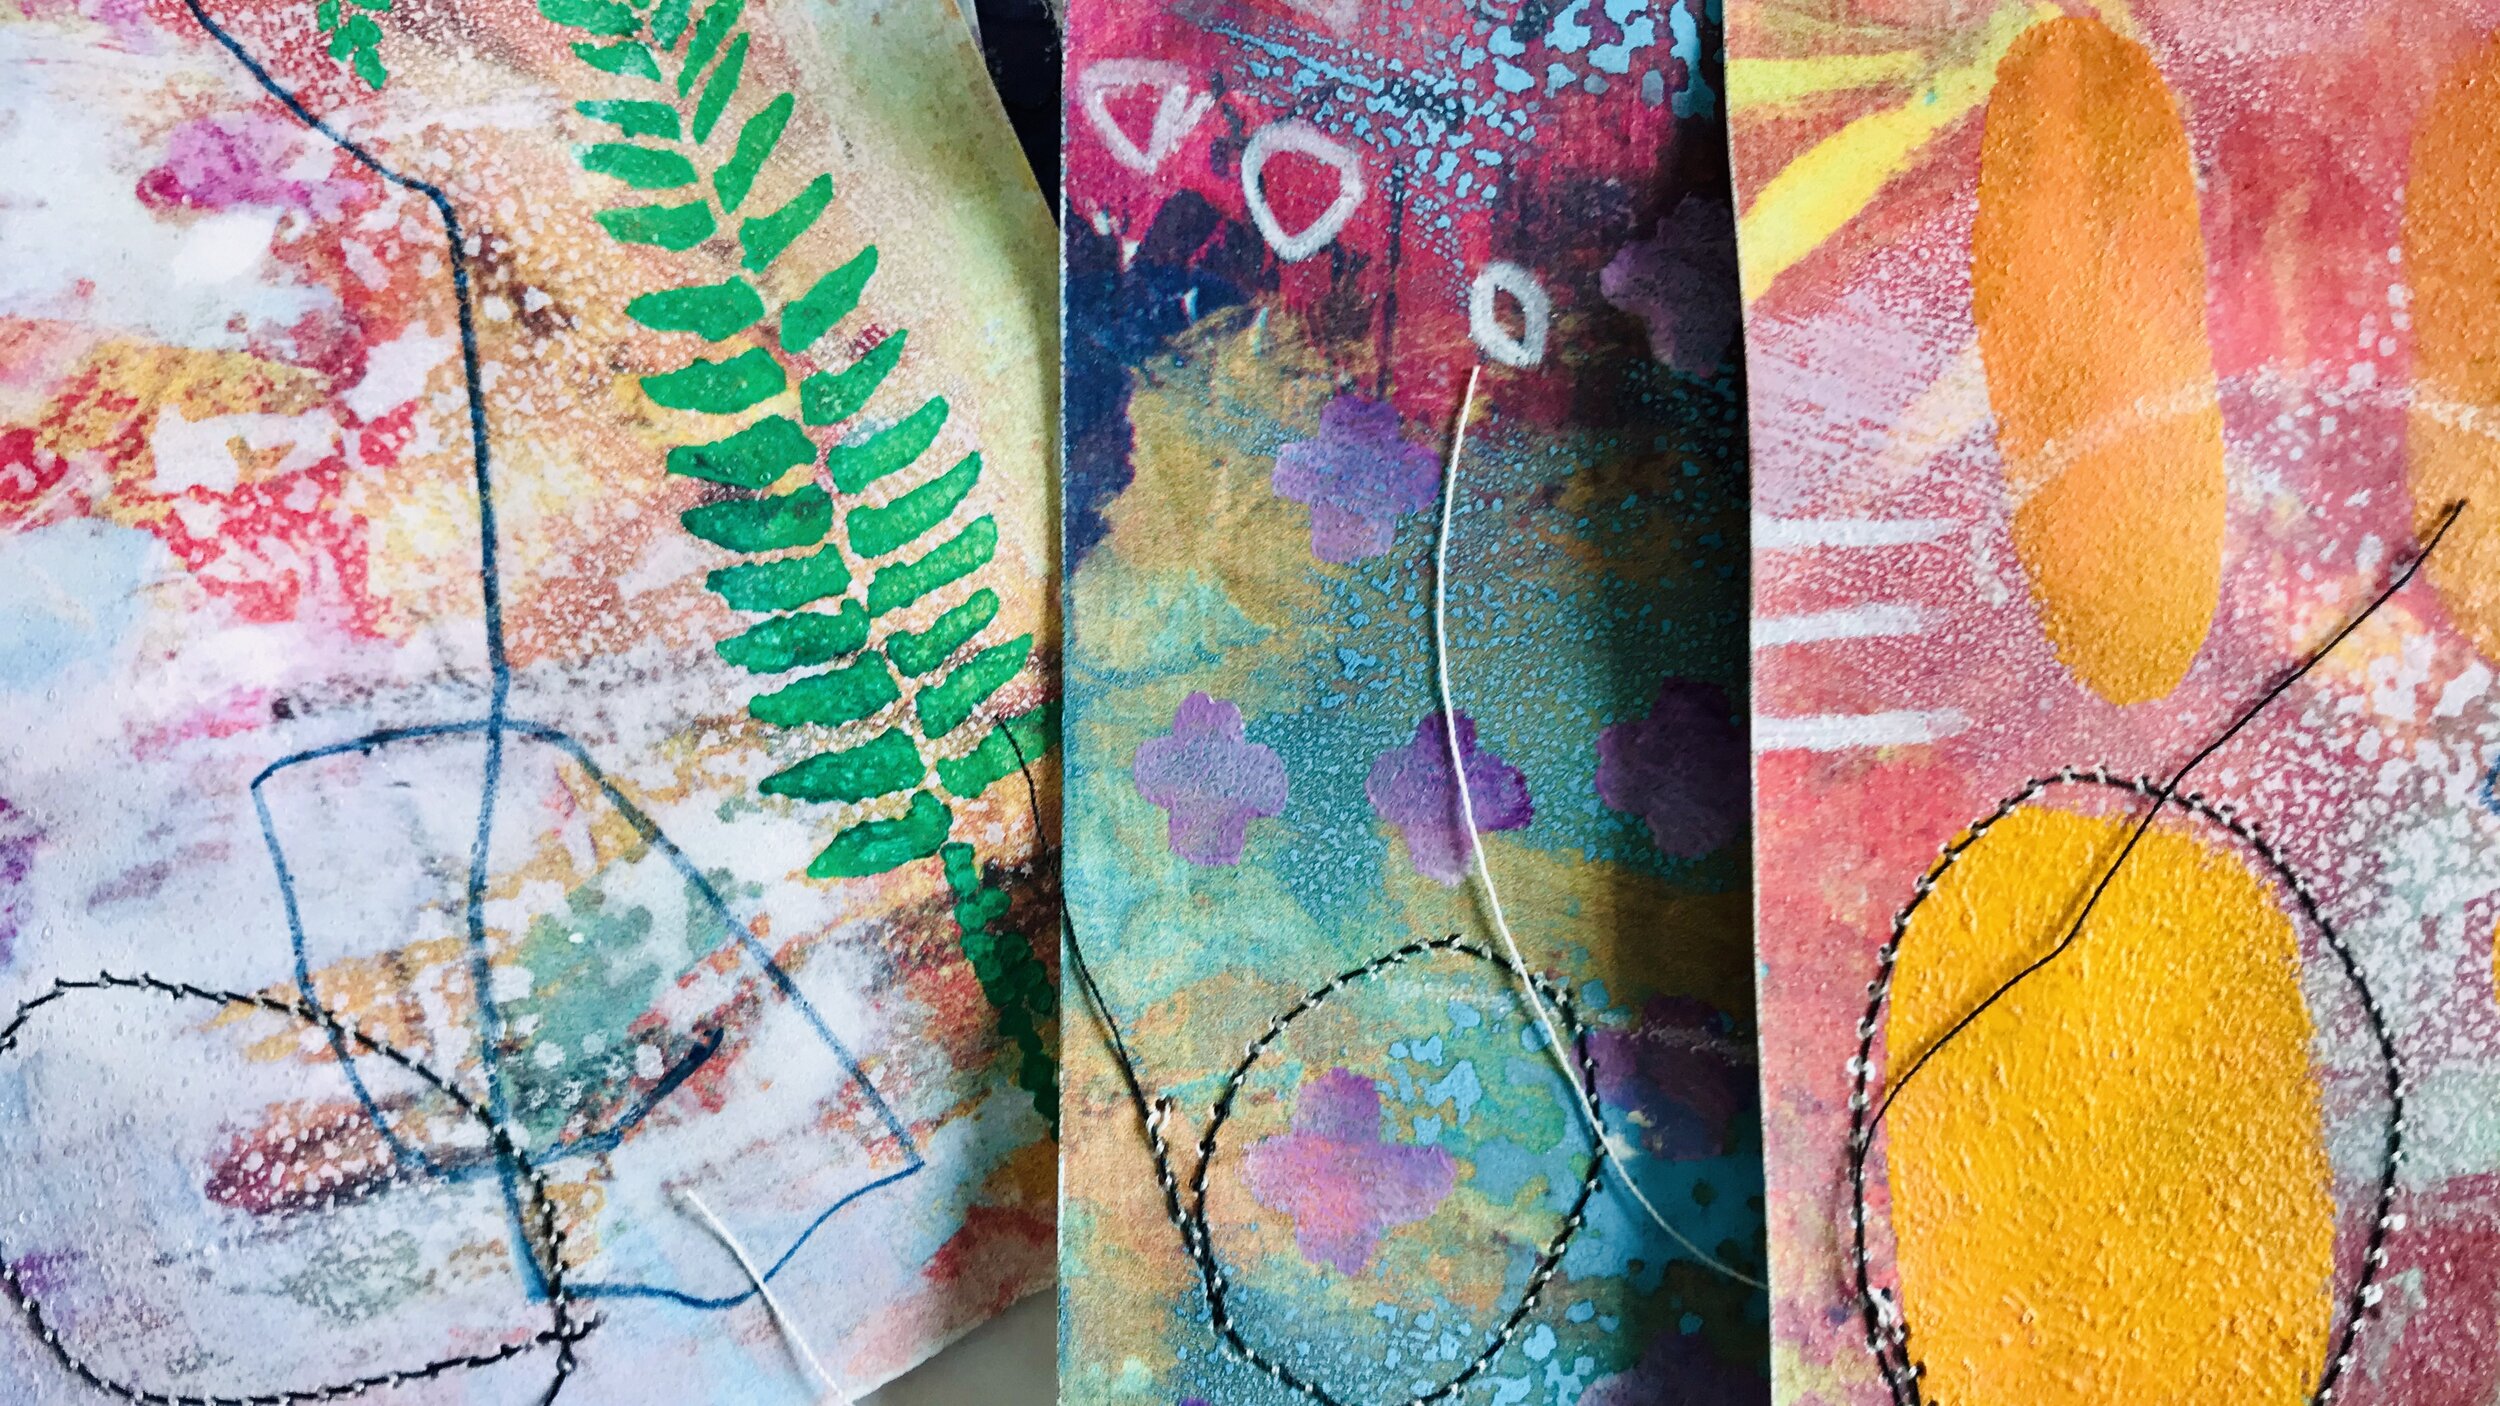
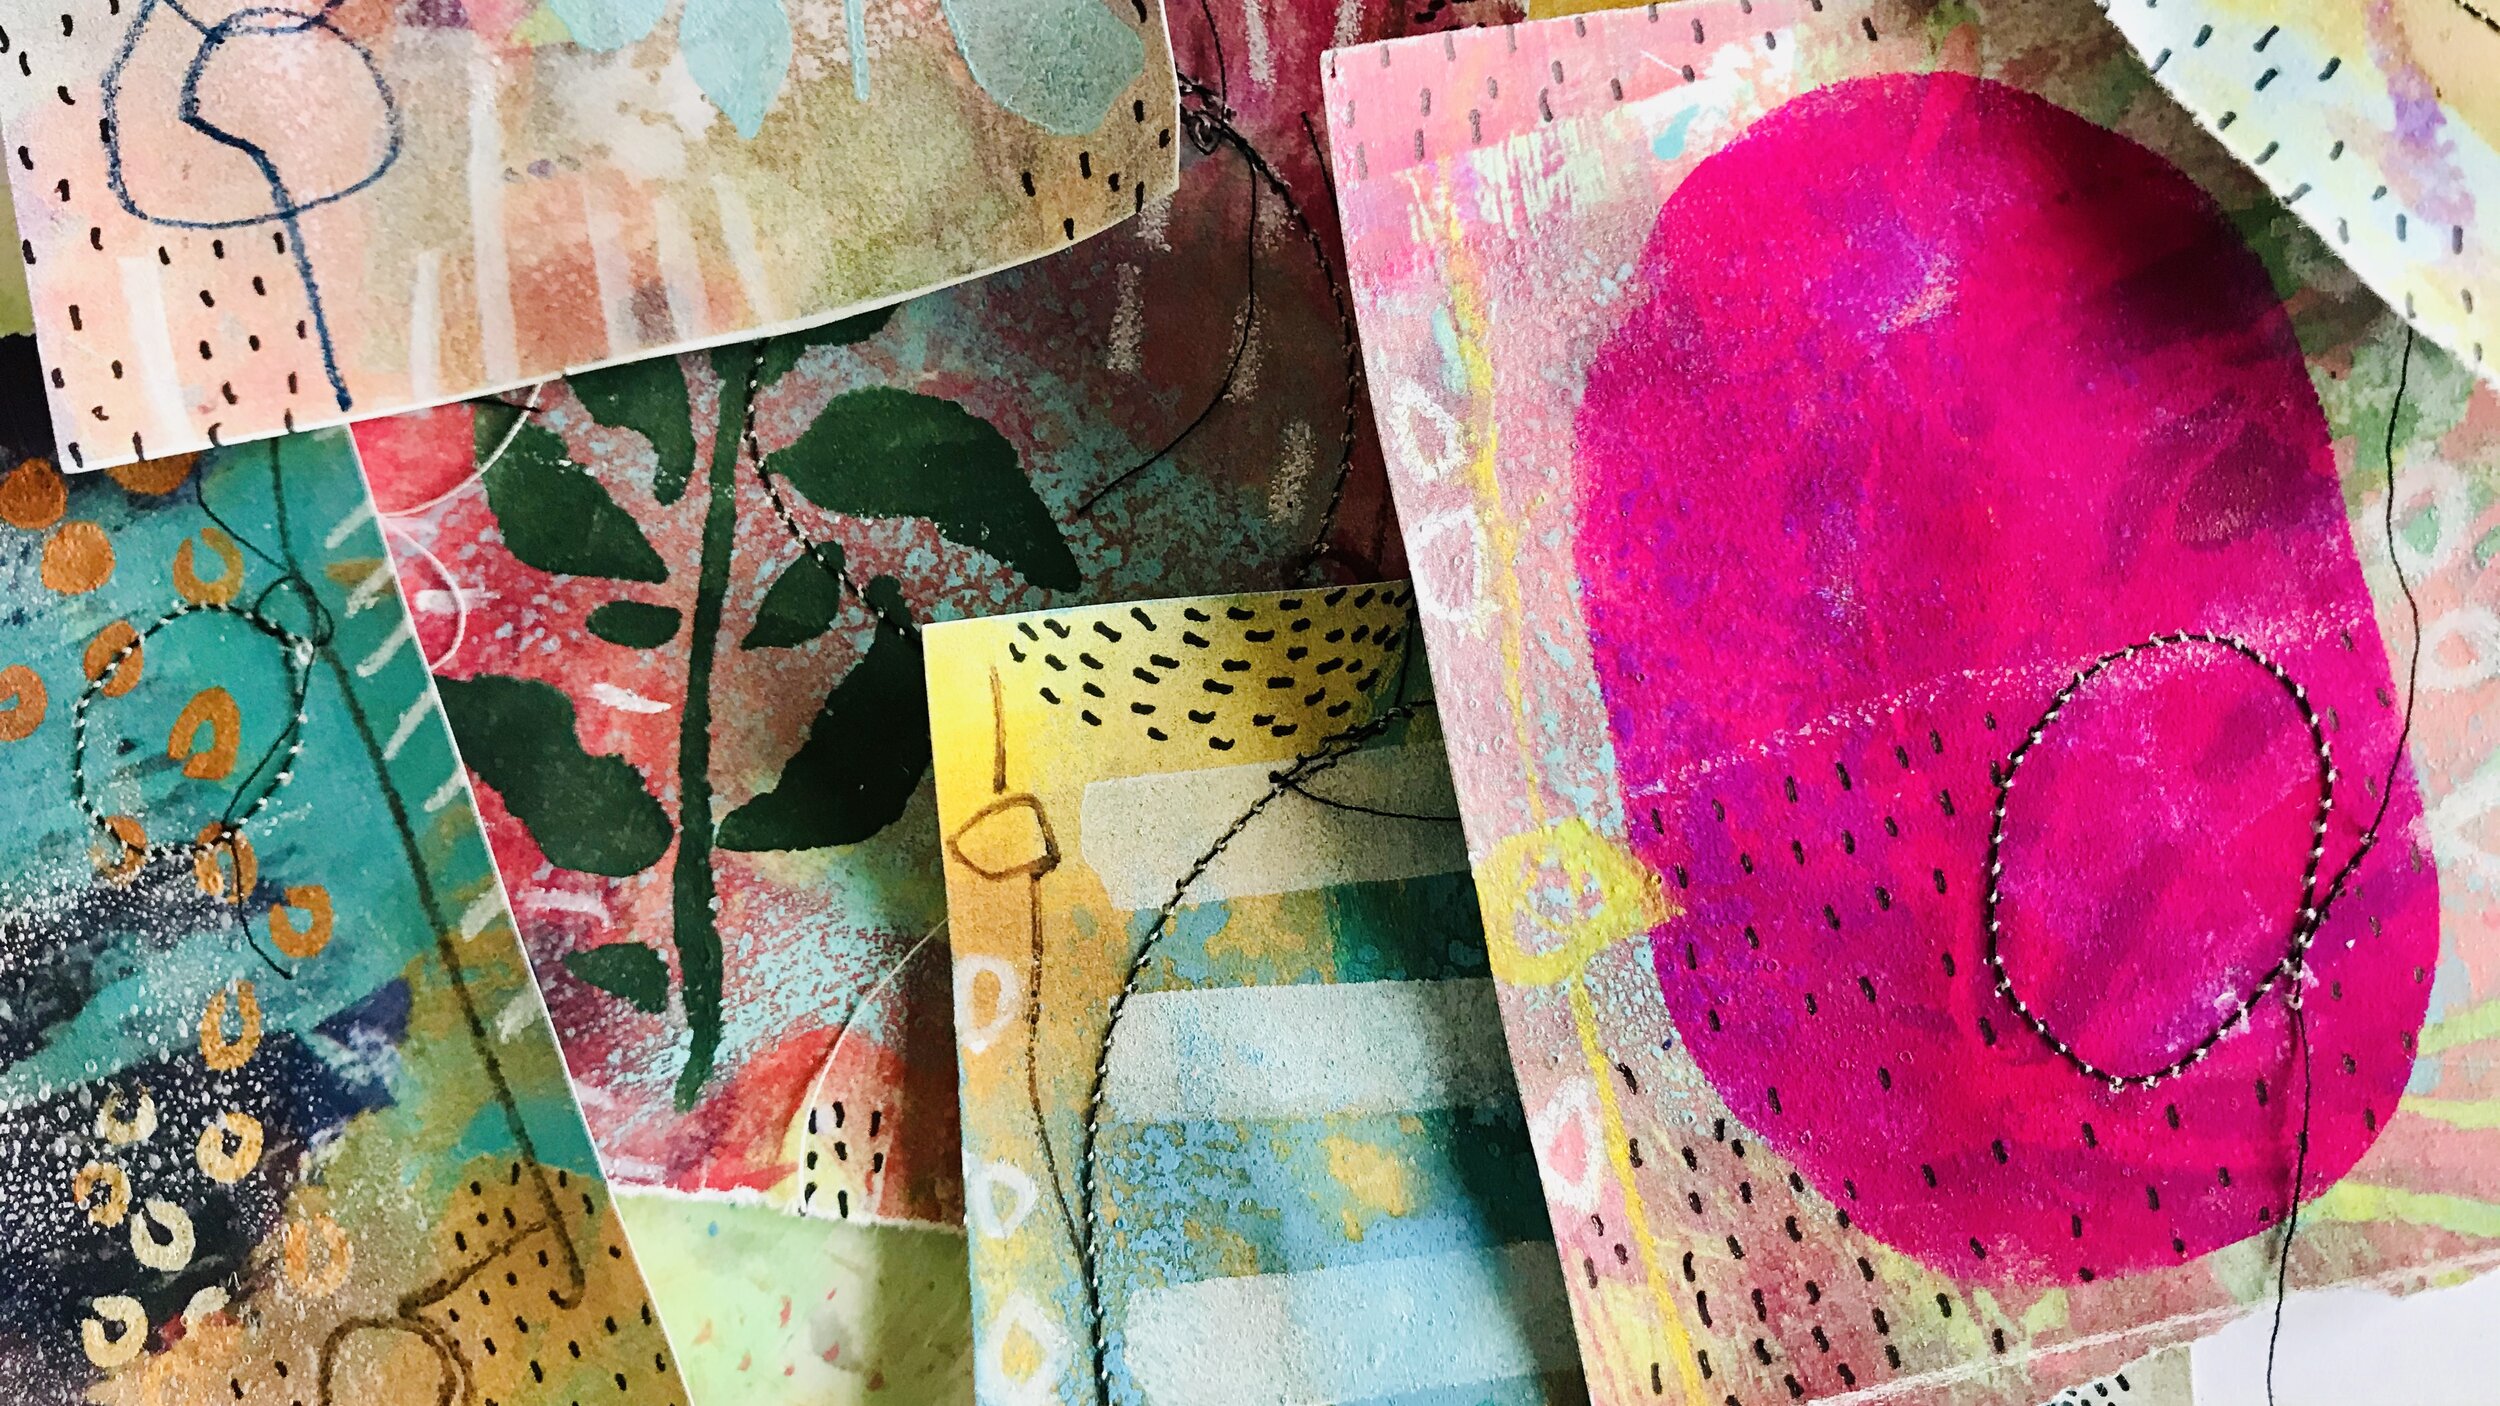
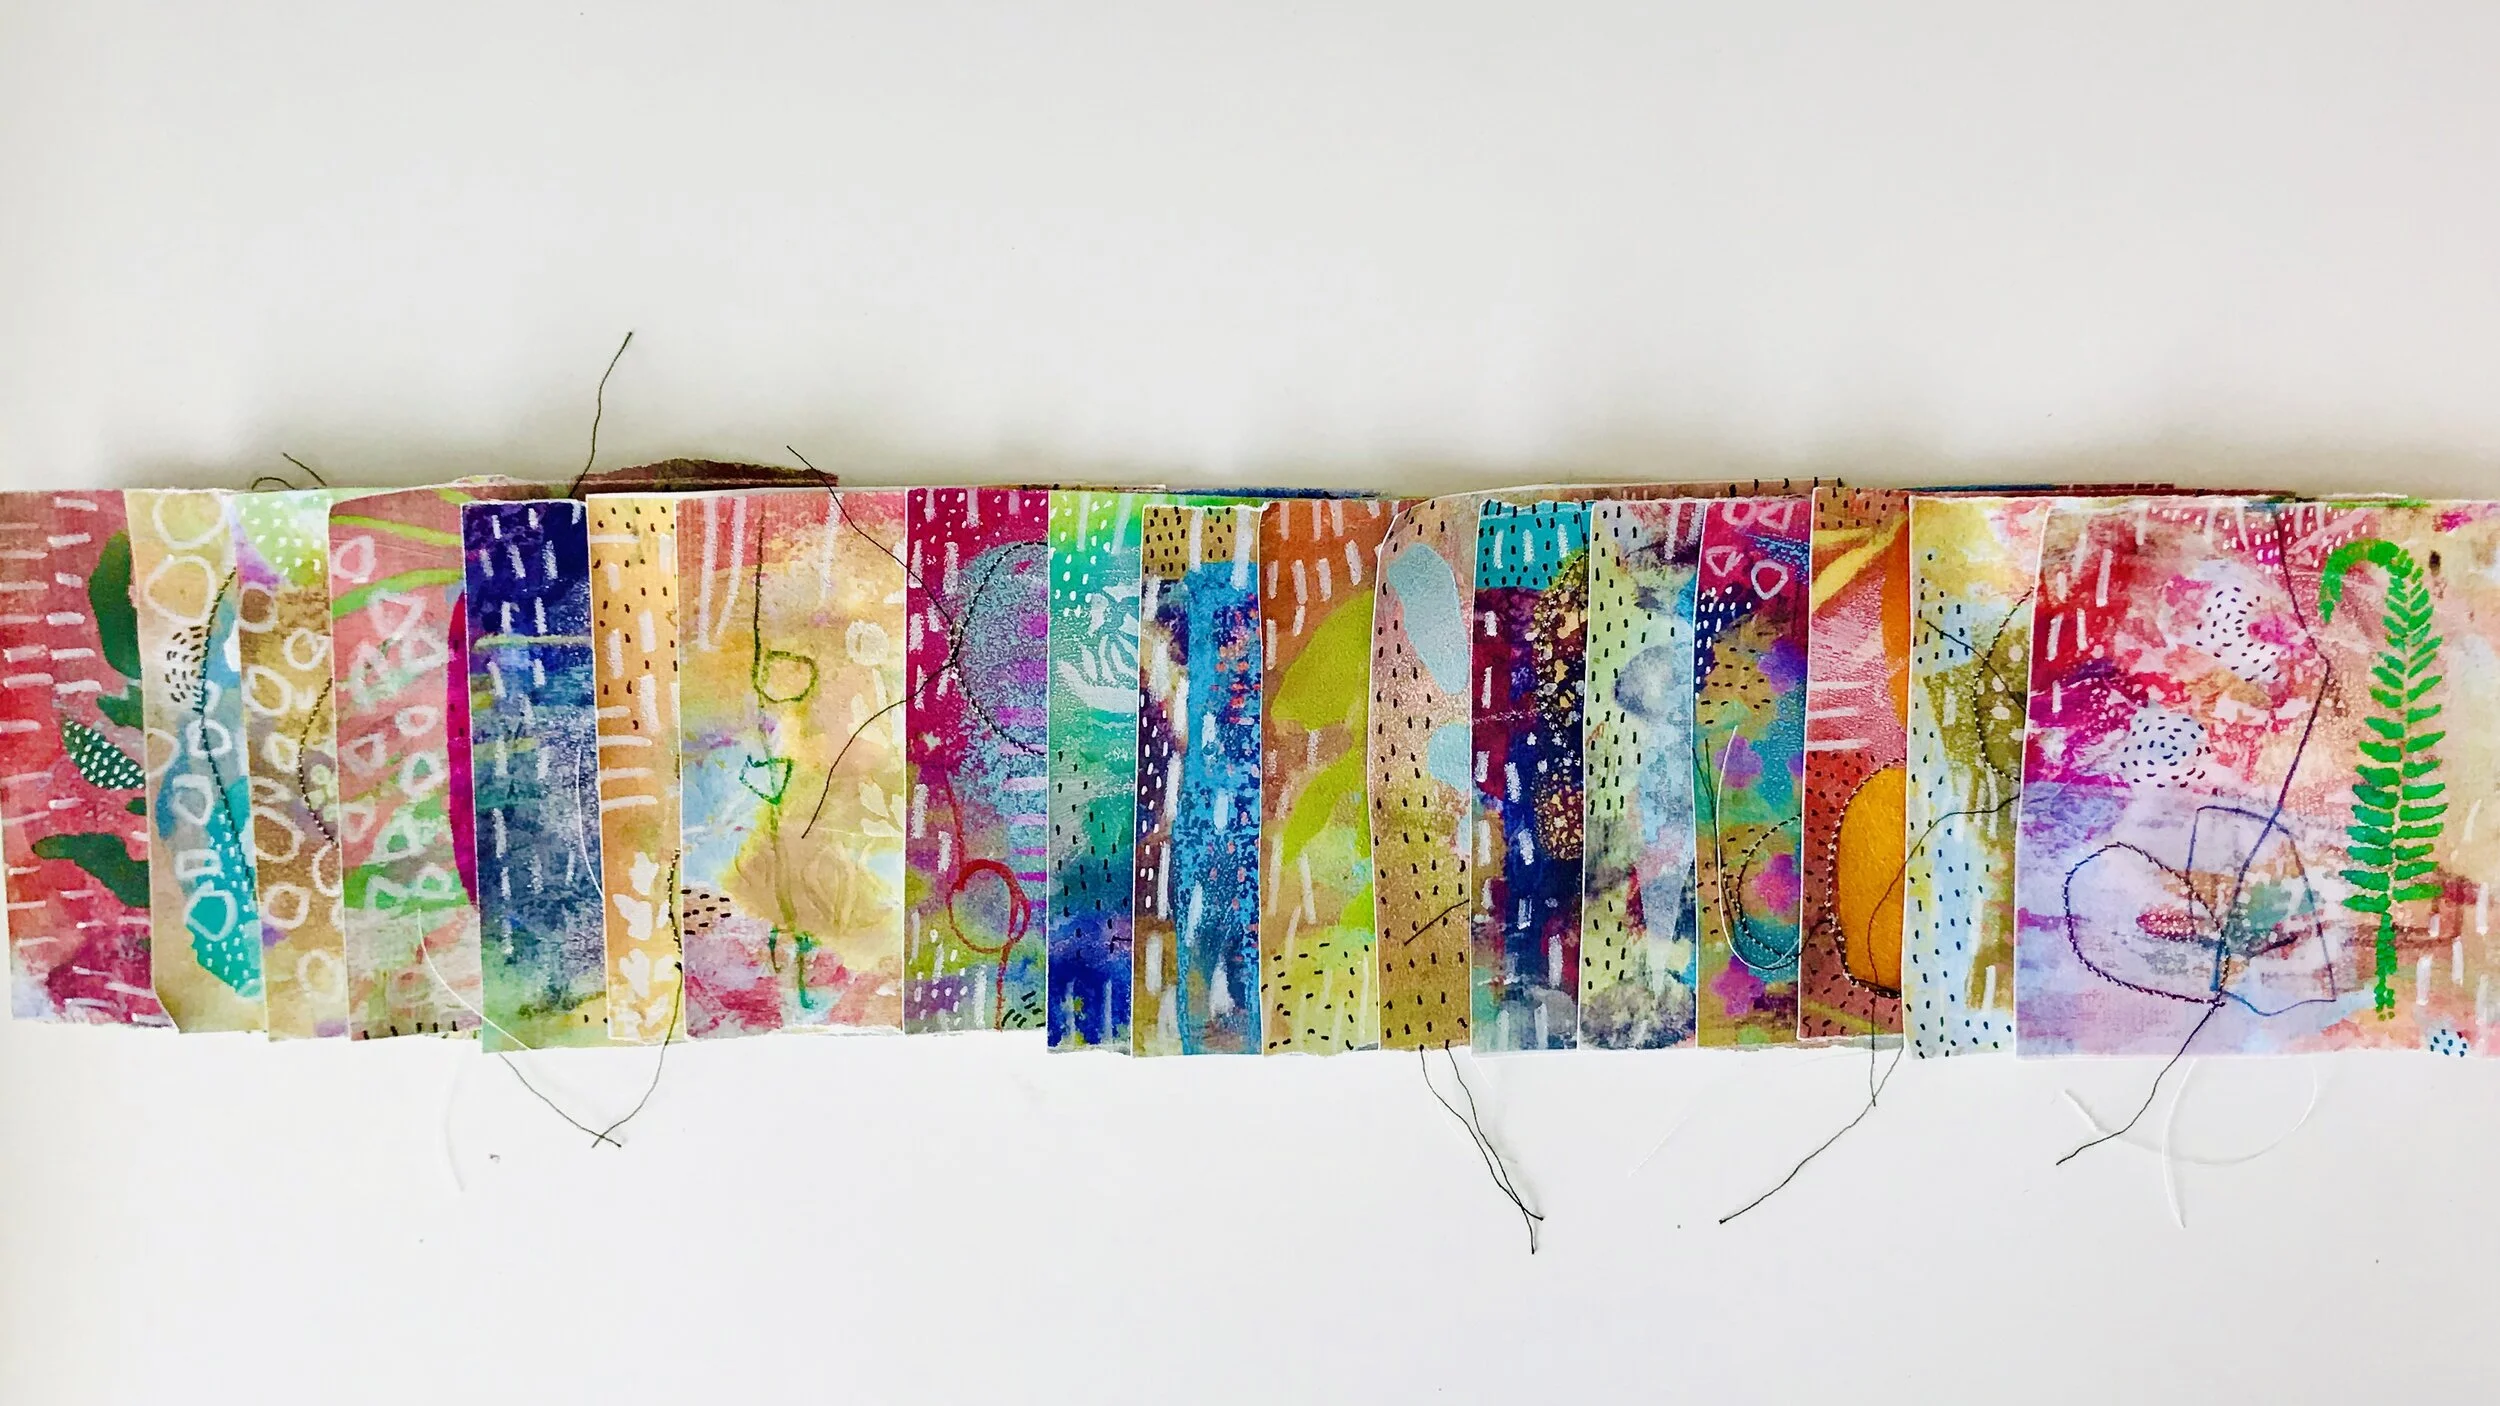
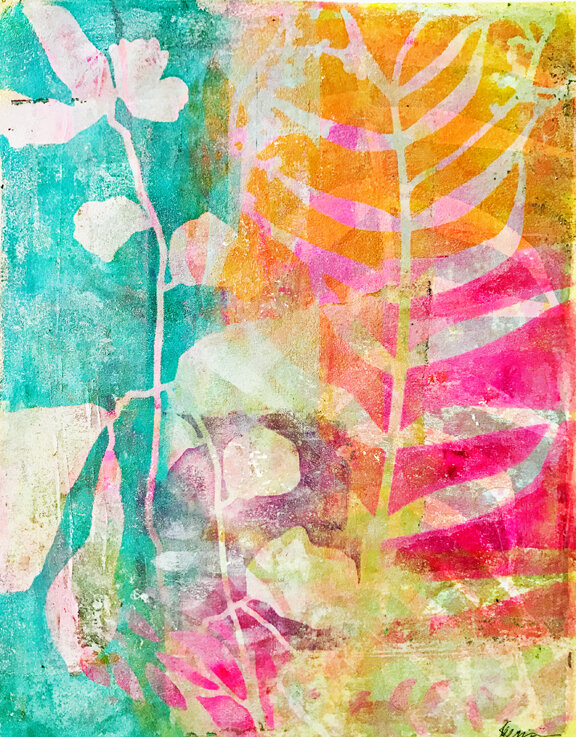
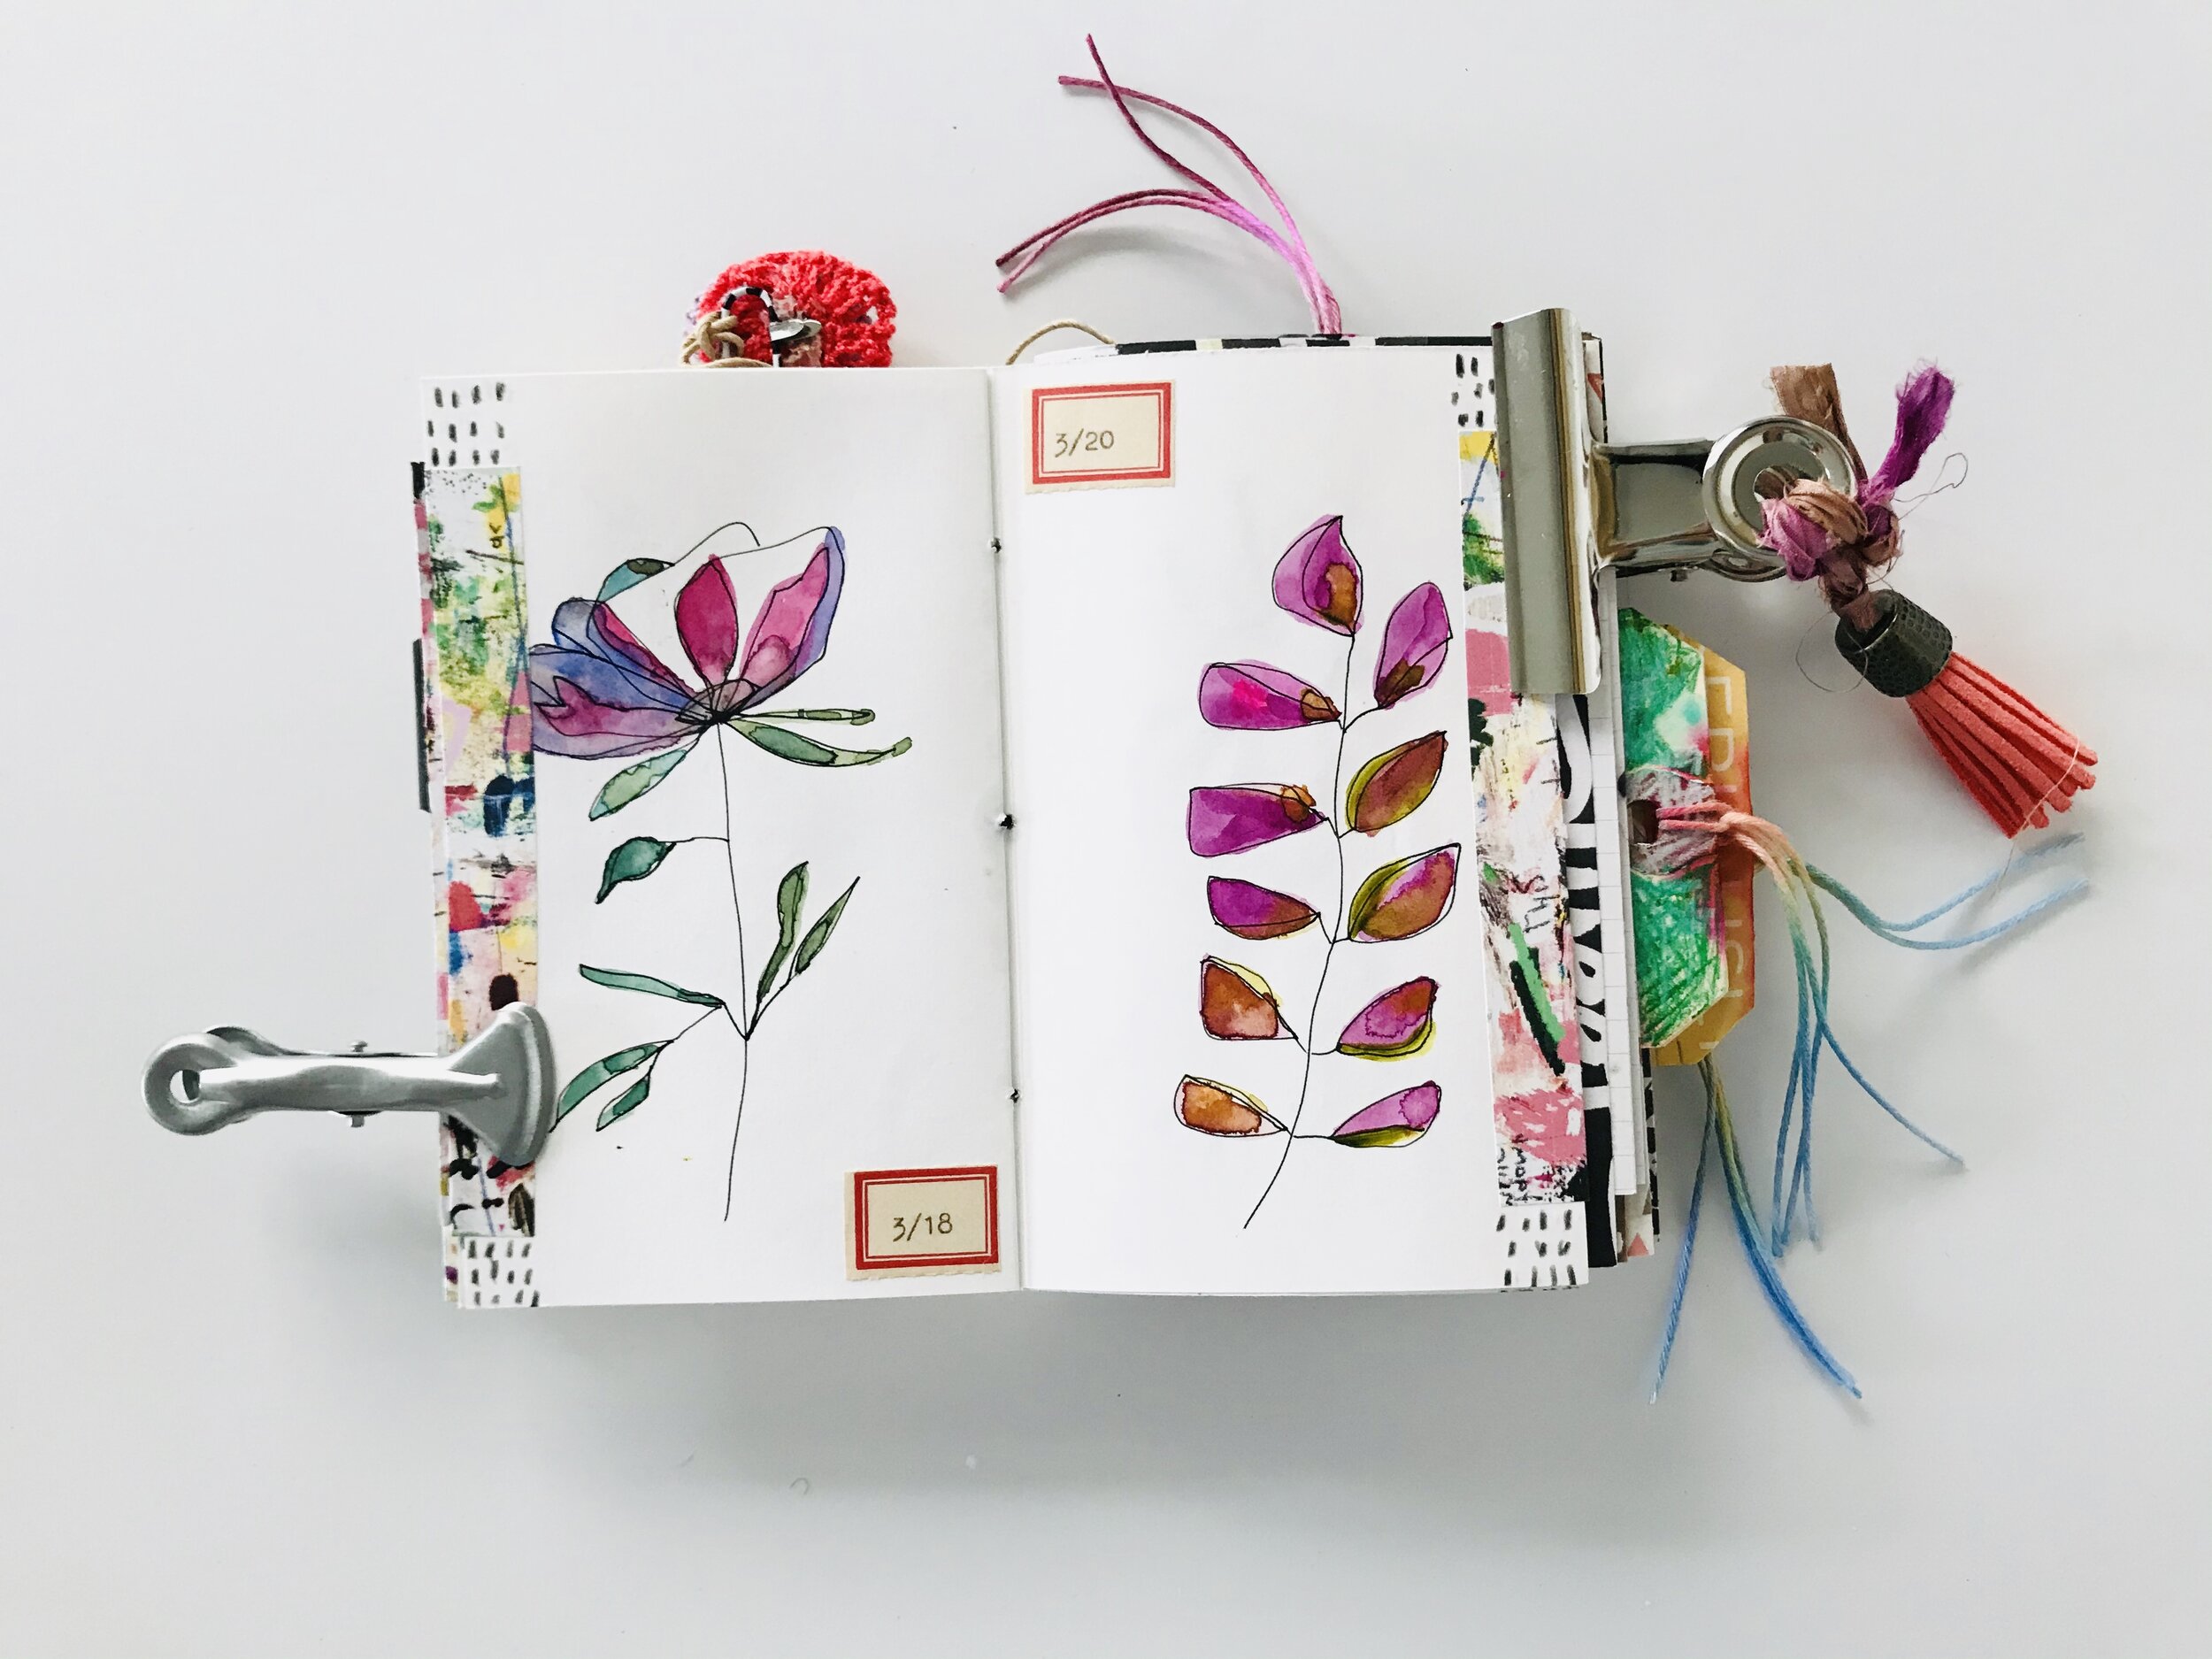
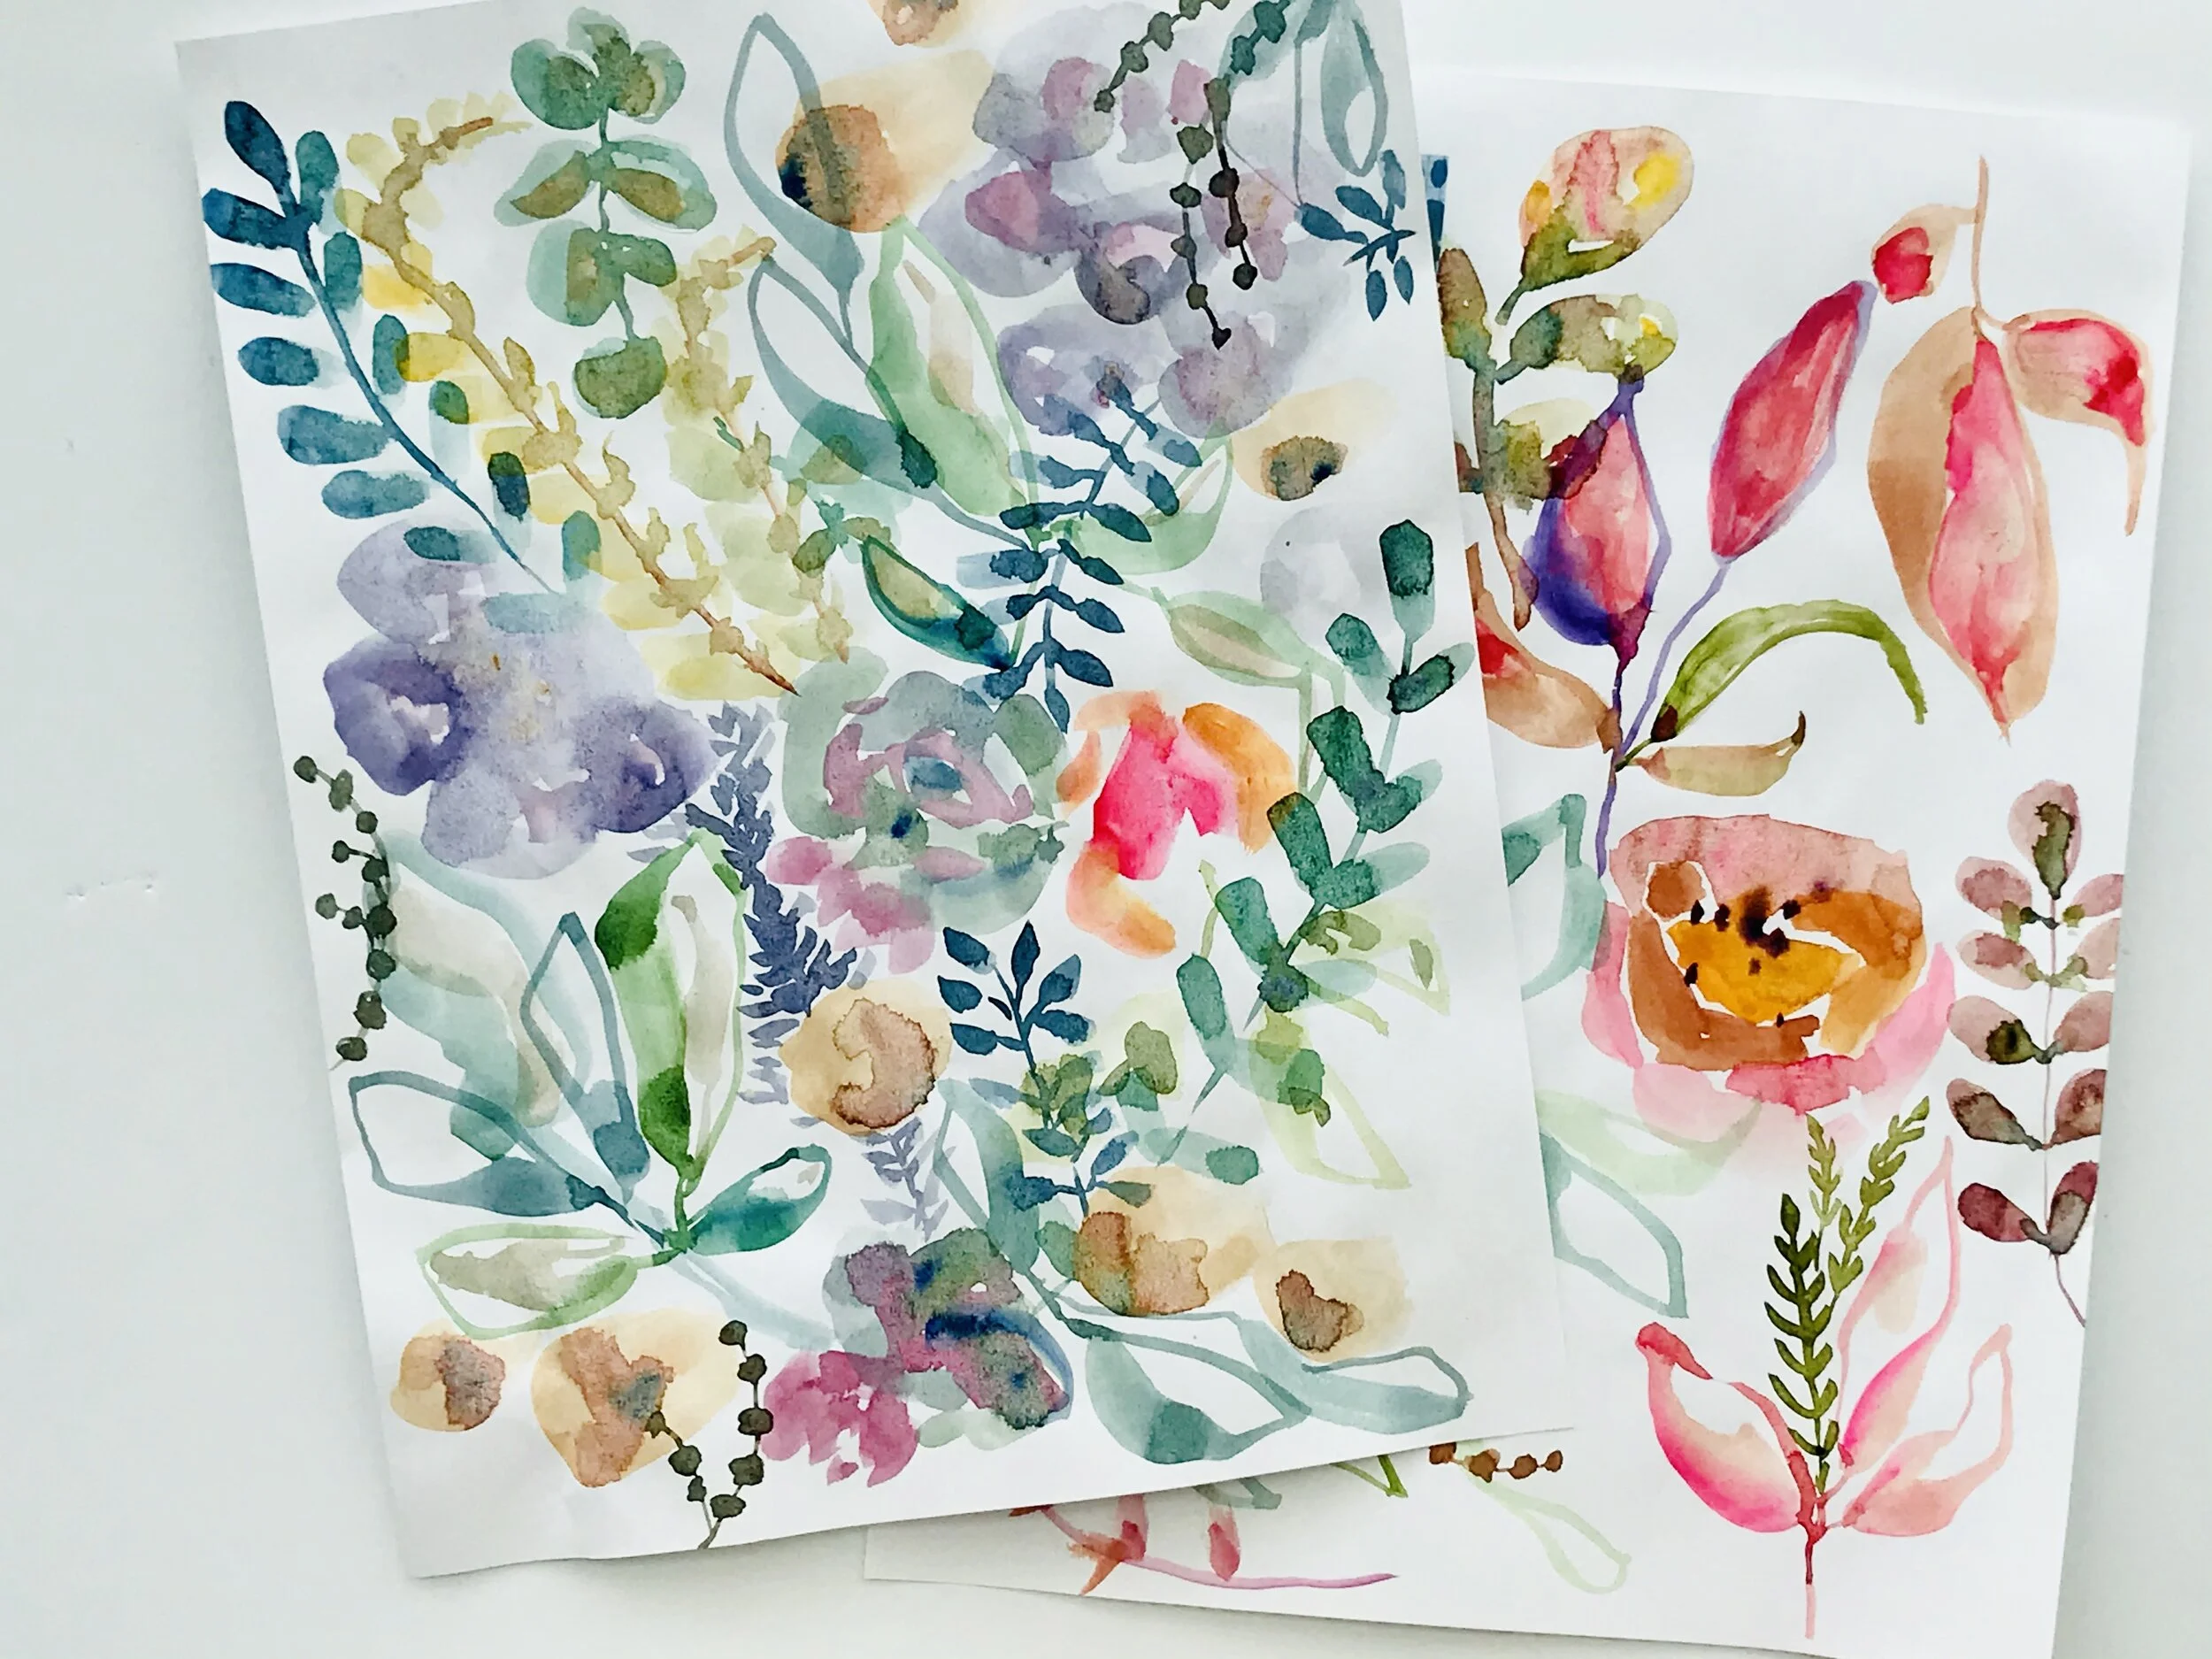
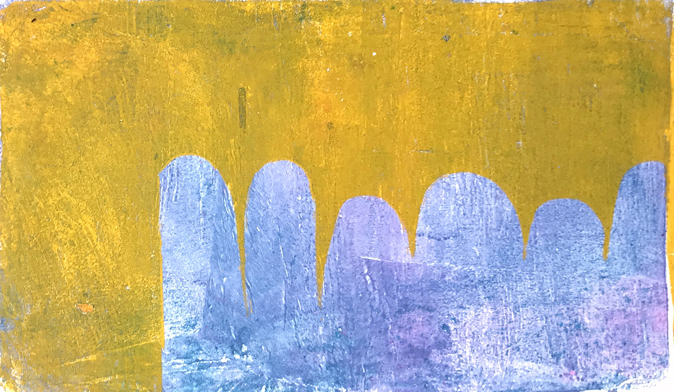
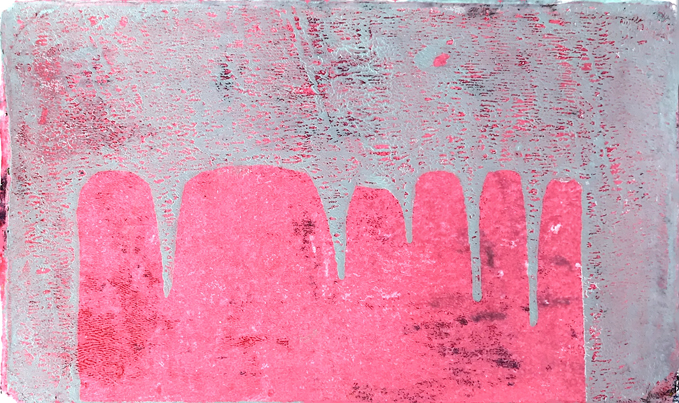
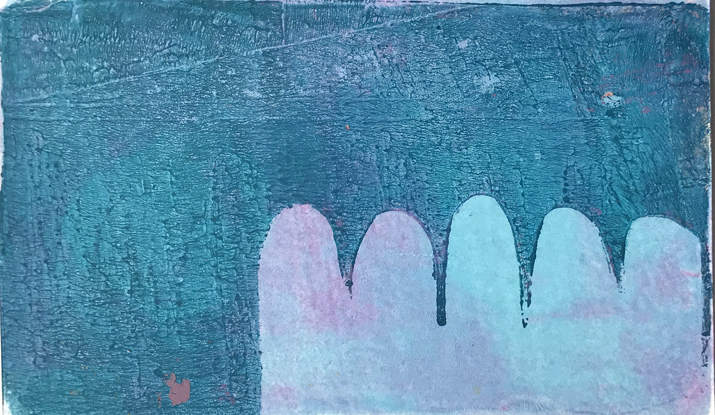
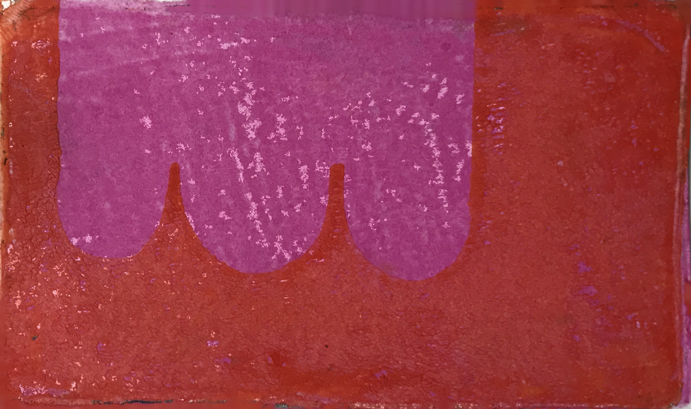
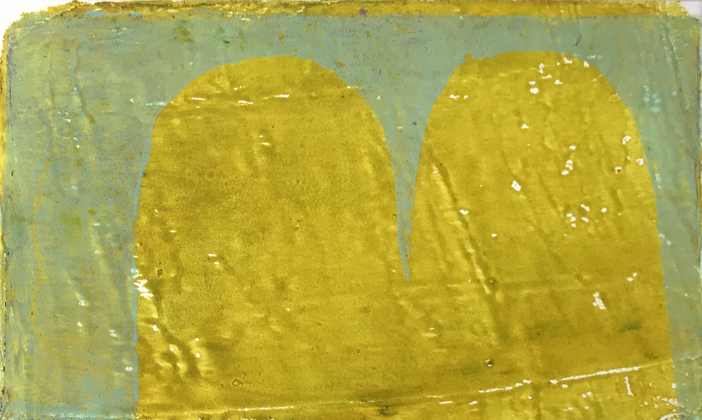
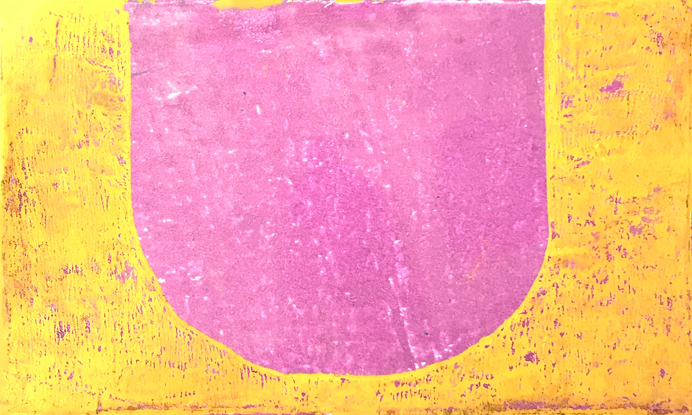
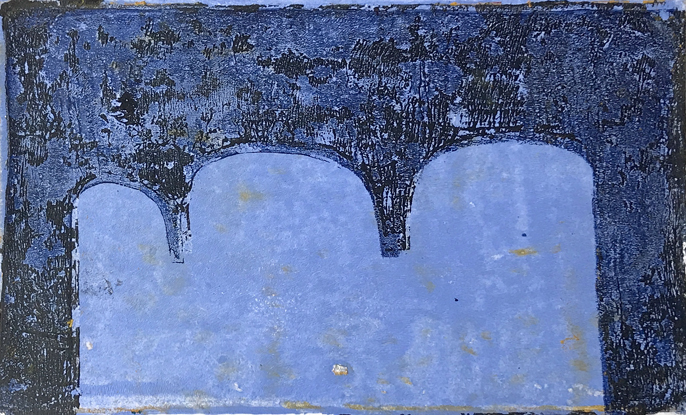
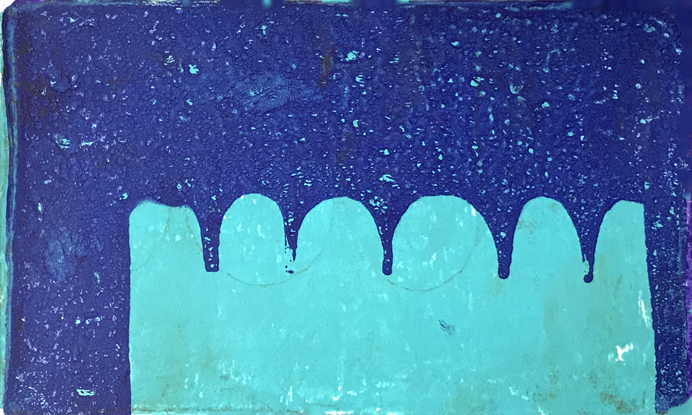
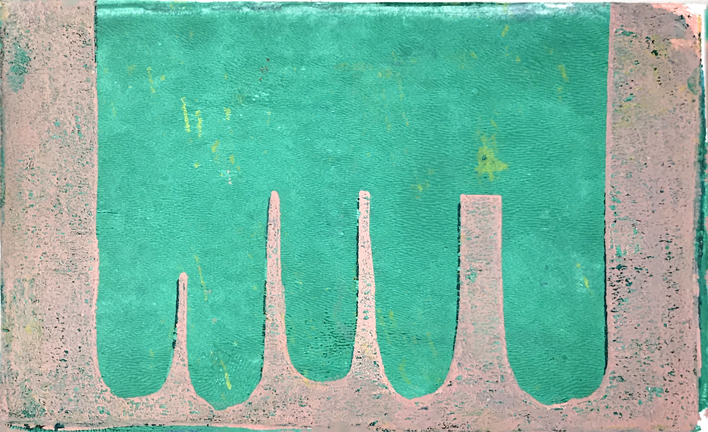
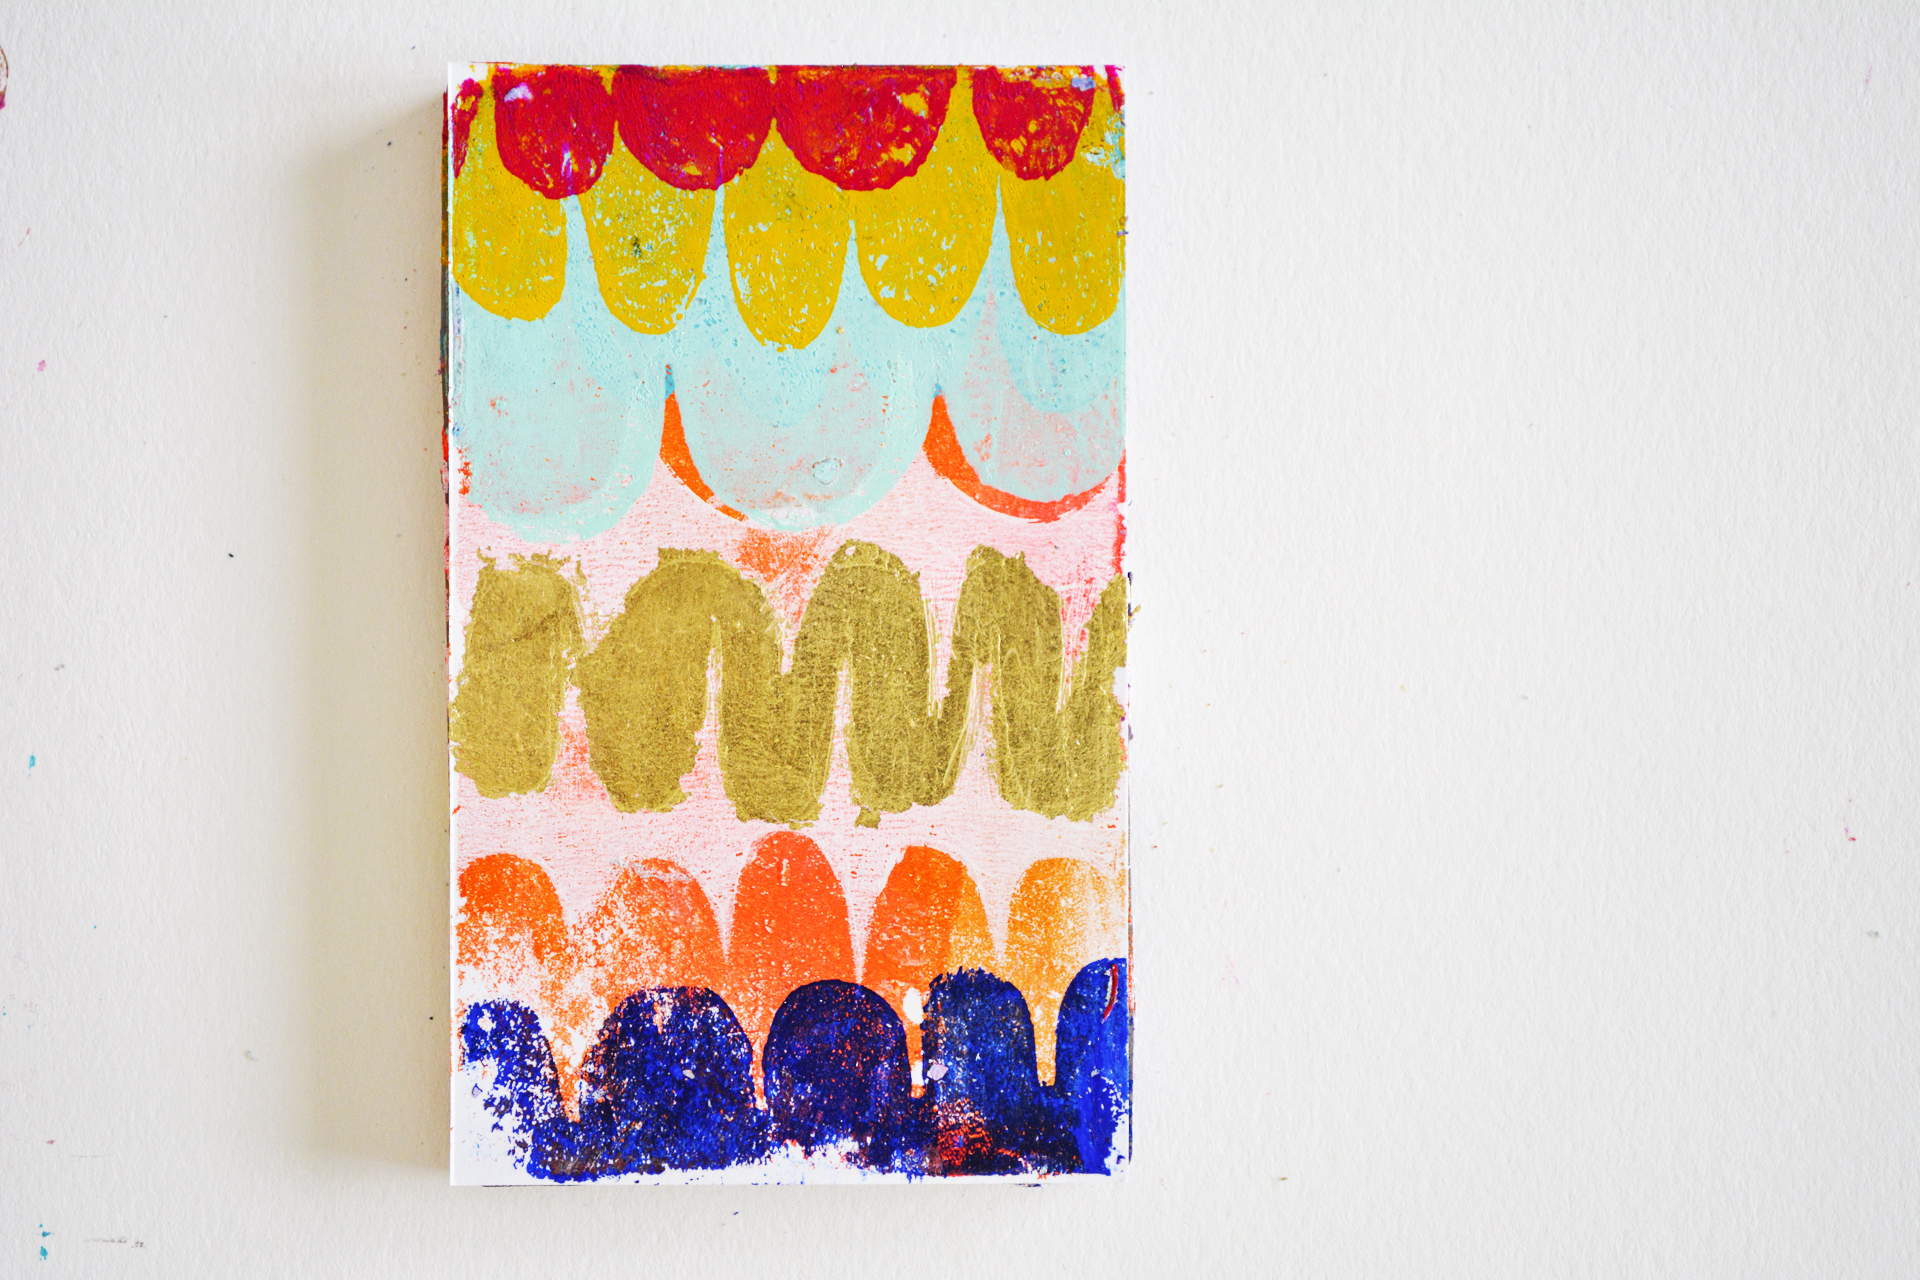
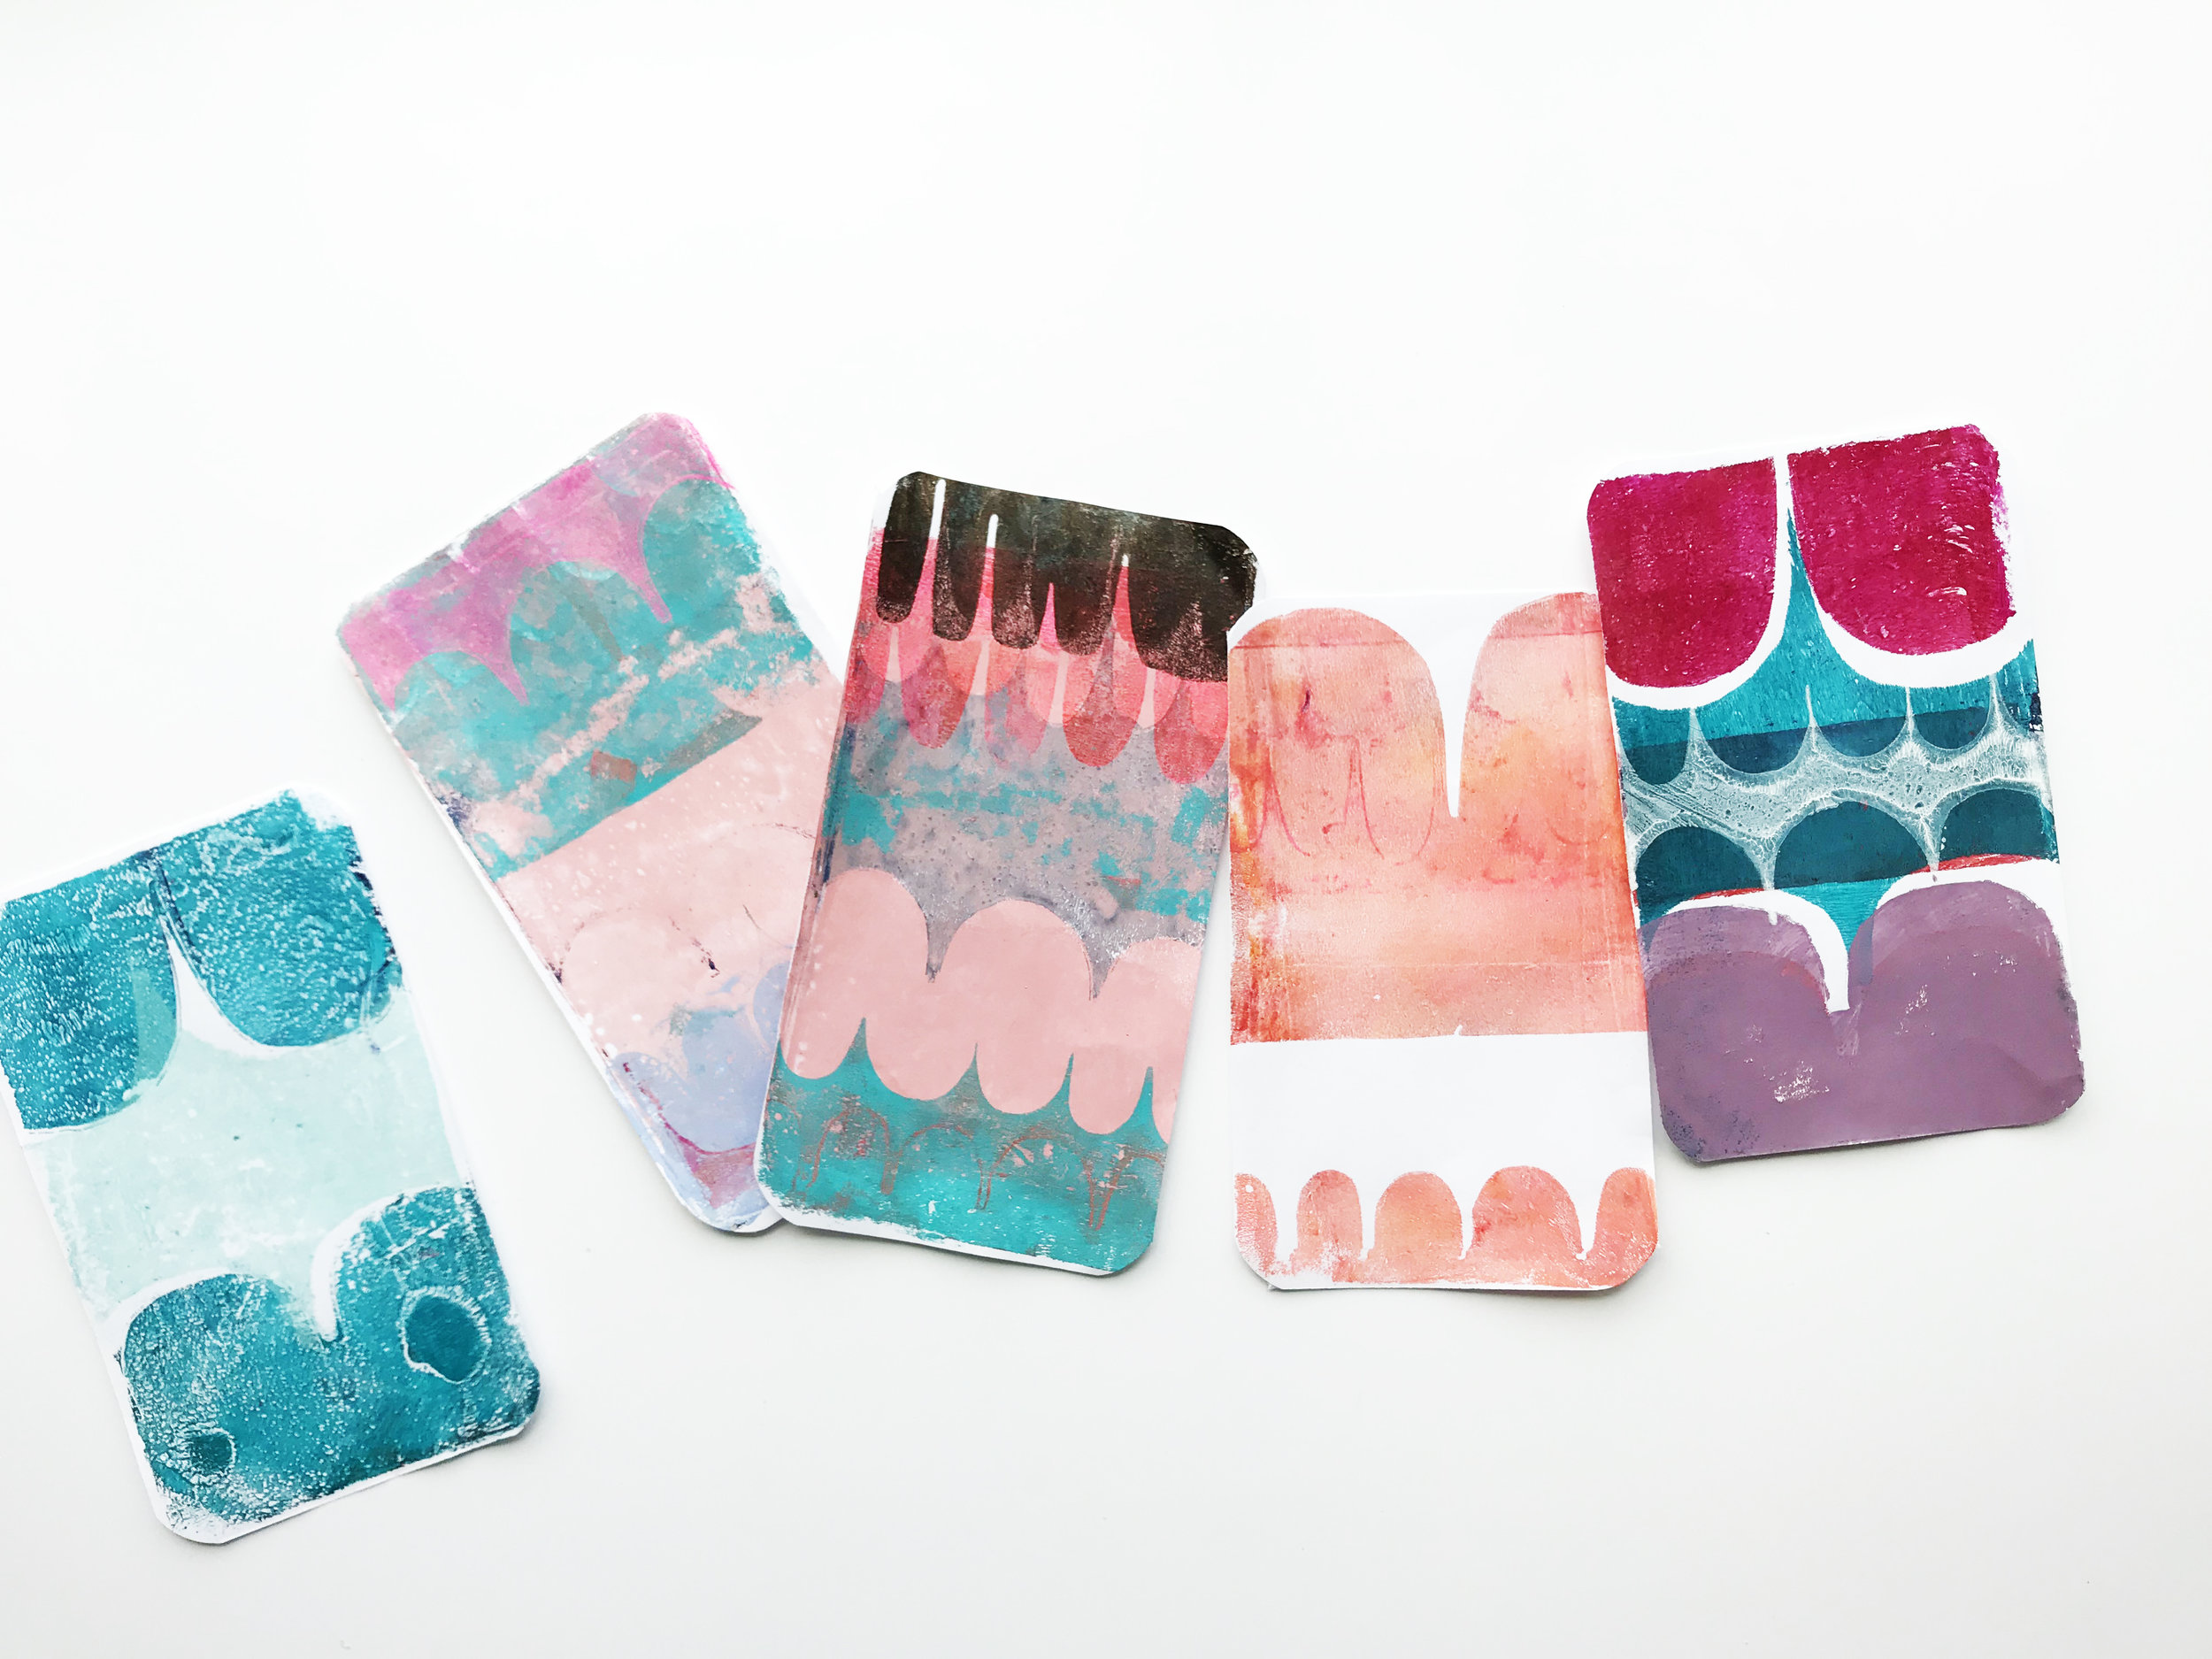
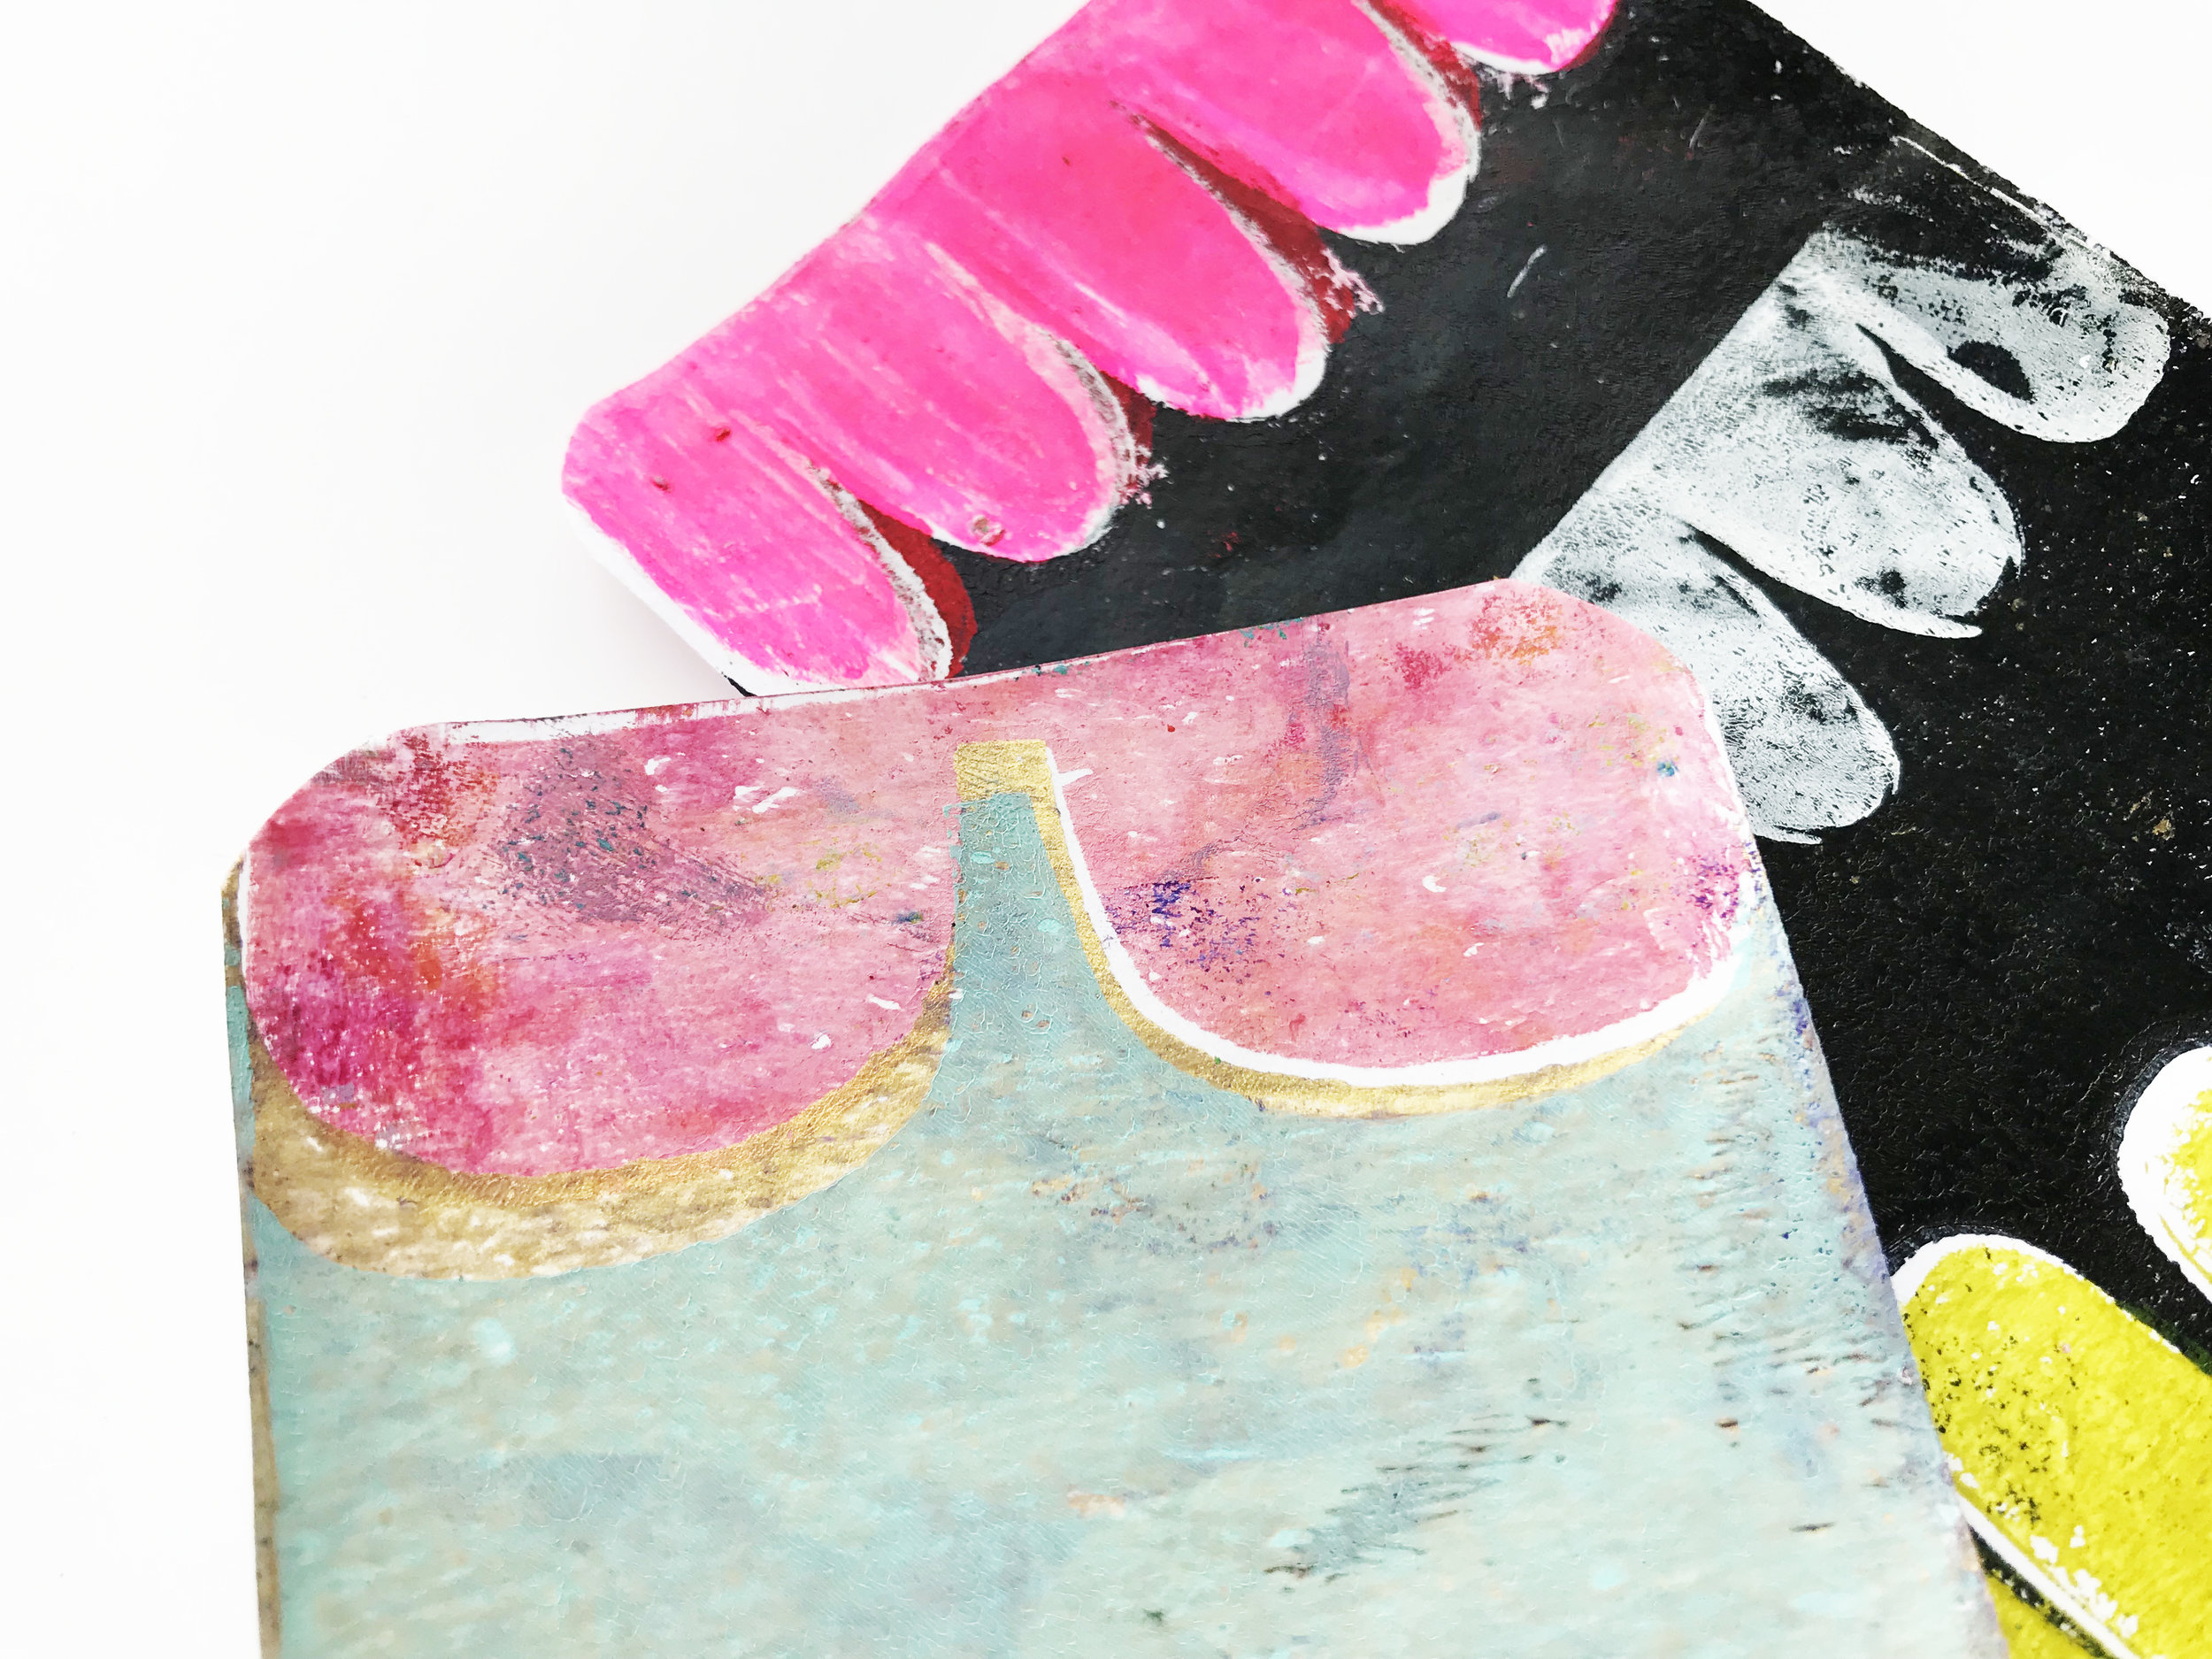
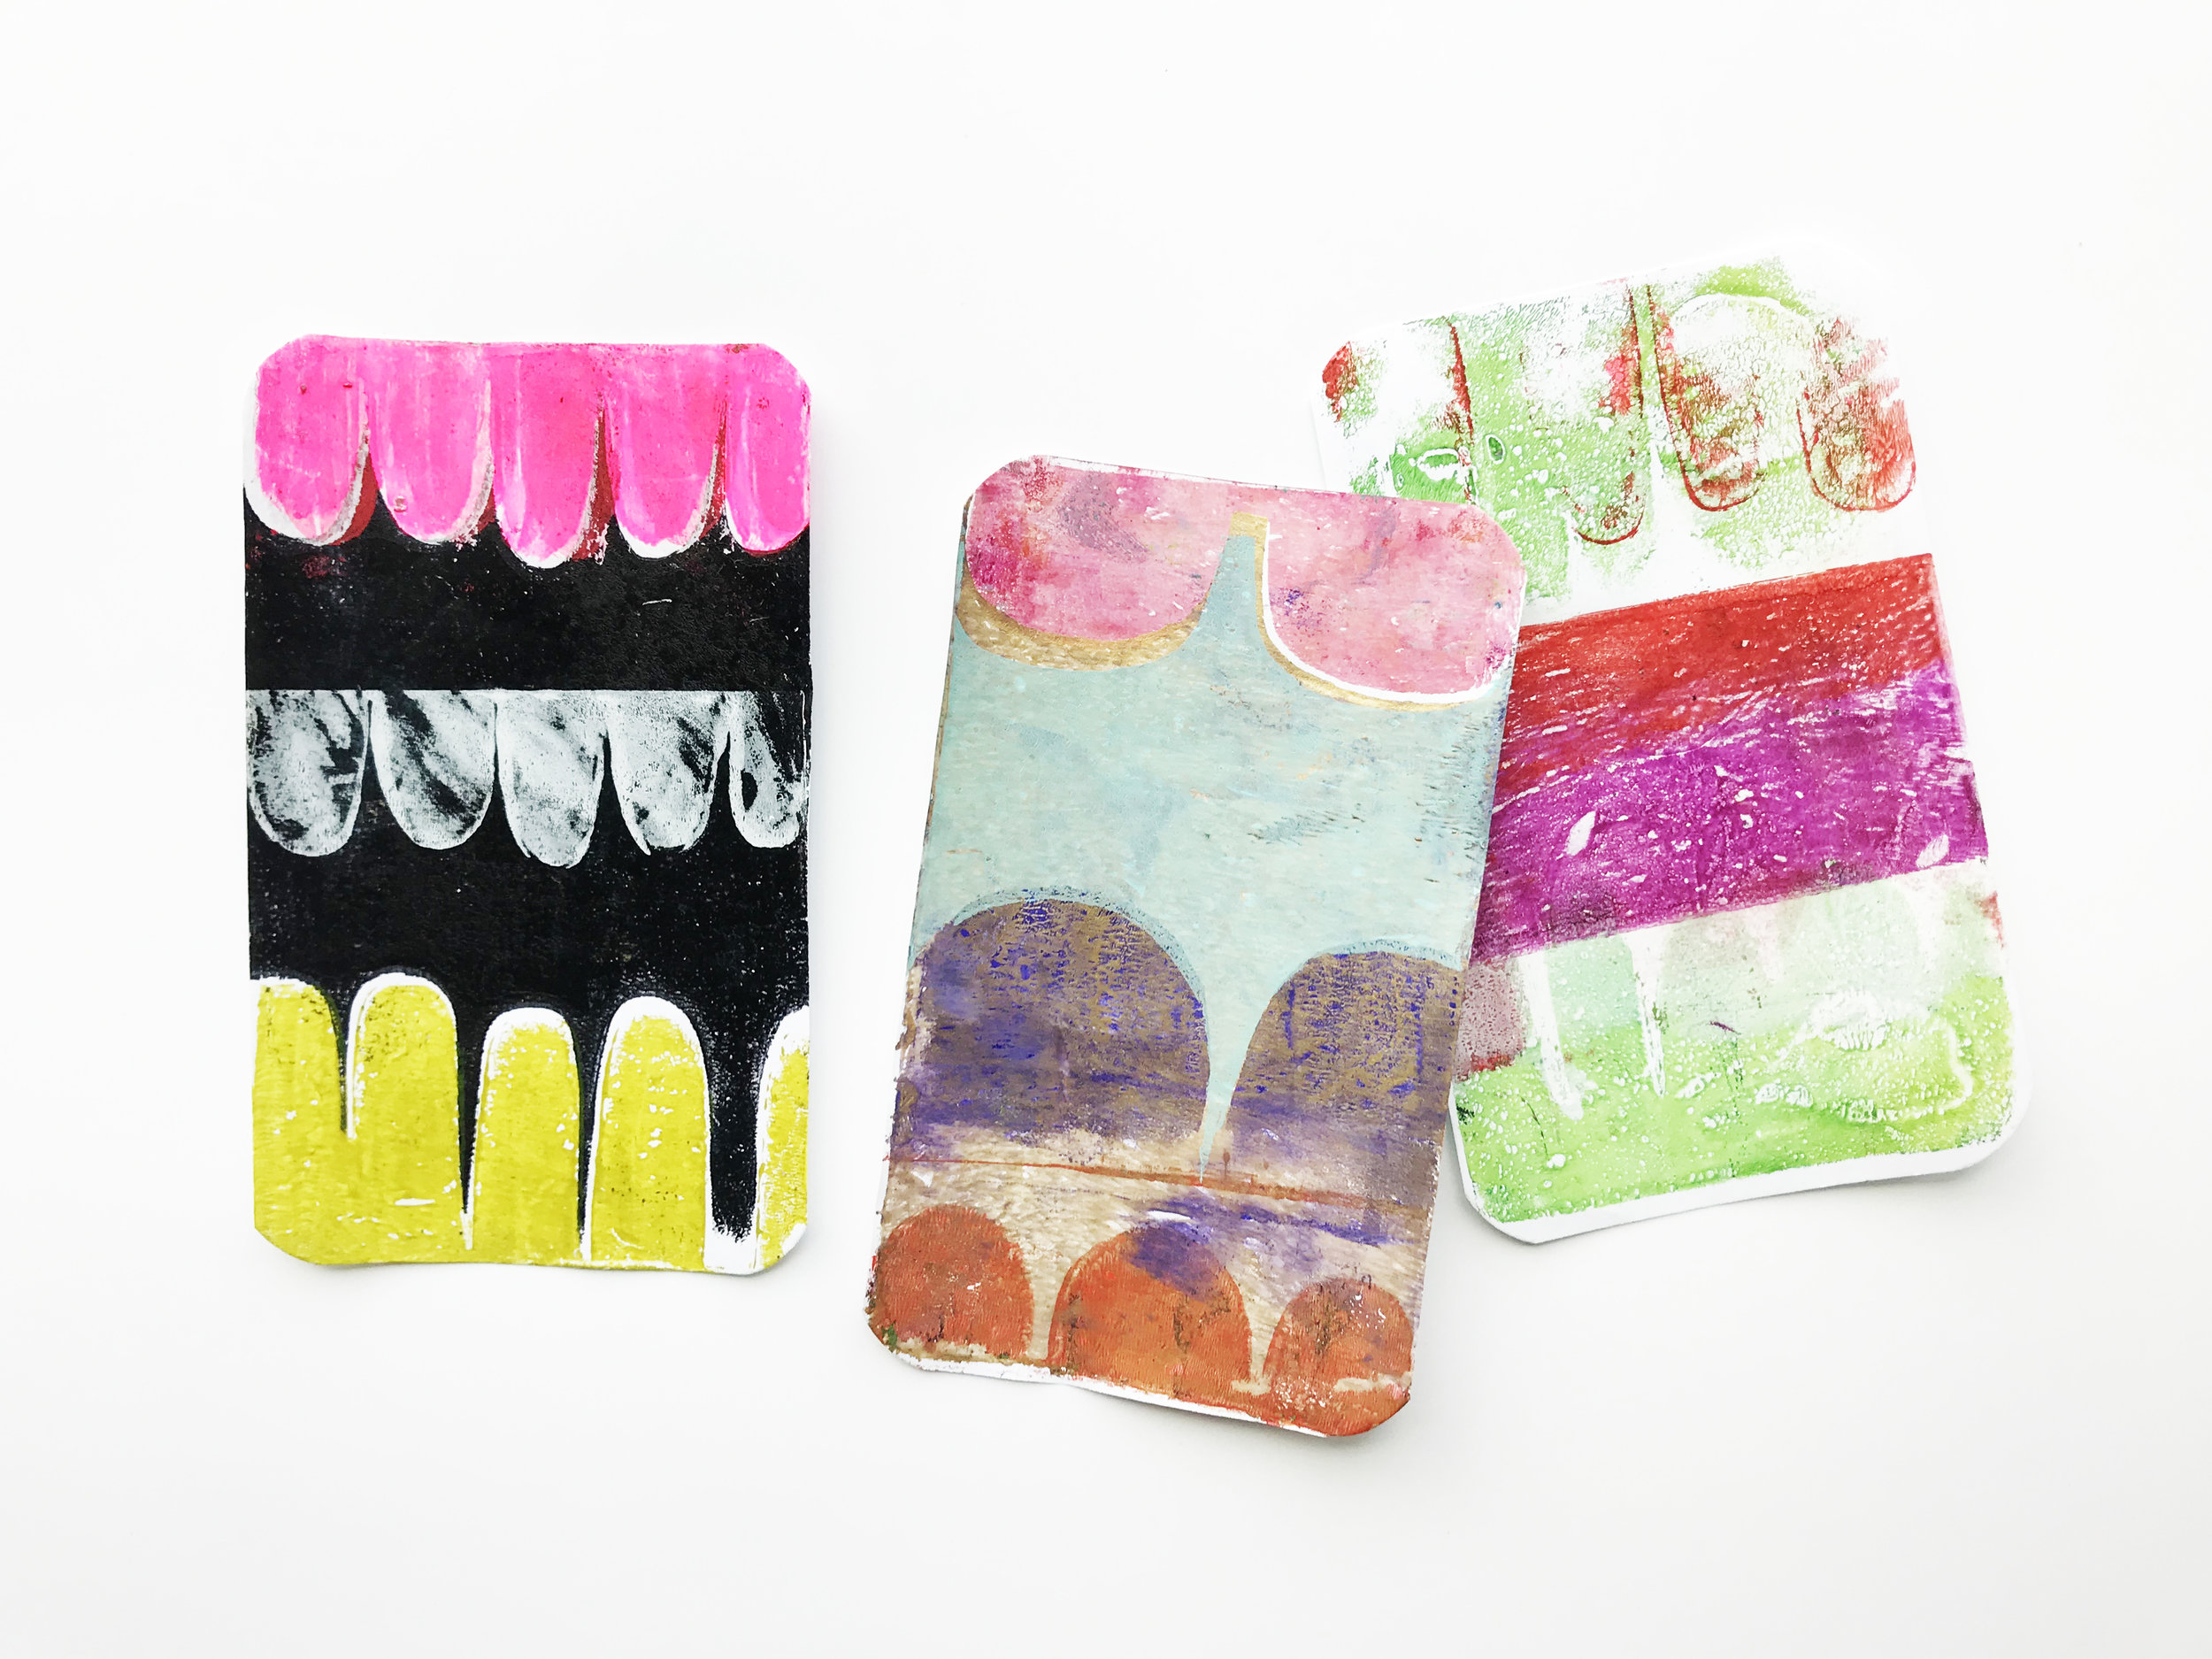
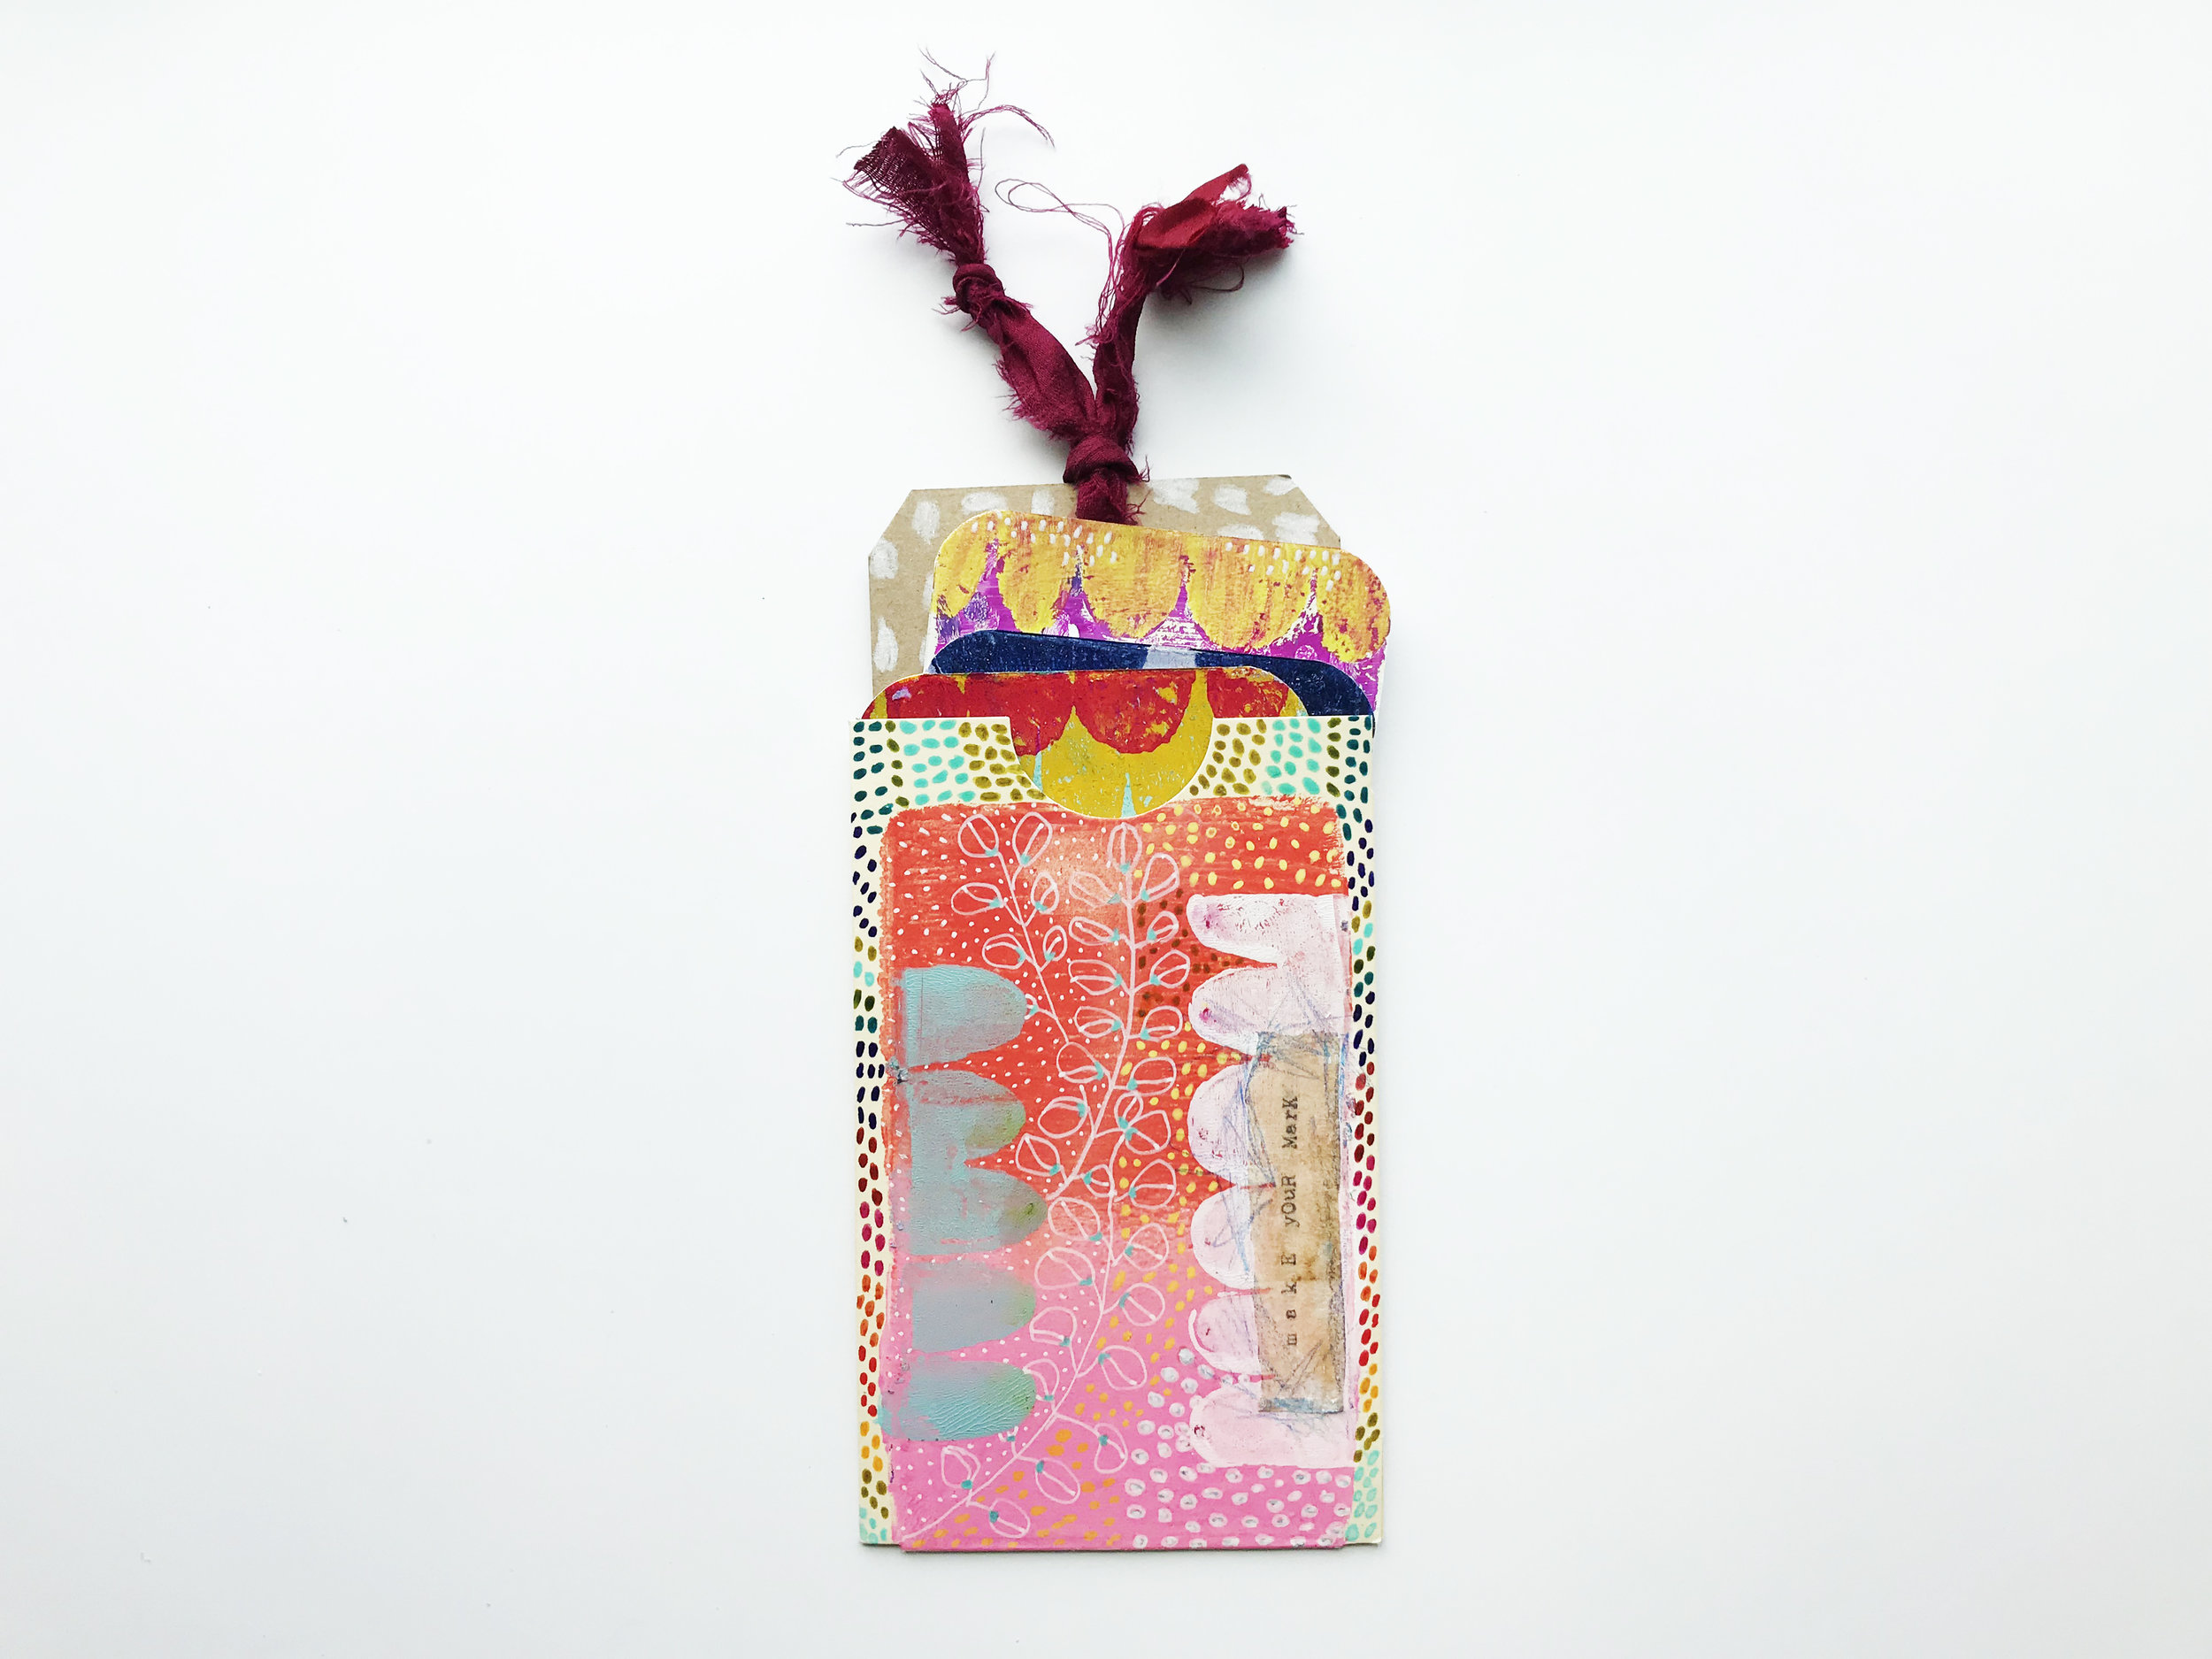
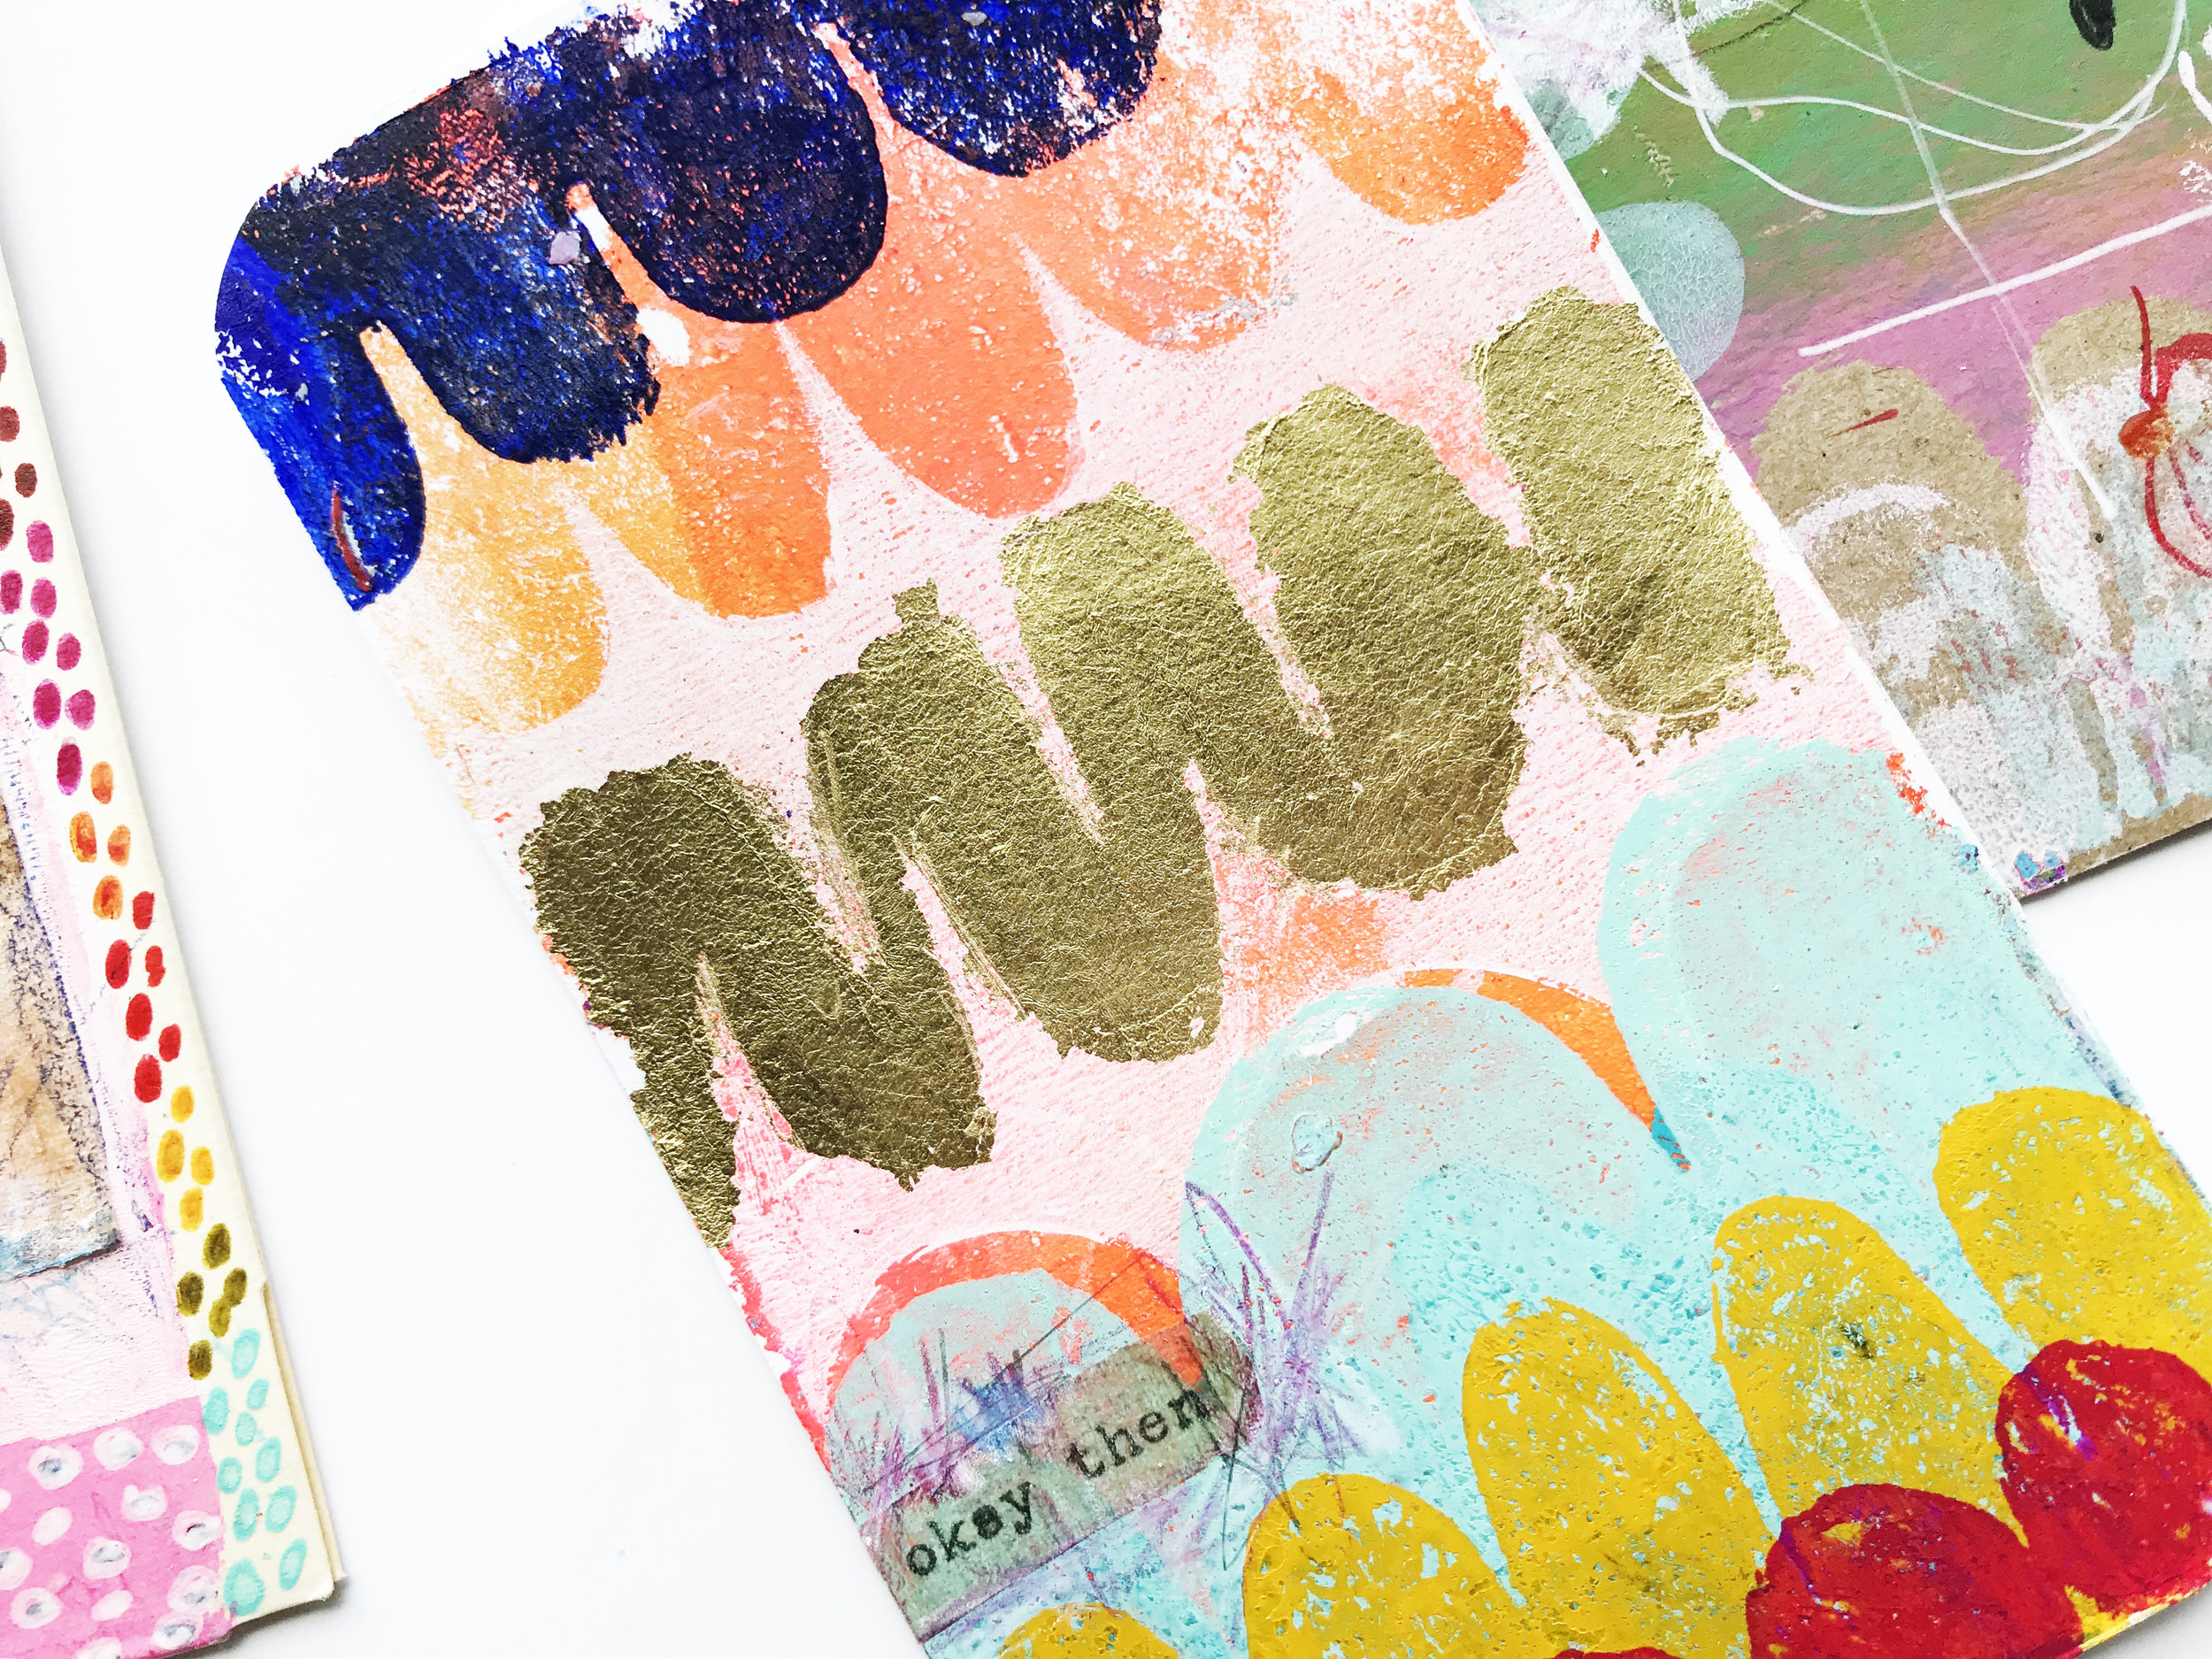
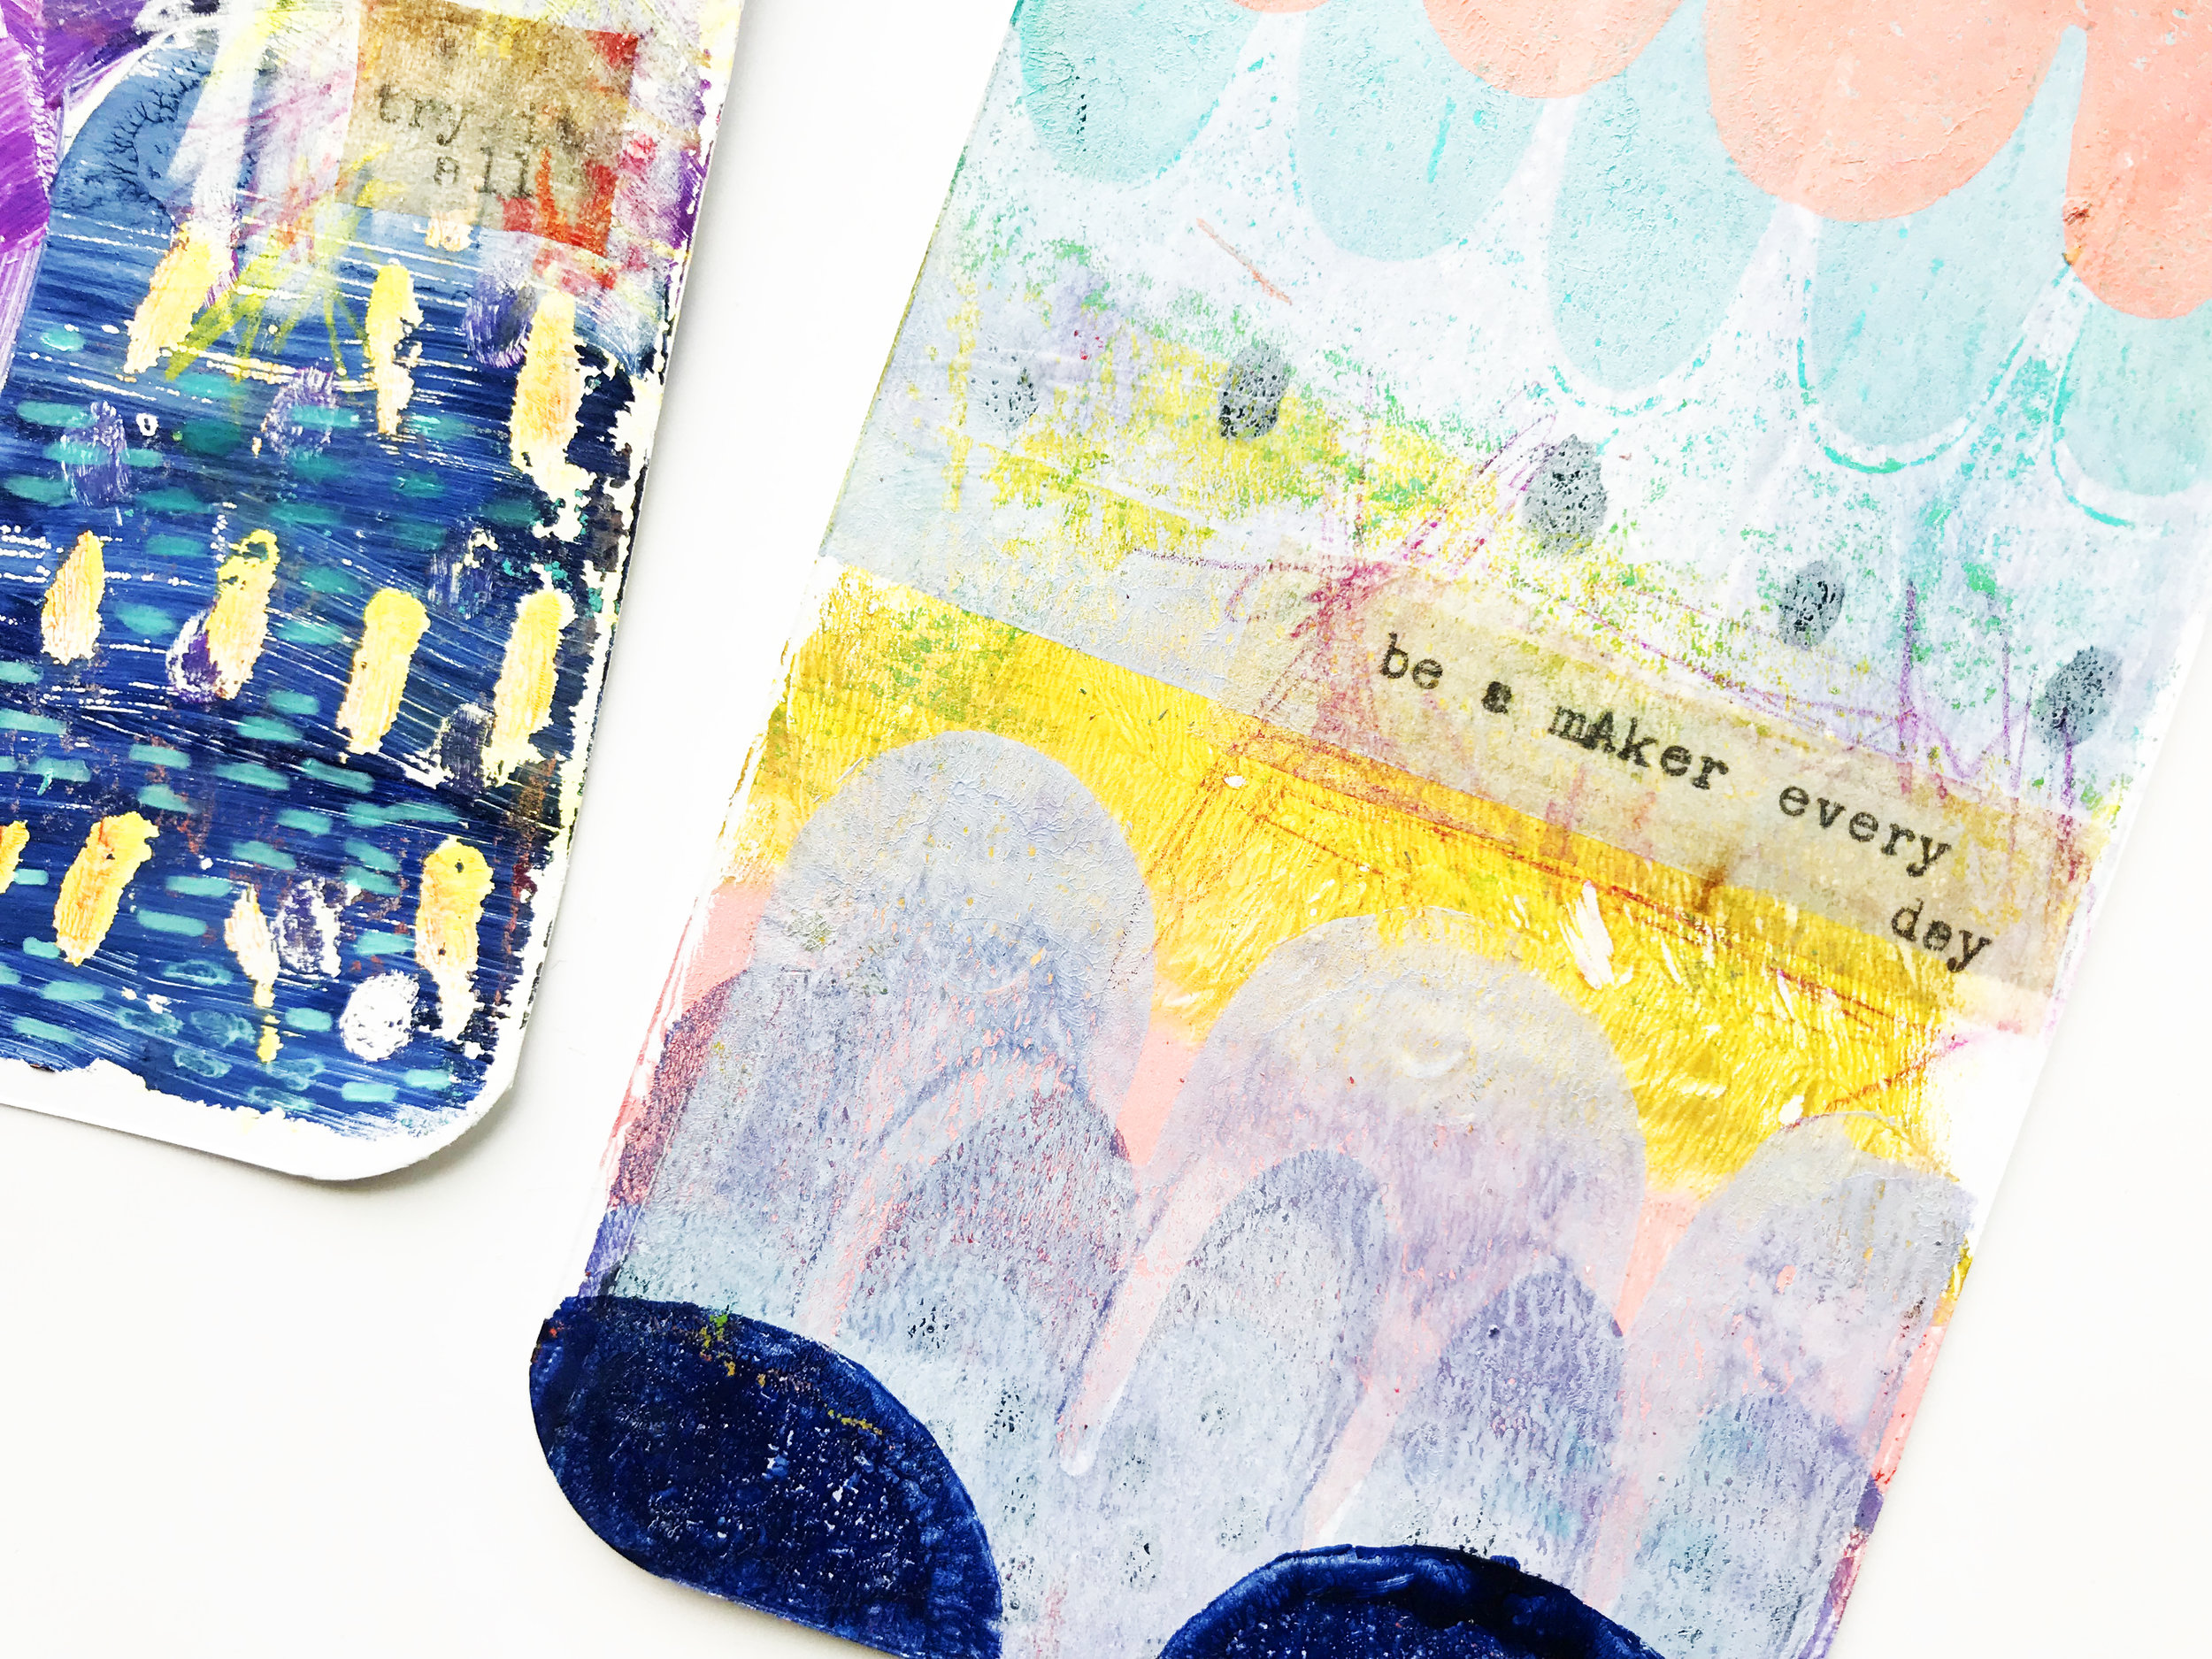
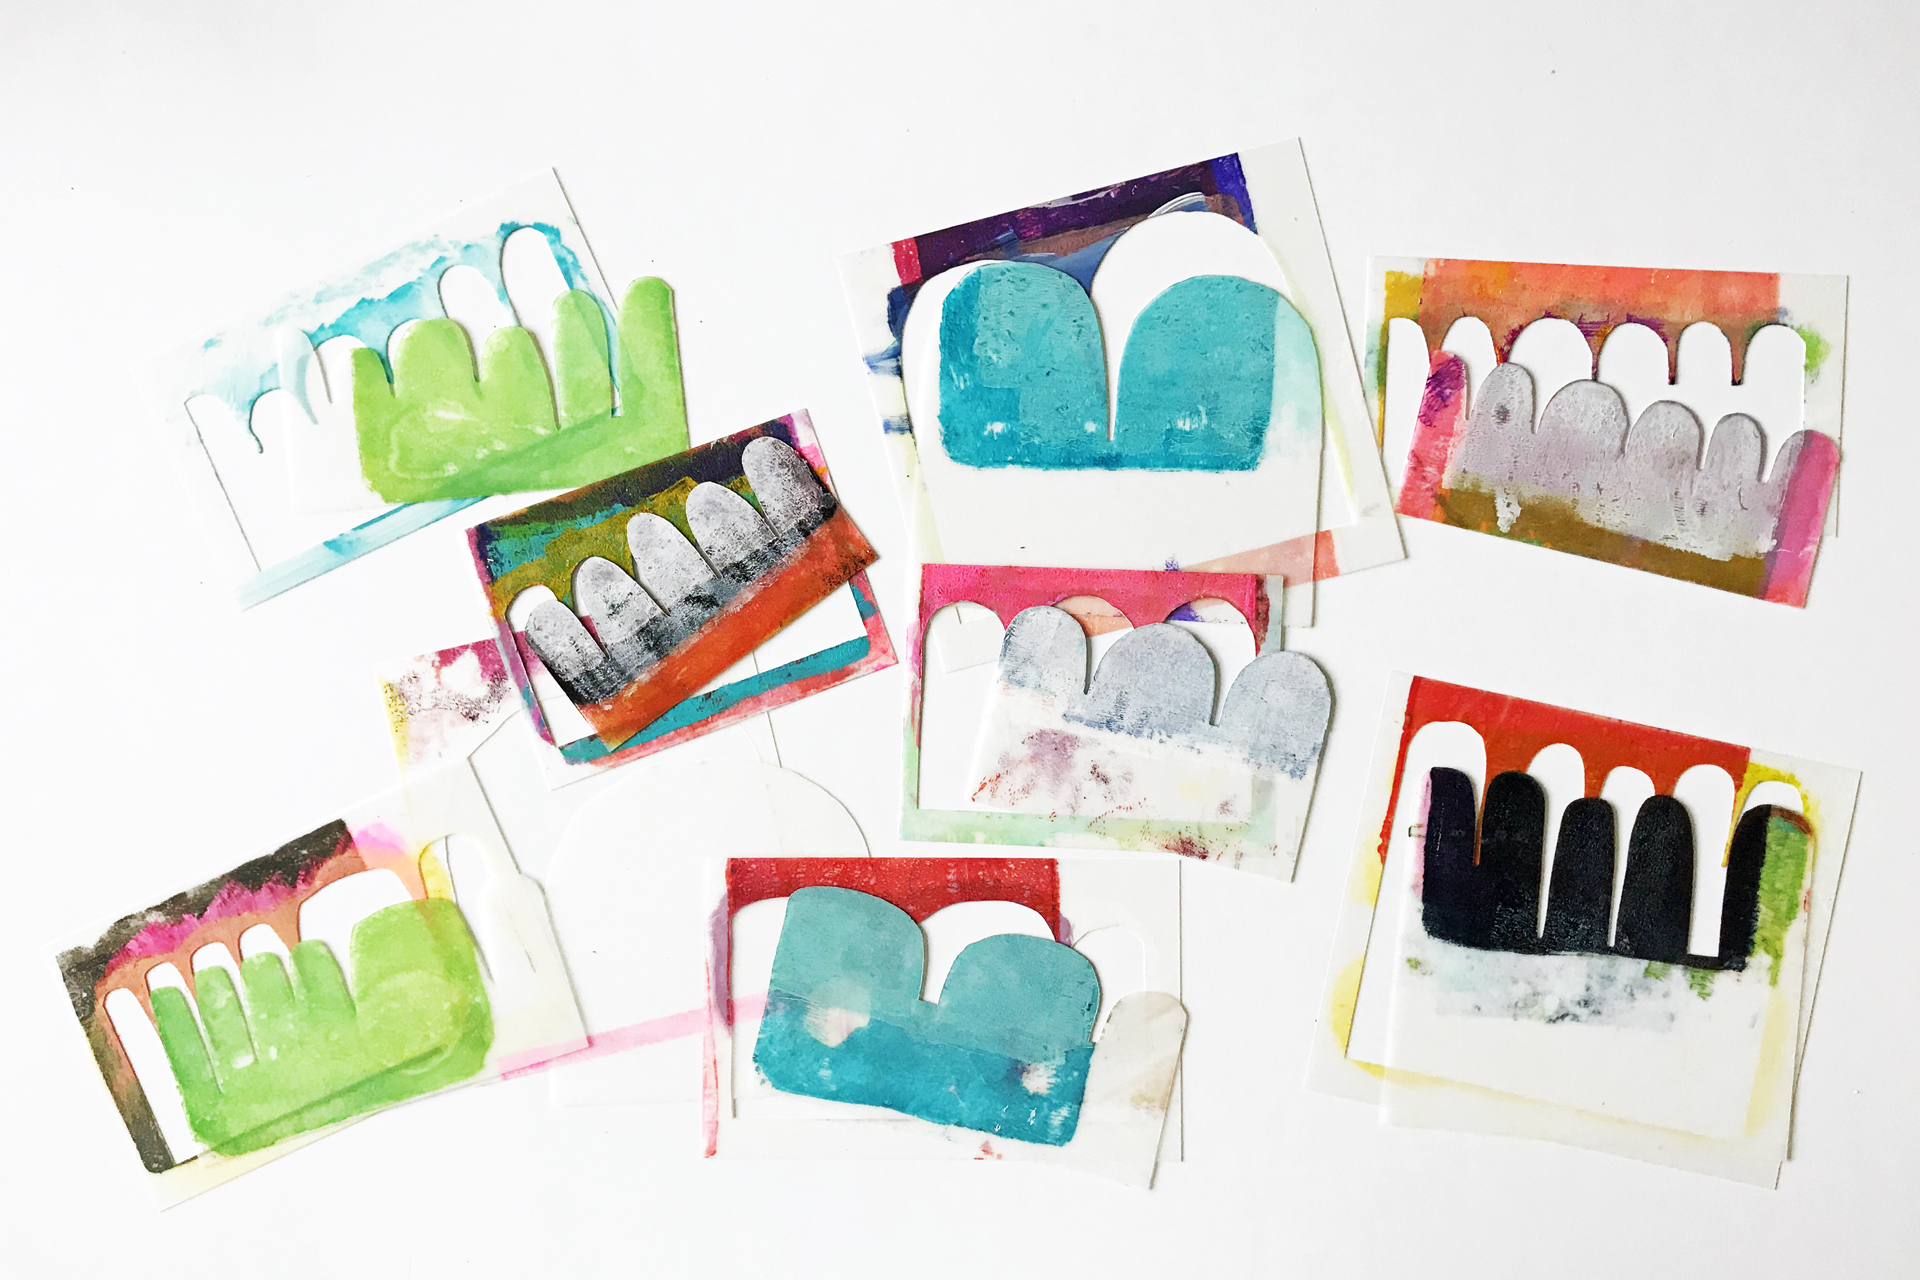
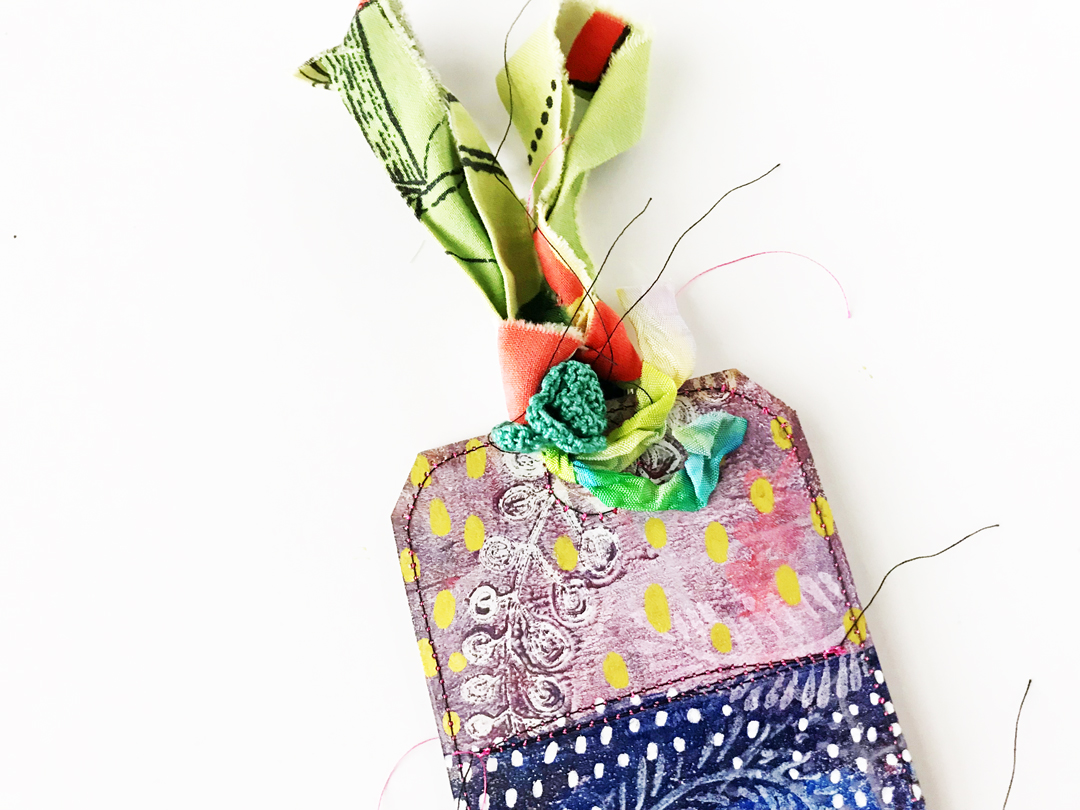
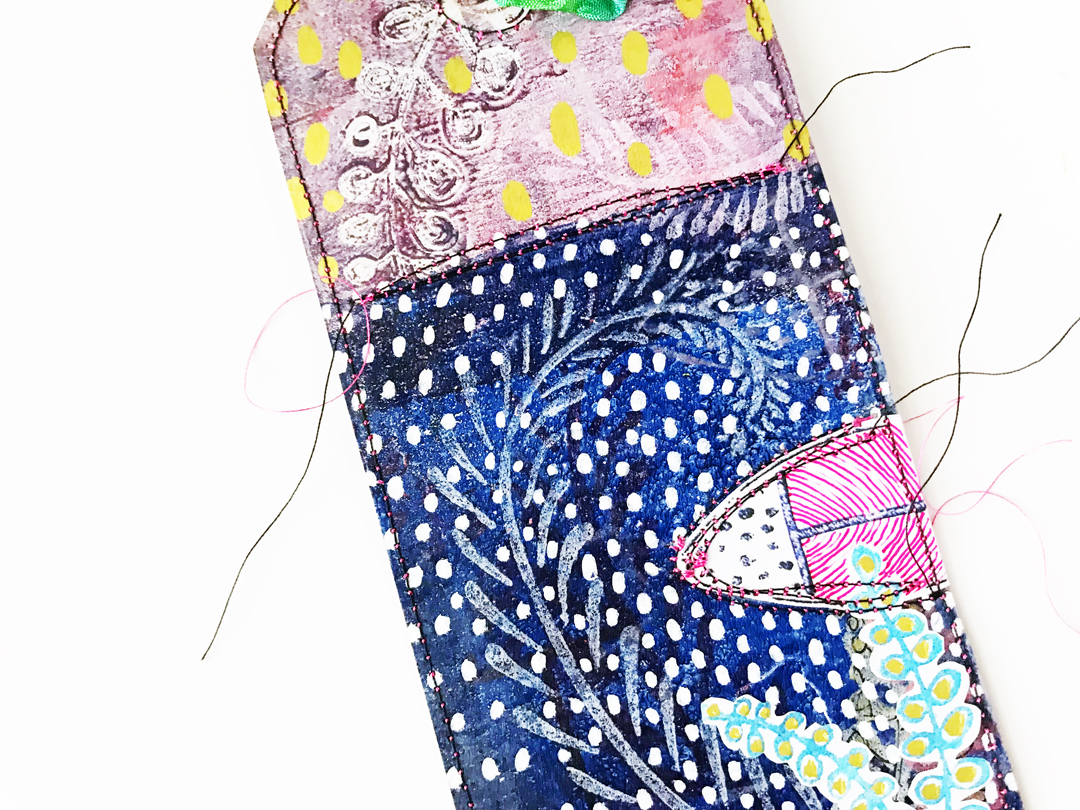
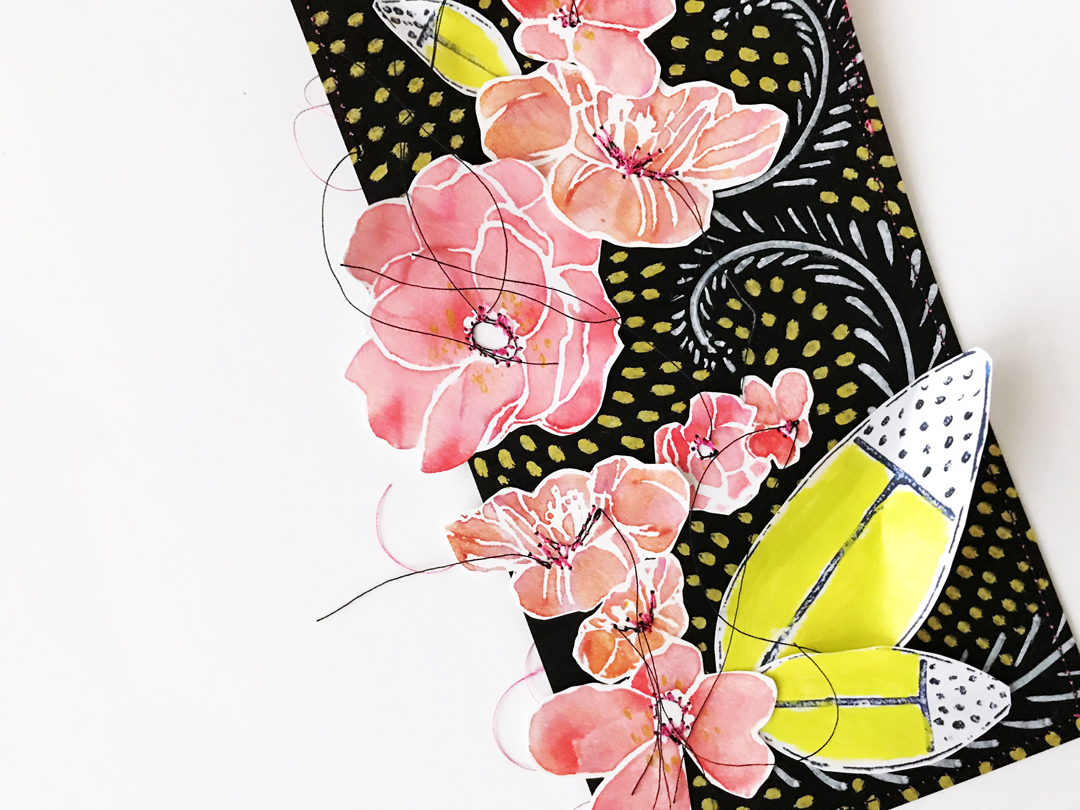
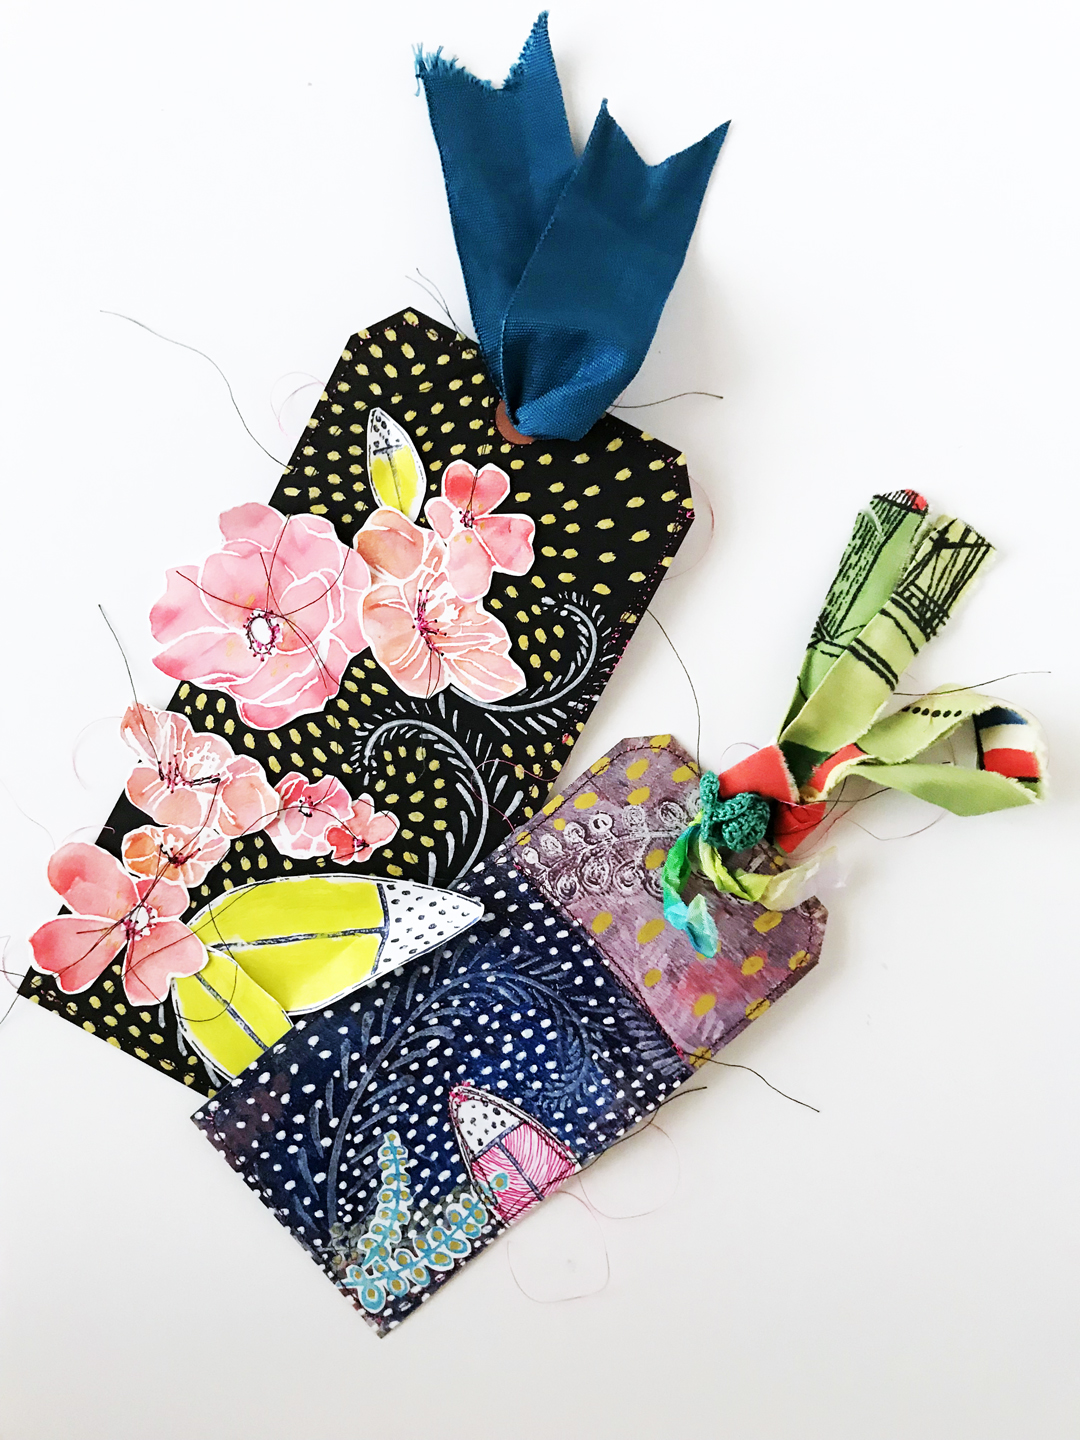
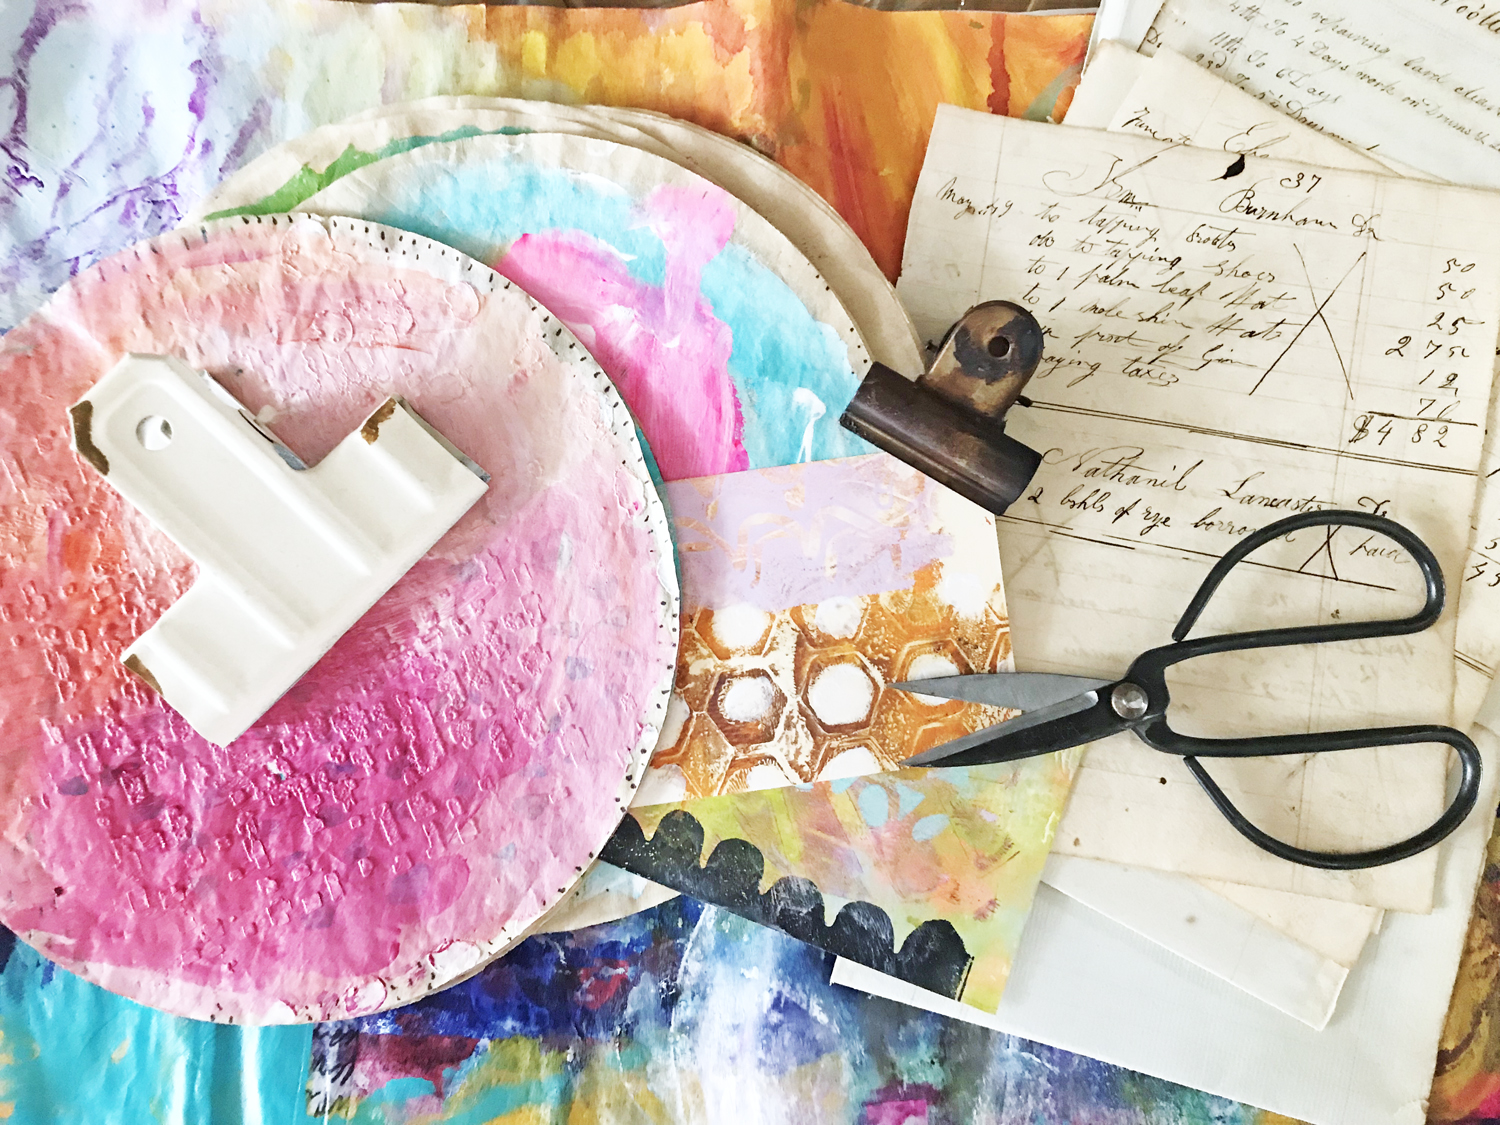
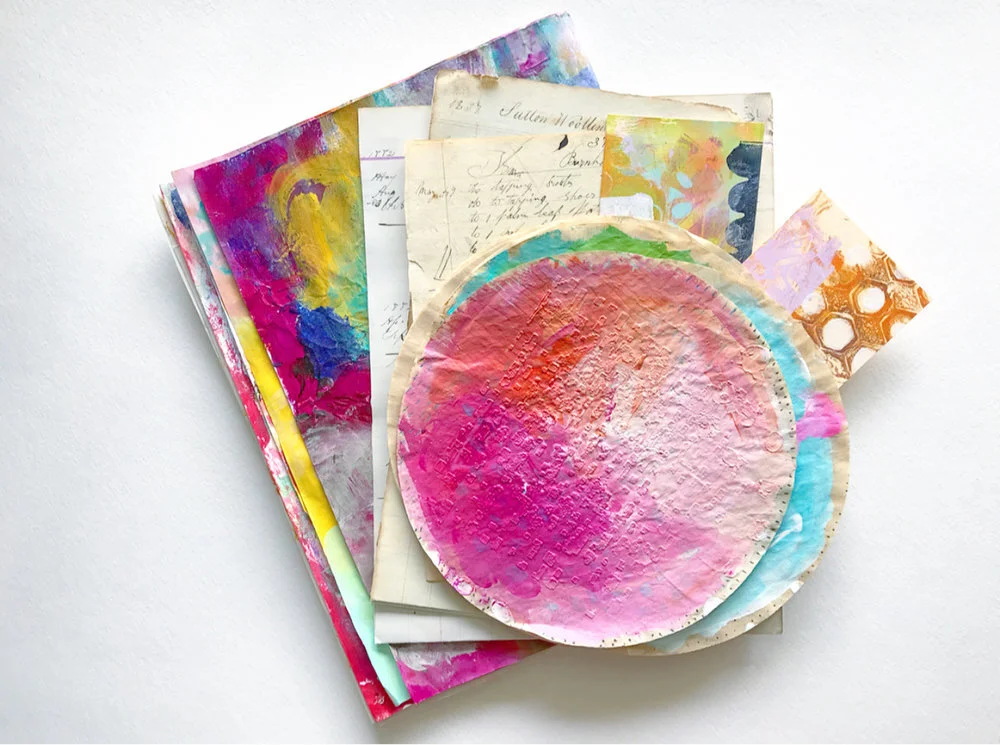
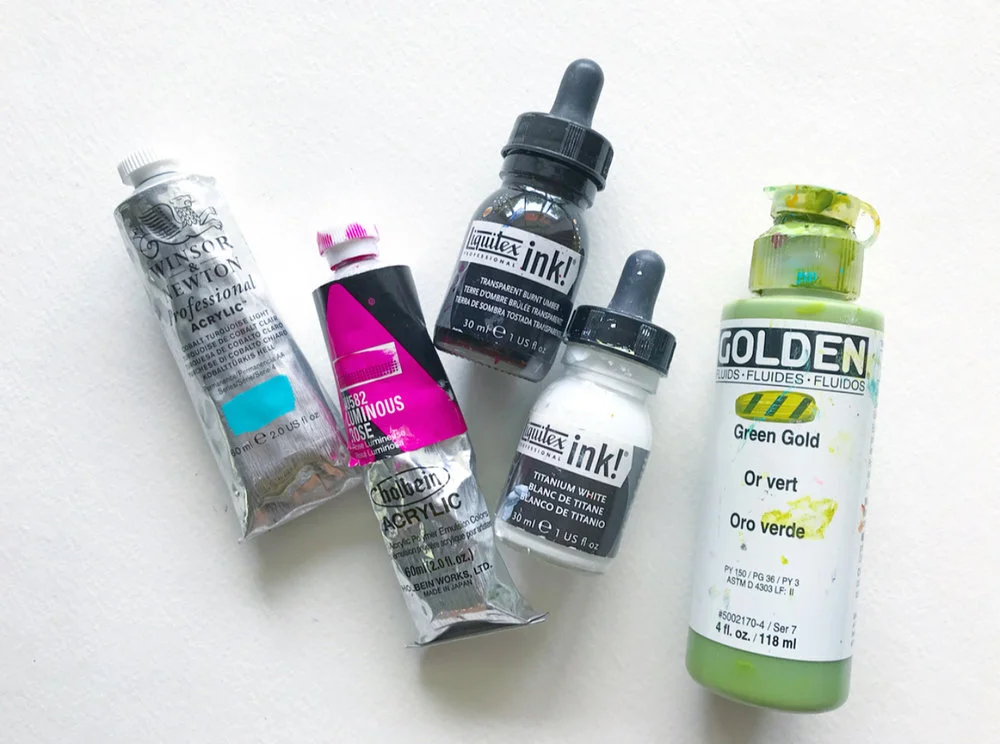
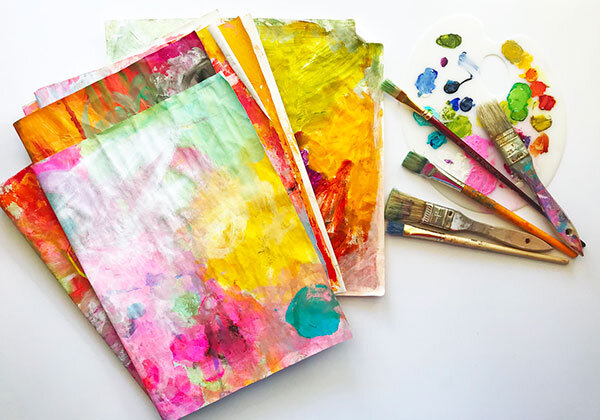
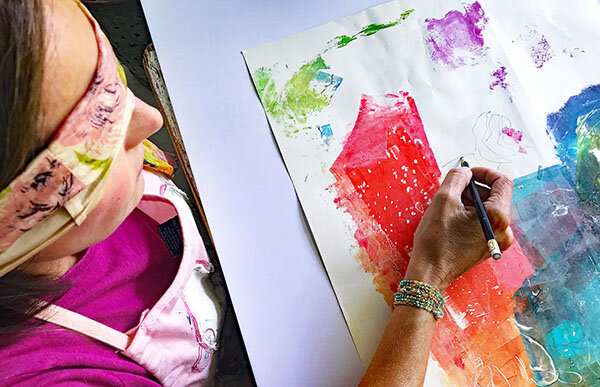
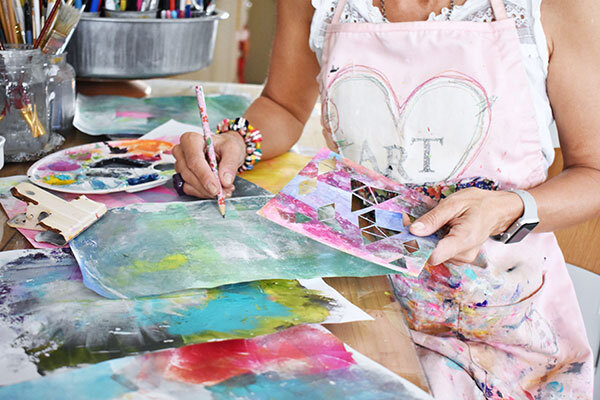
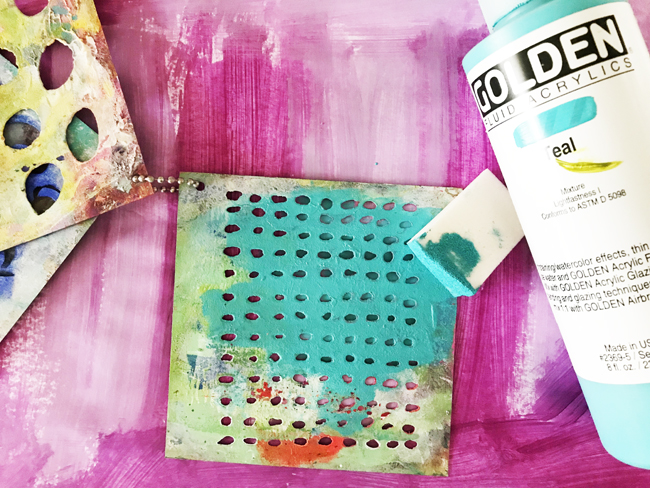
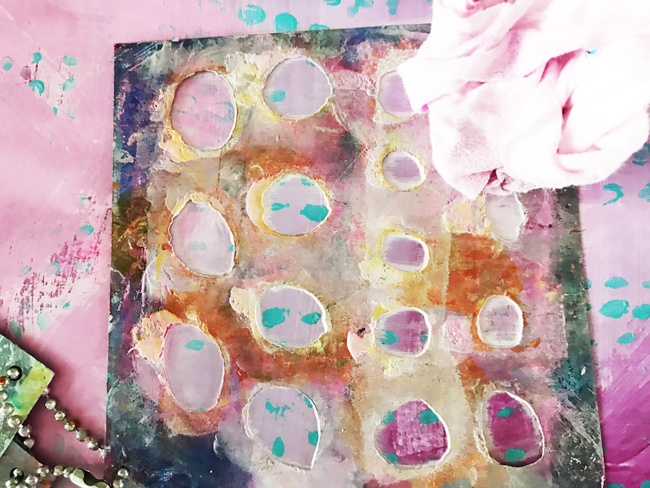
I love using my stencils and masks with acrylic paint and my GelliArts® Printing Plate. The combination of paint, stencils and masks makes the printing process simple, yet interesting, and allows me to create prints that offer the illusion of depth and texture. I love the magic that happens each and every time I print using stencils and masks. No two prints are ever the same, something that is refreshing and exciting when making art. These colorful, busy prints make perfect pages in my Pocket Journal and when cut apart into smaller pieces become even more detailed and beautiful.

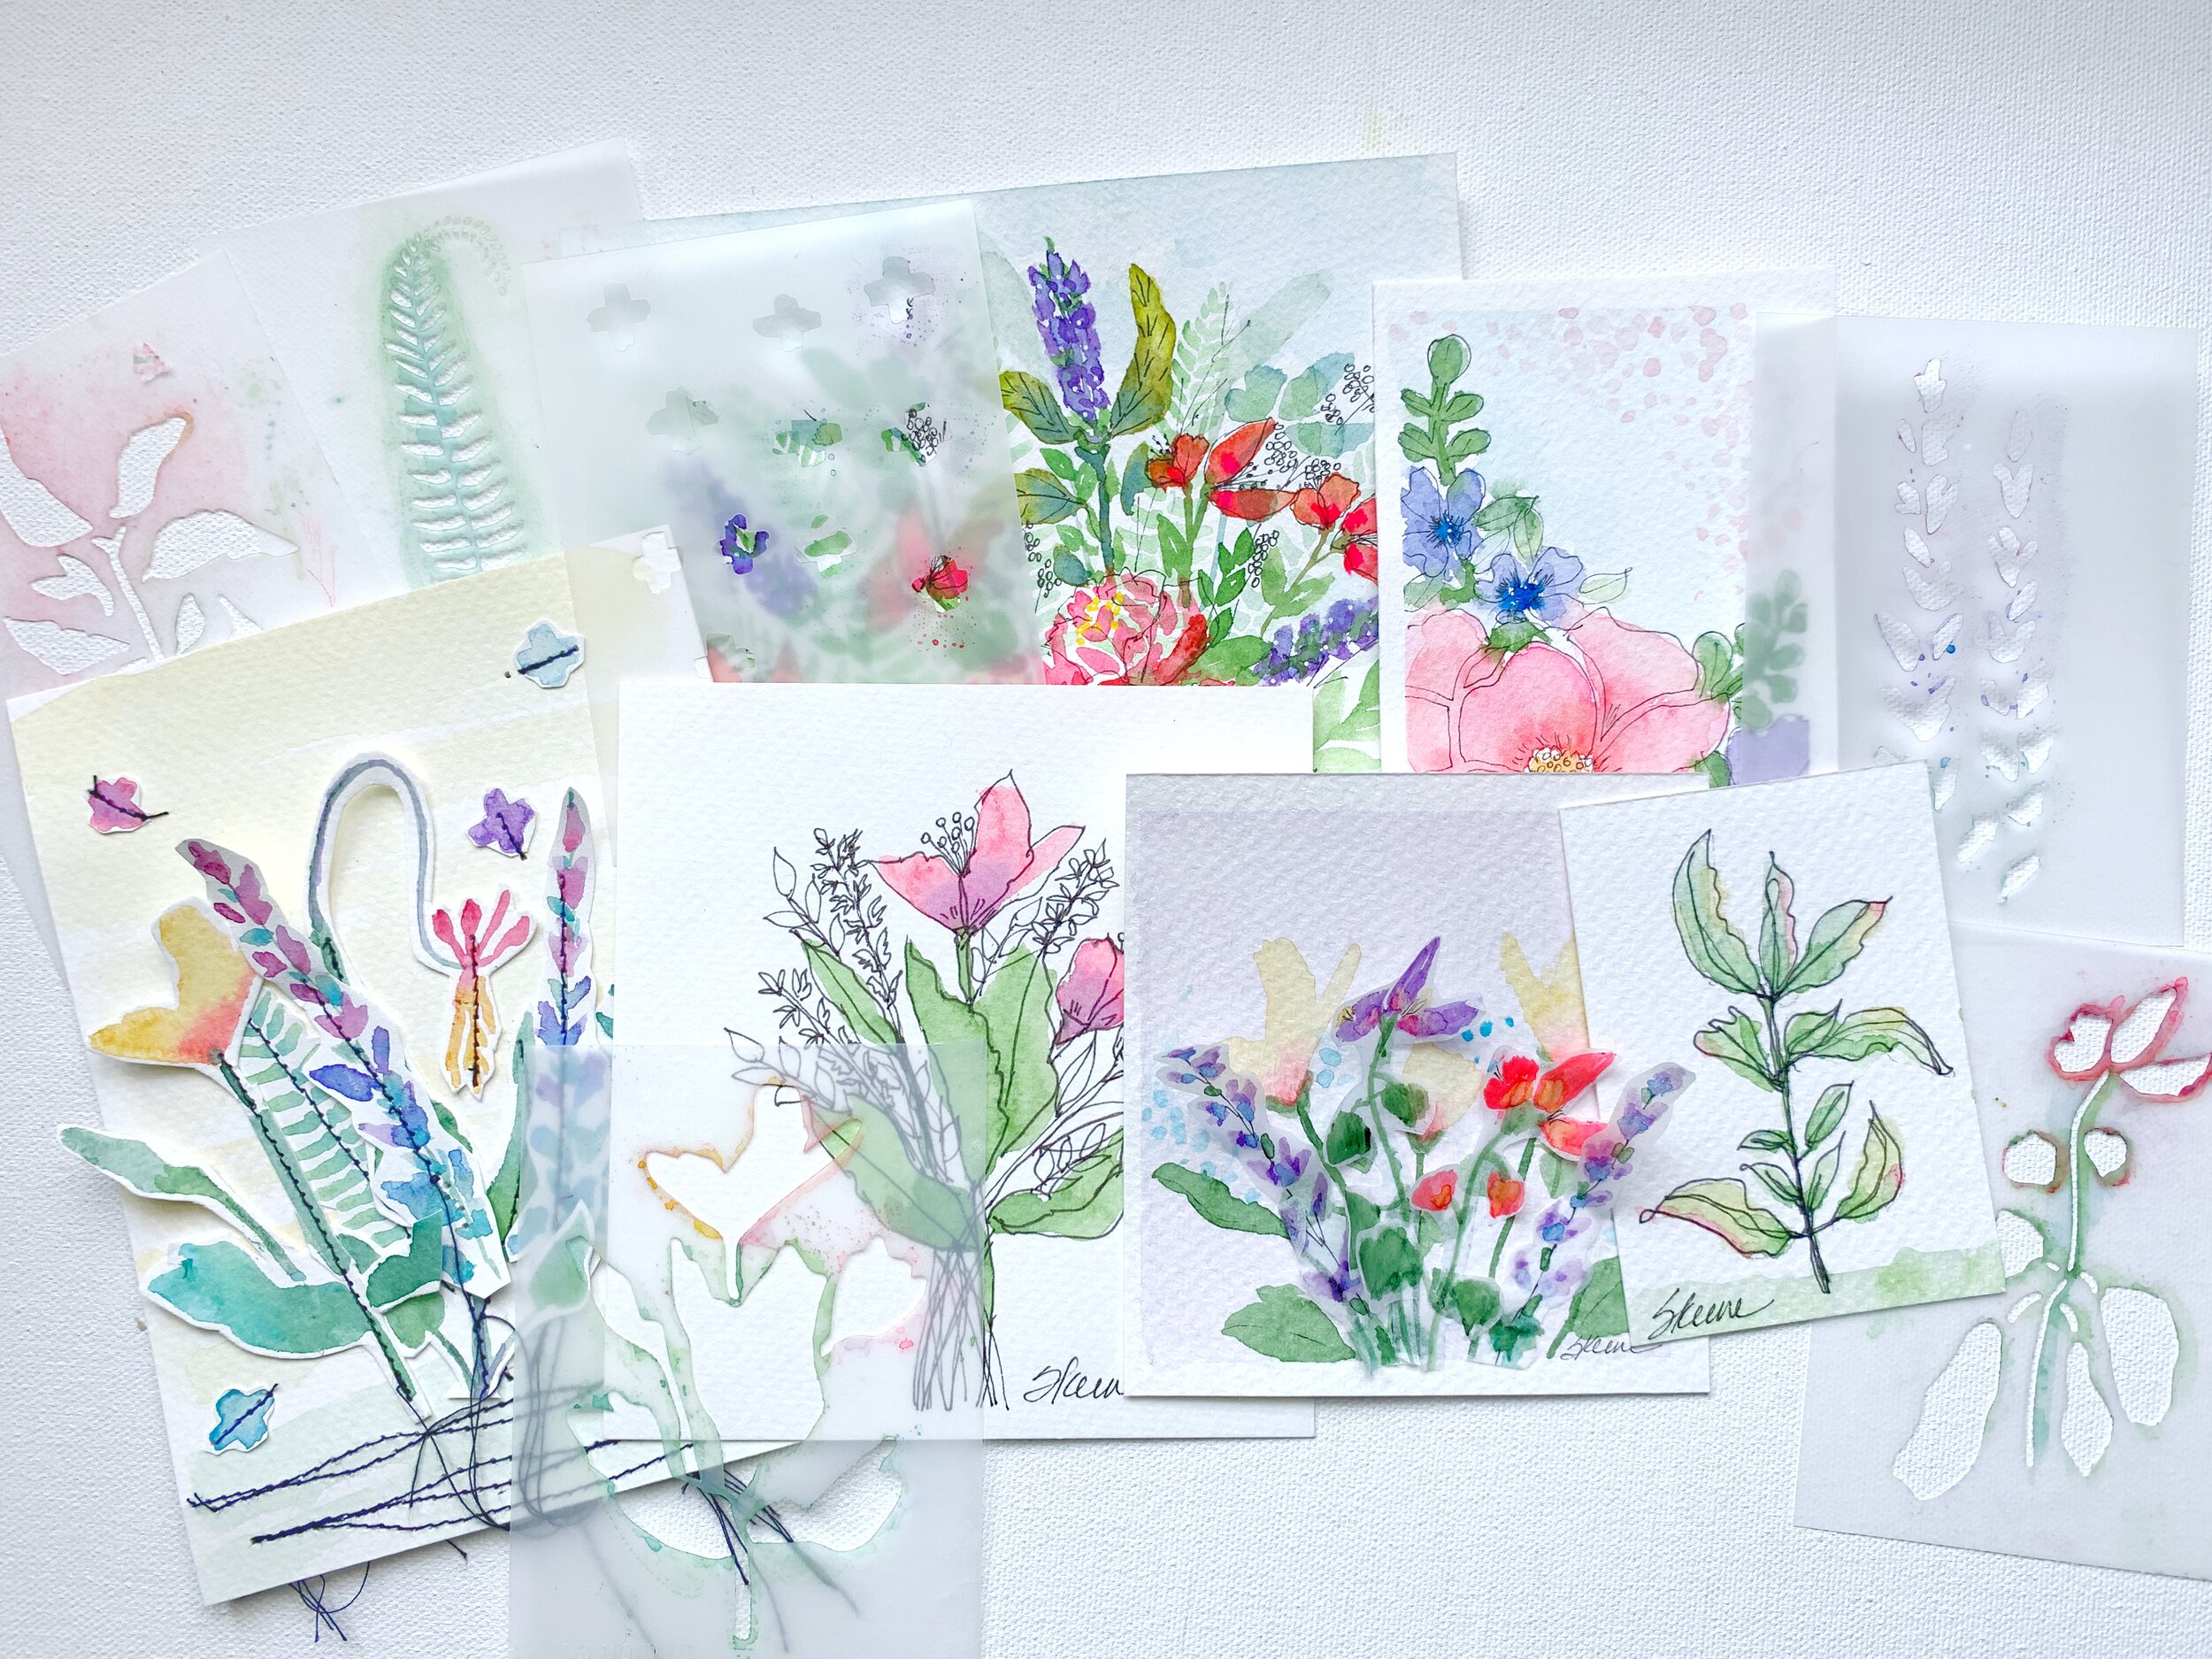
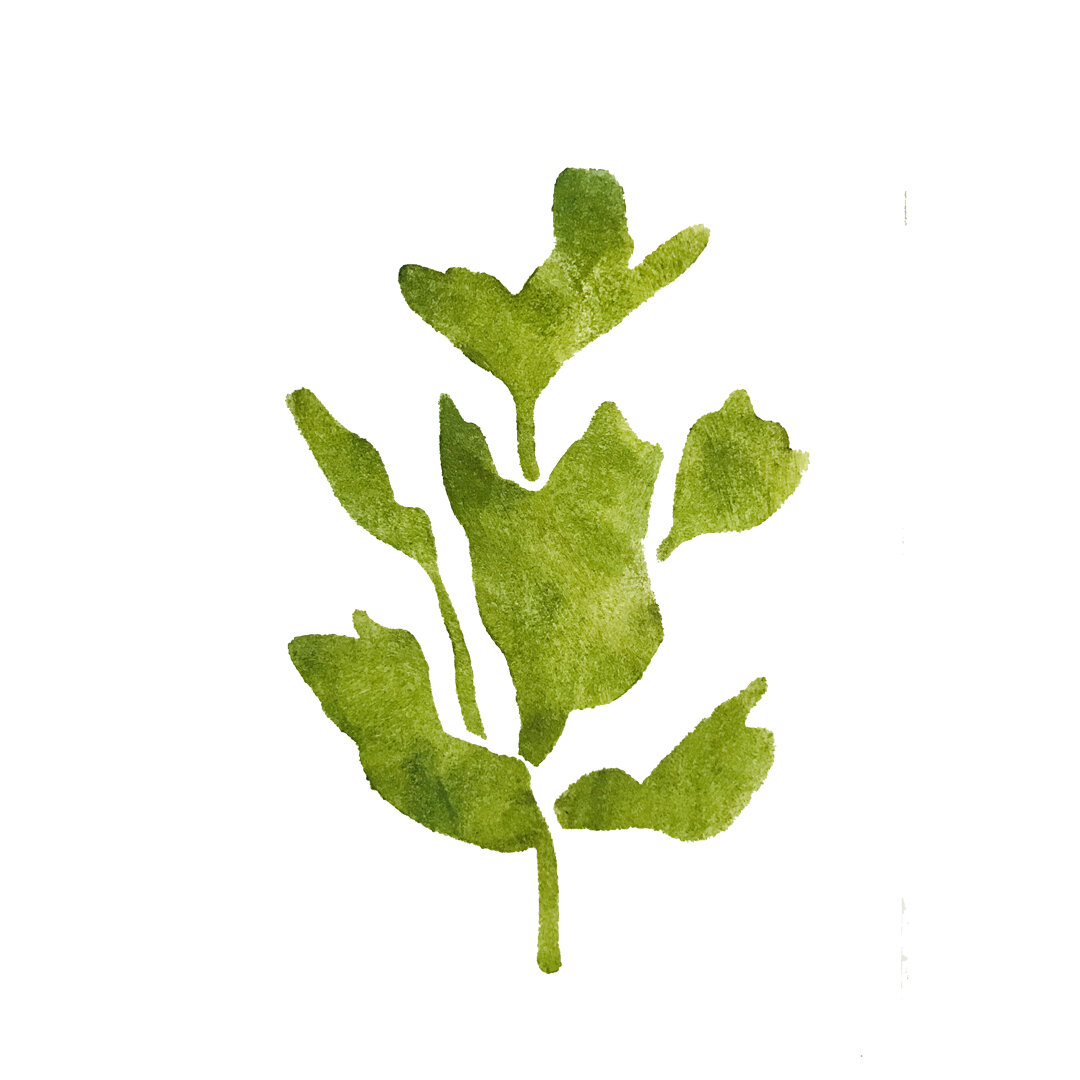
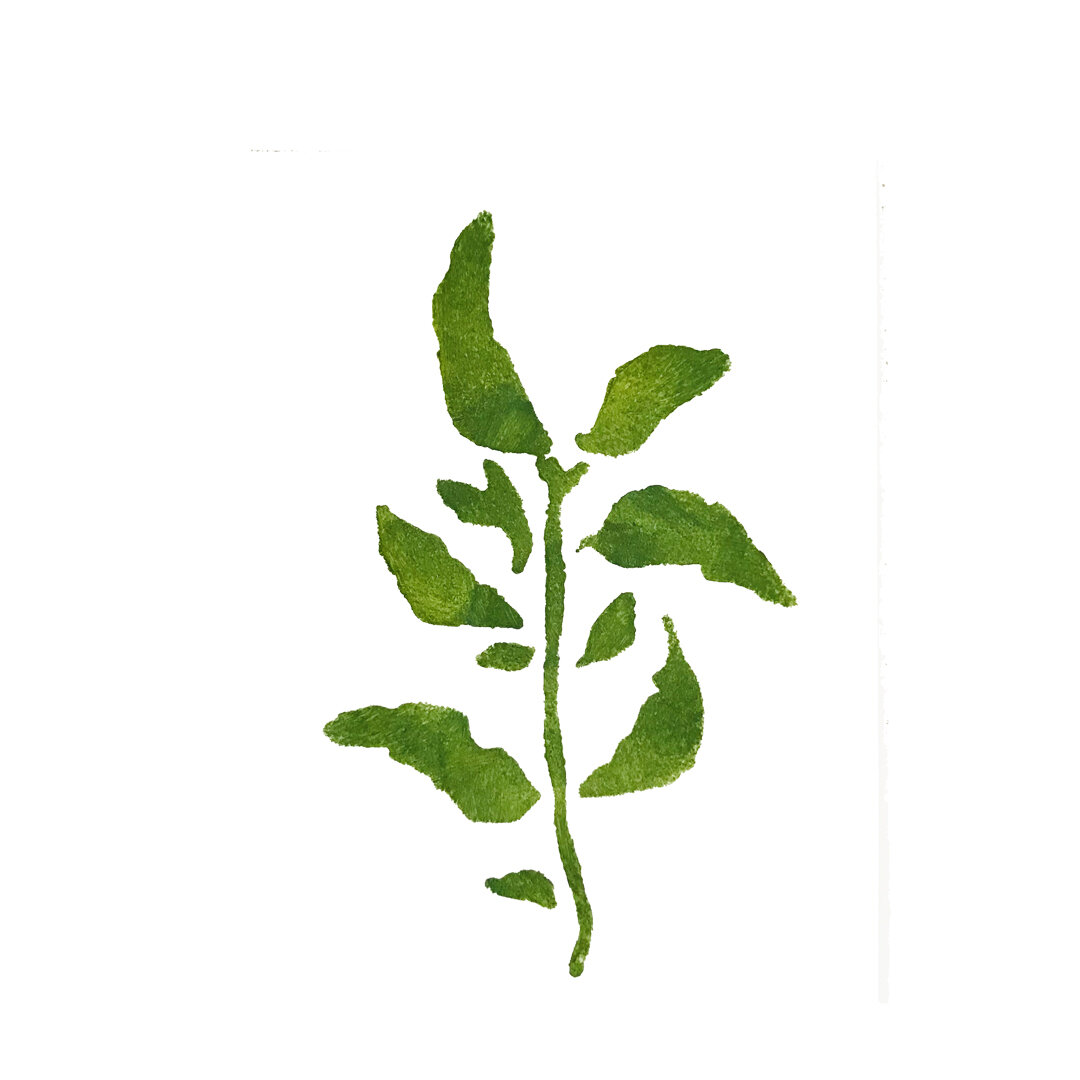
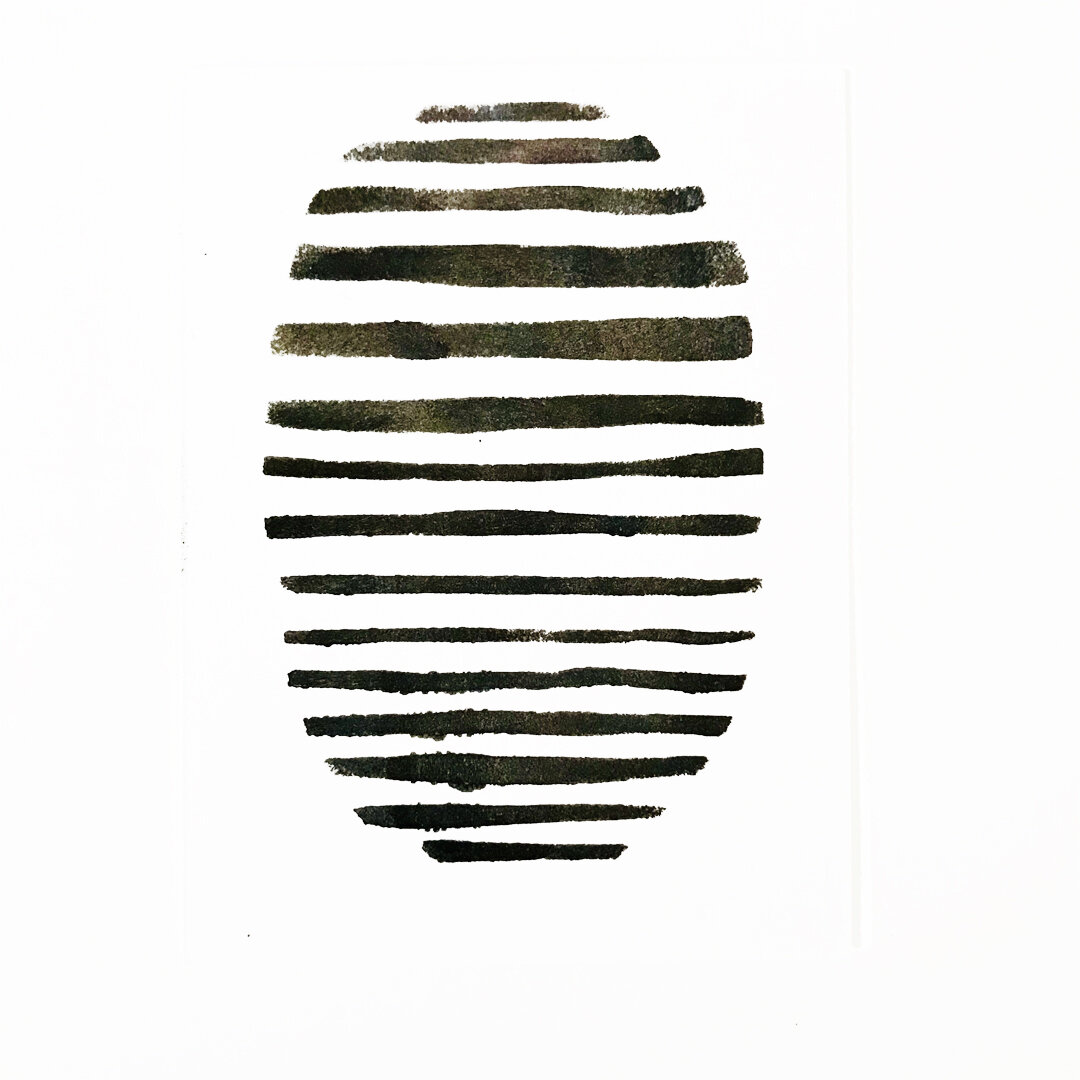
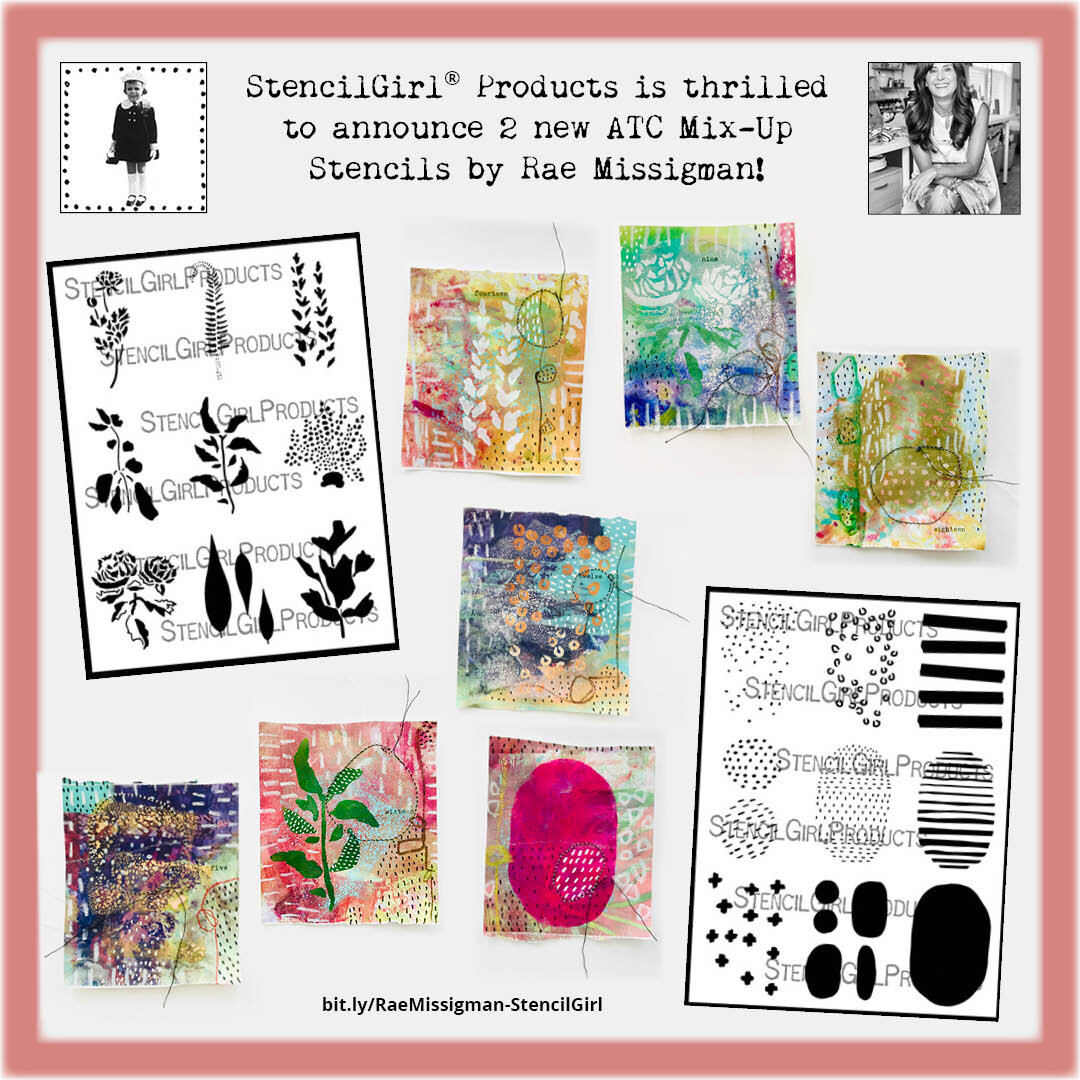
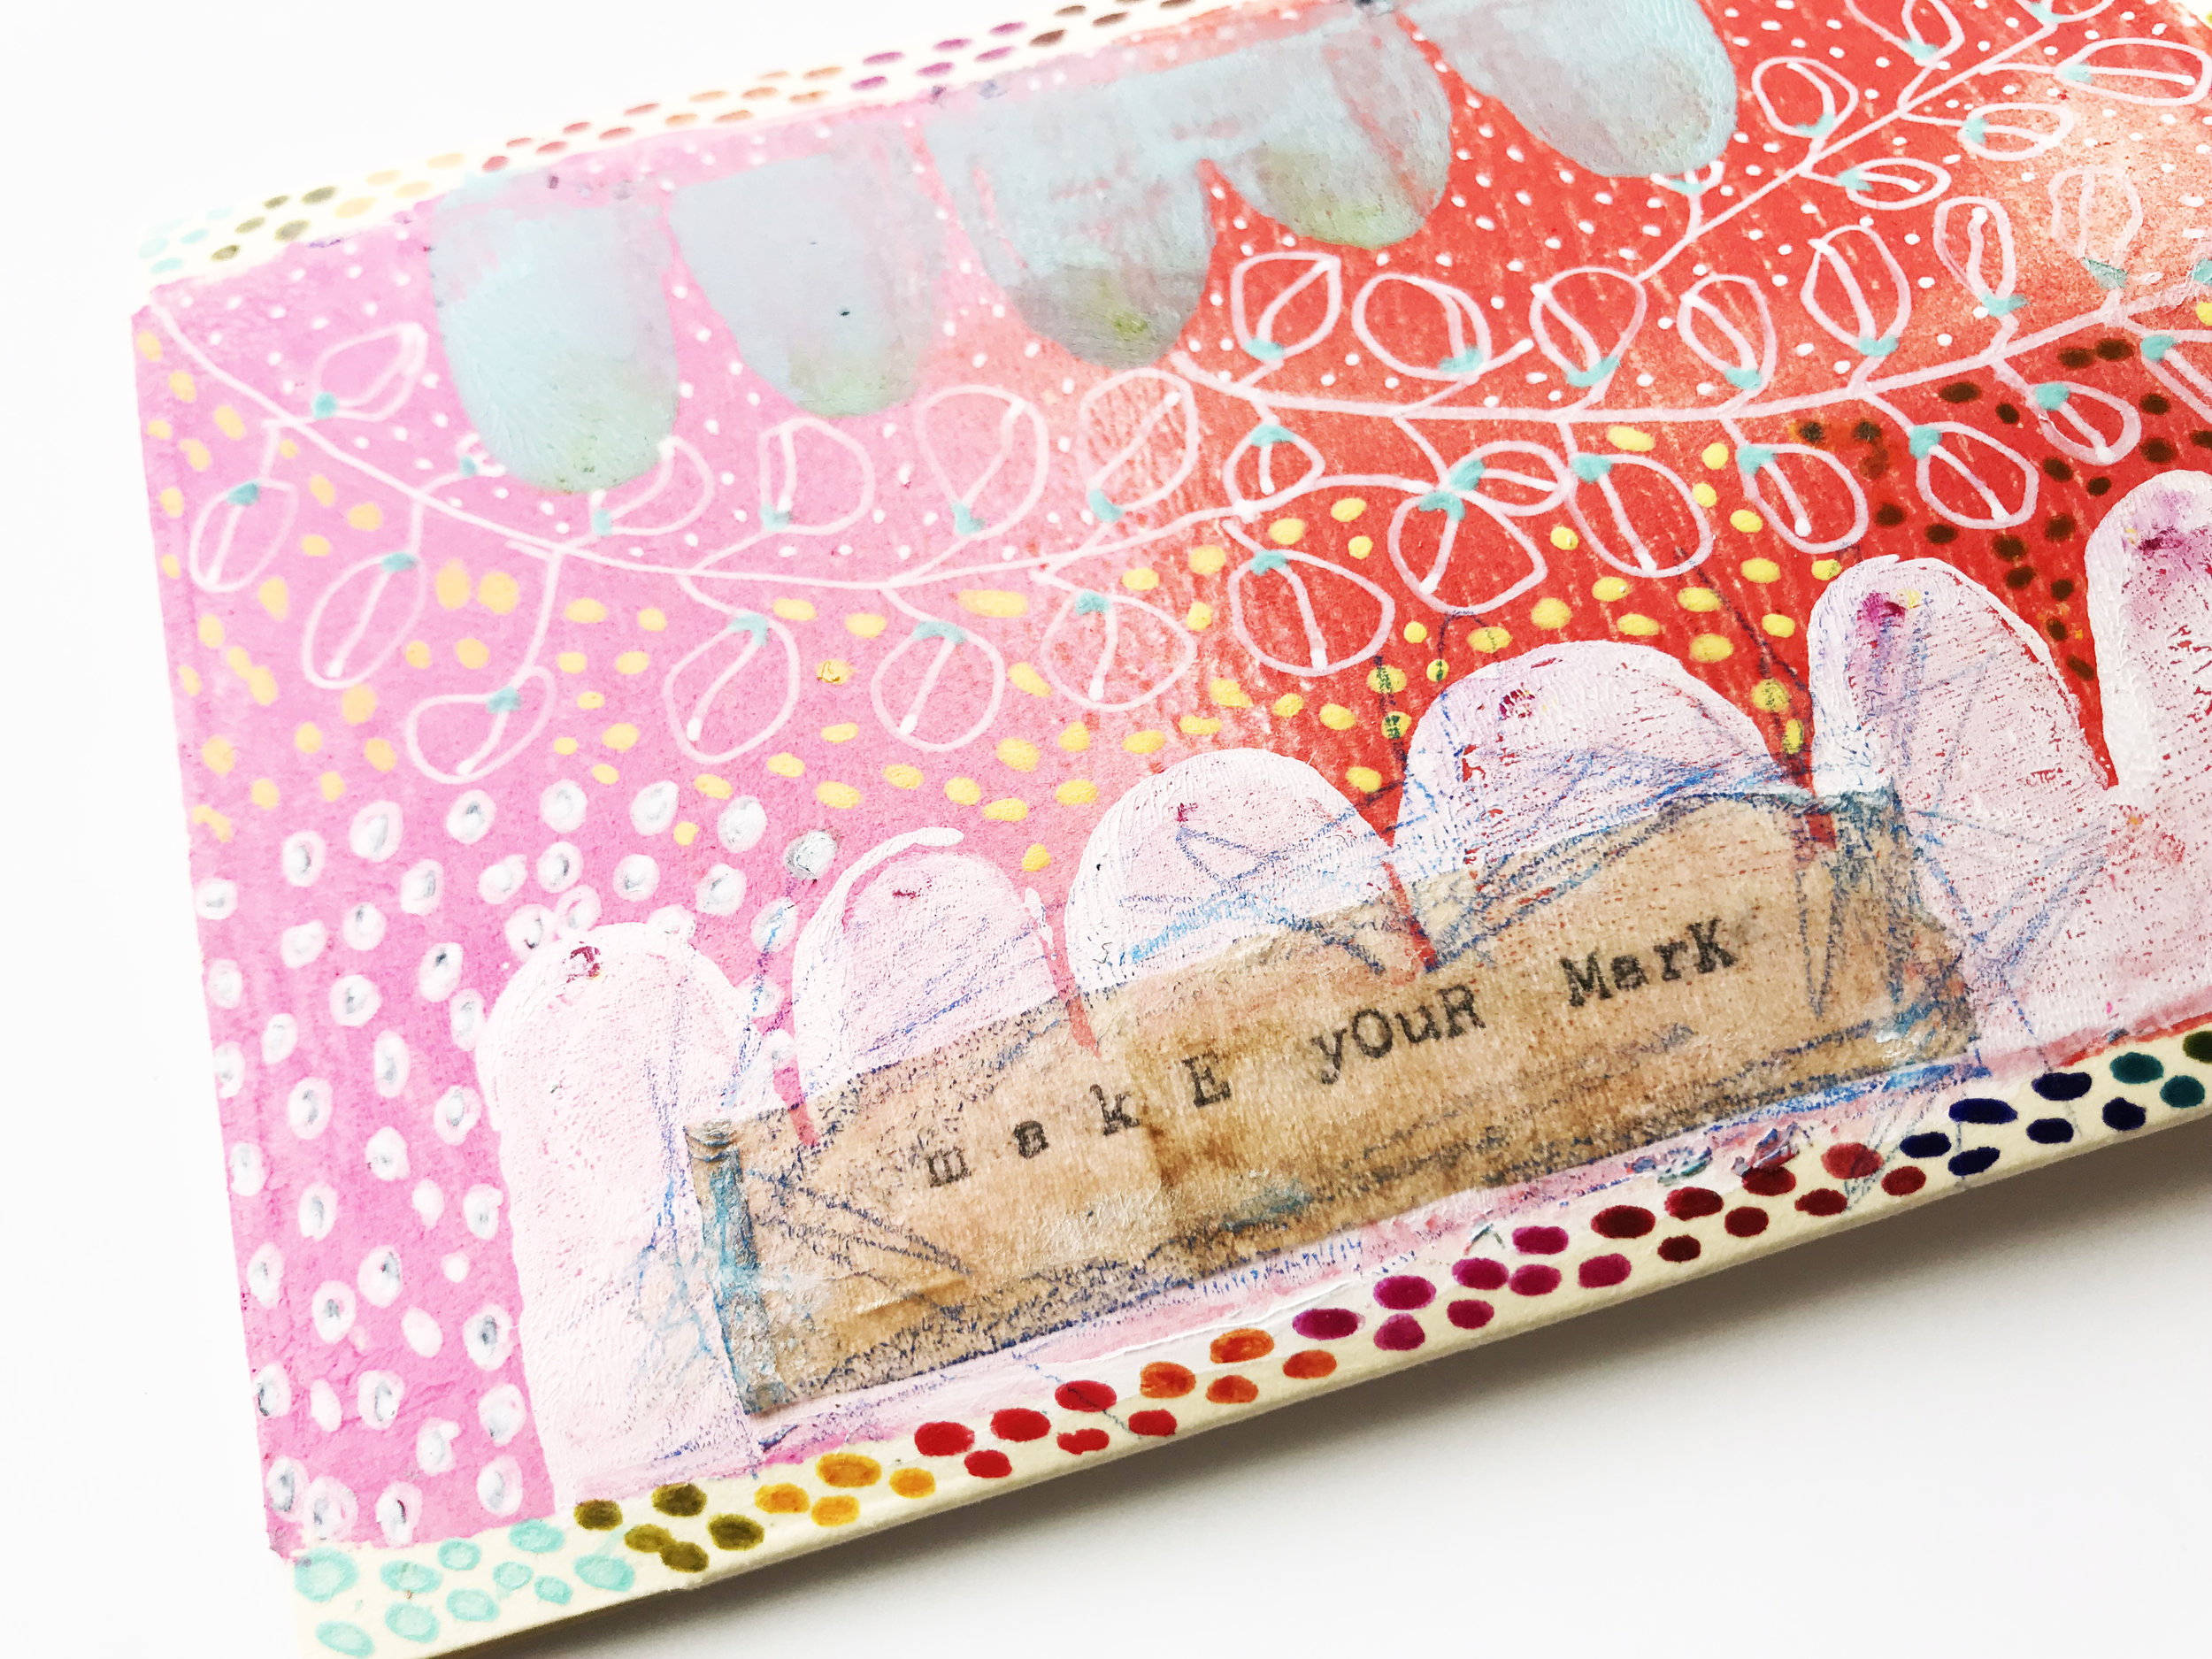
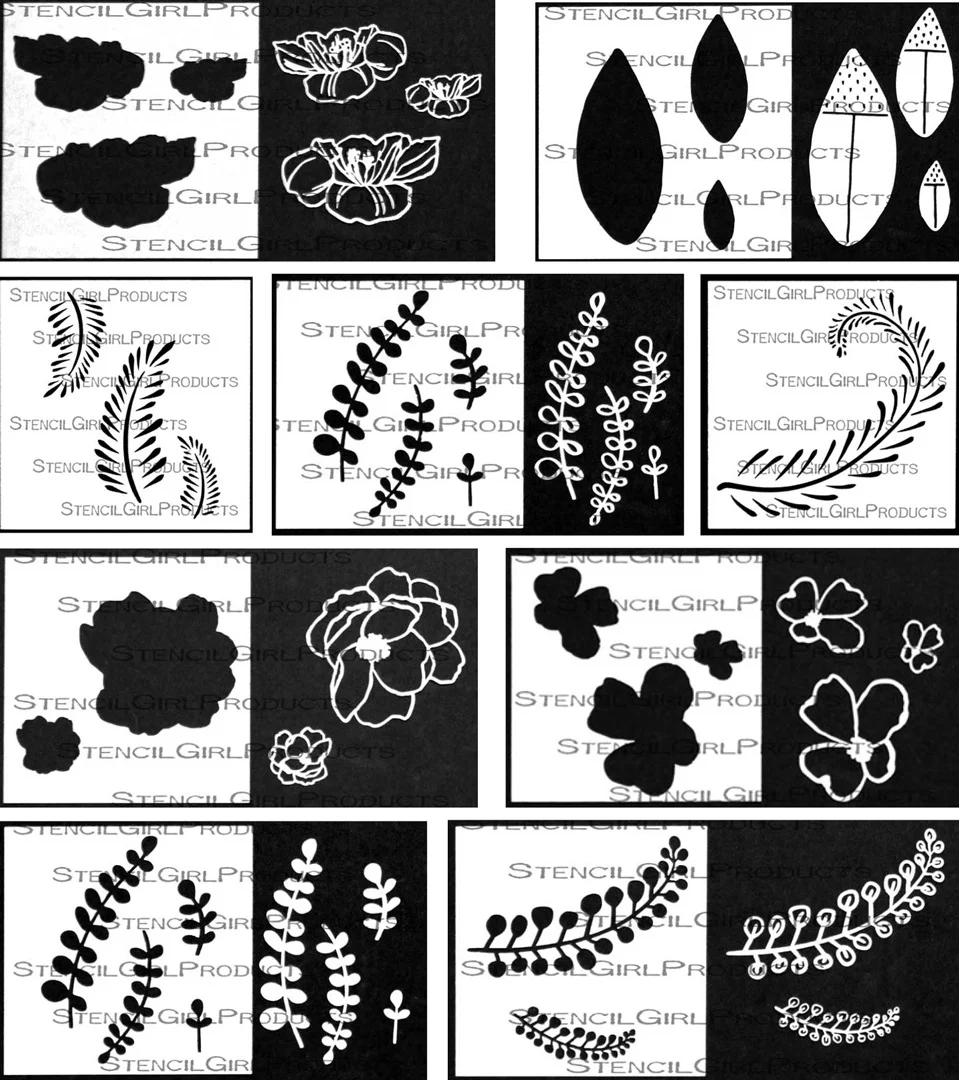
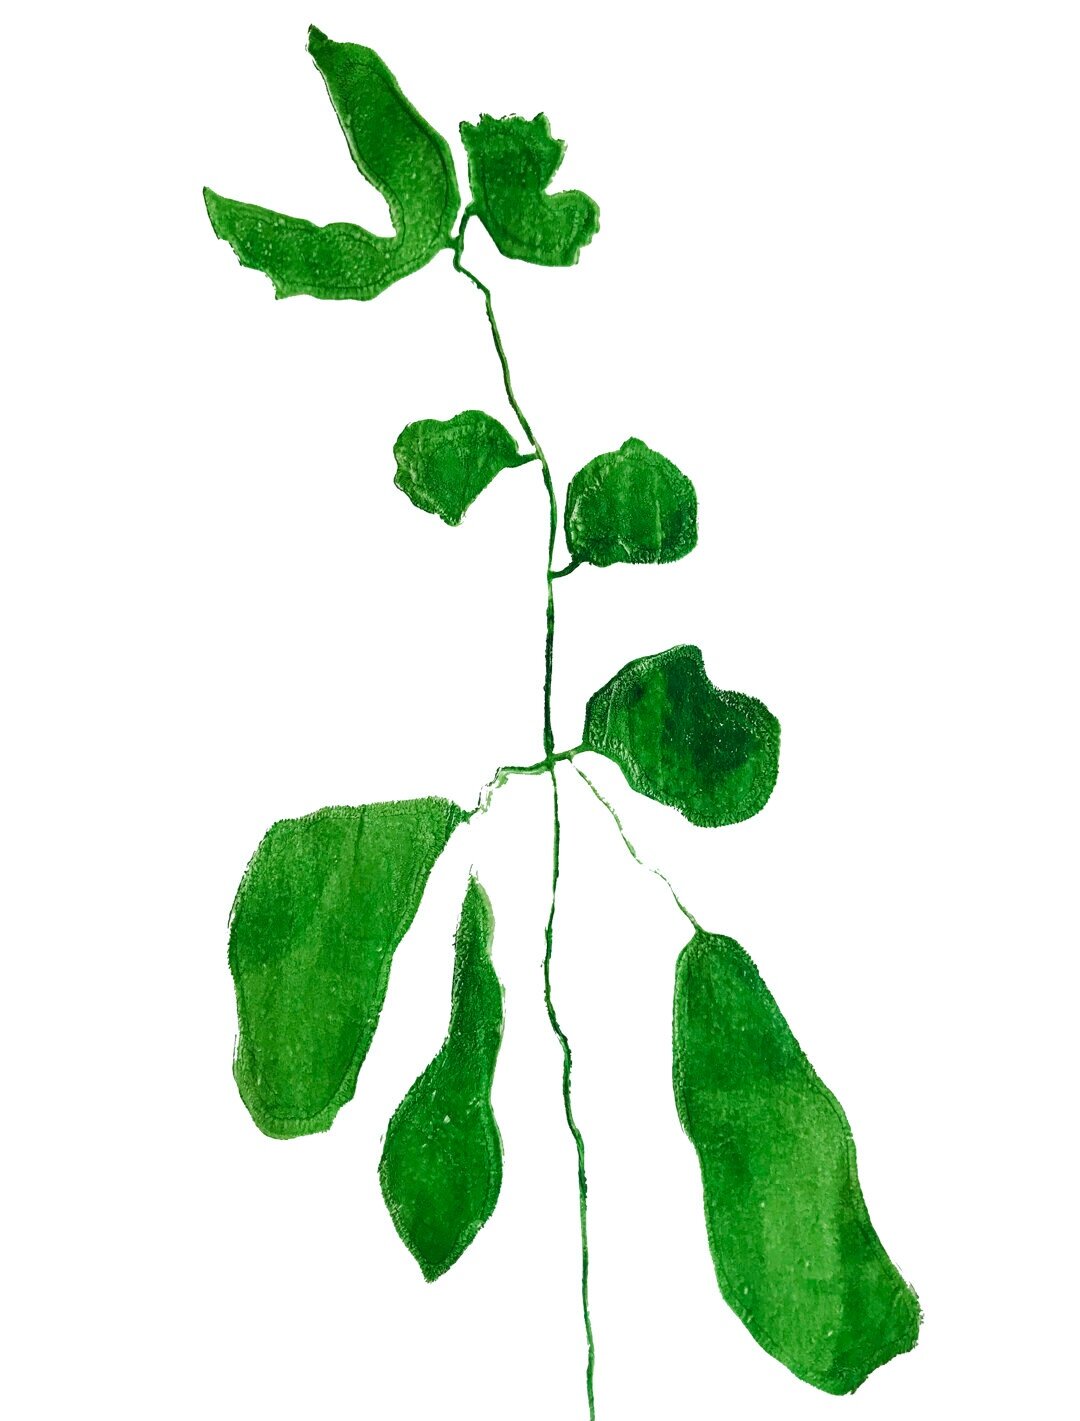
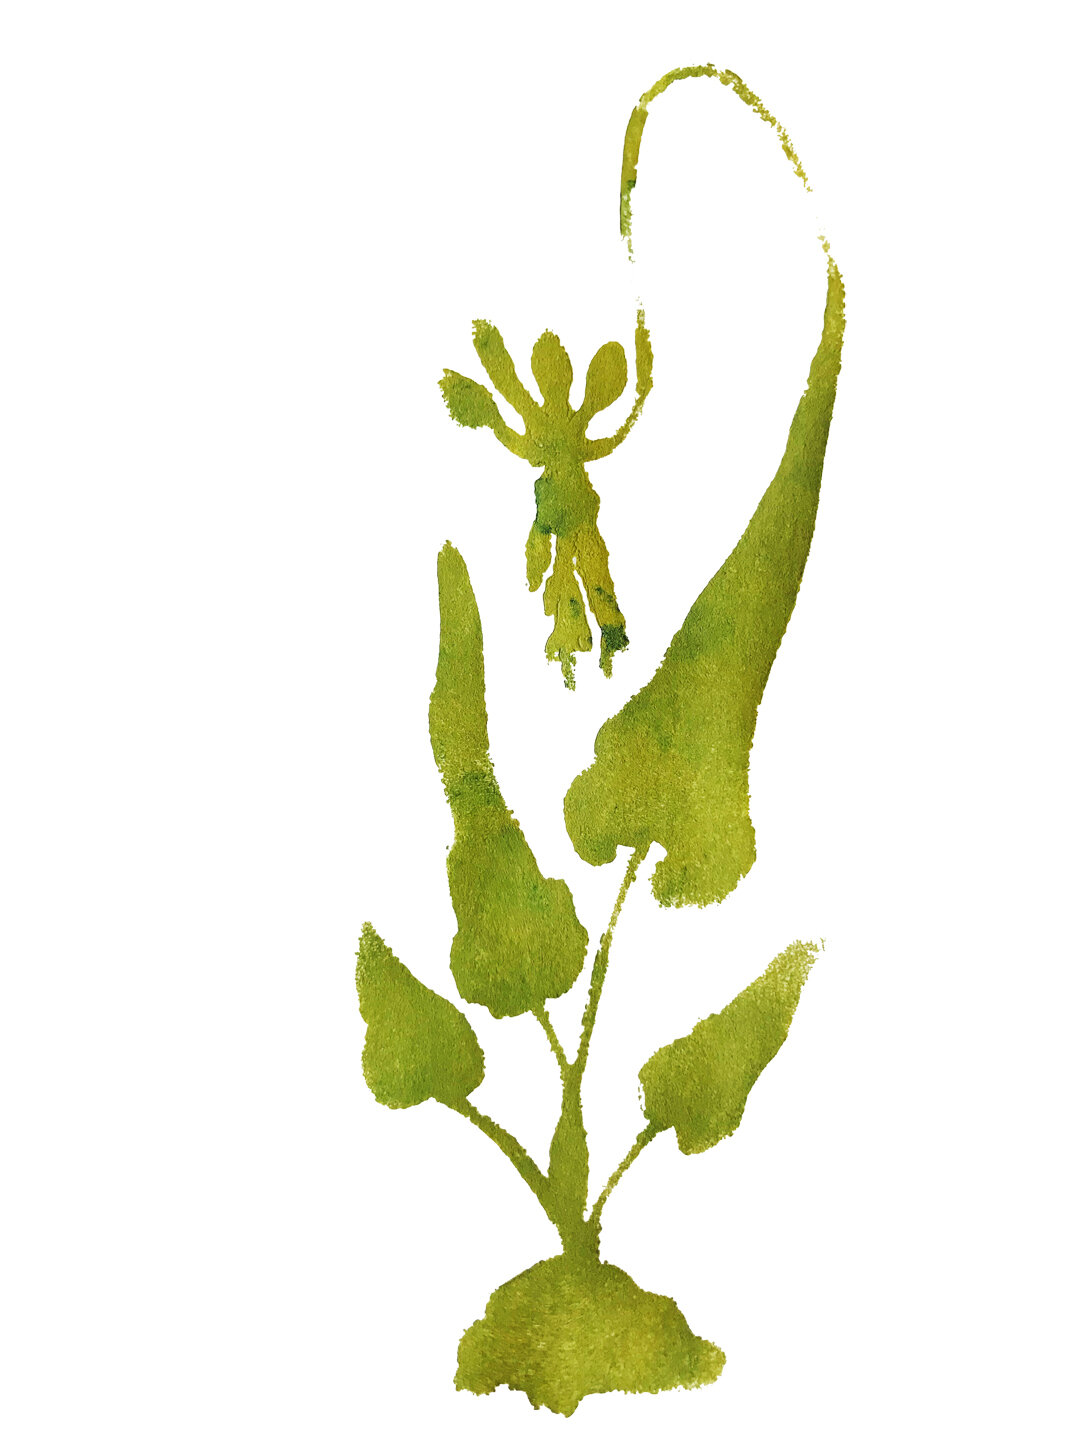
UPROOTED - BOTANICAL STEM STENCIL & MASK was inspired by the Botanic Gardens room dedicated to herbs, and their medicinal properties-specifically a beautiful oversized sage plant which intrigued me with its large weeping leaves and delicate stems.

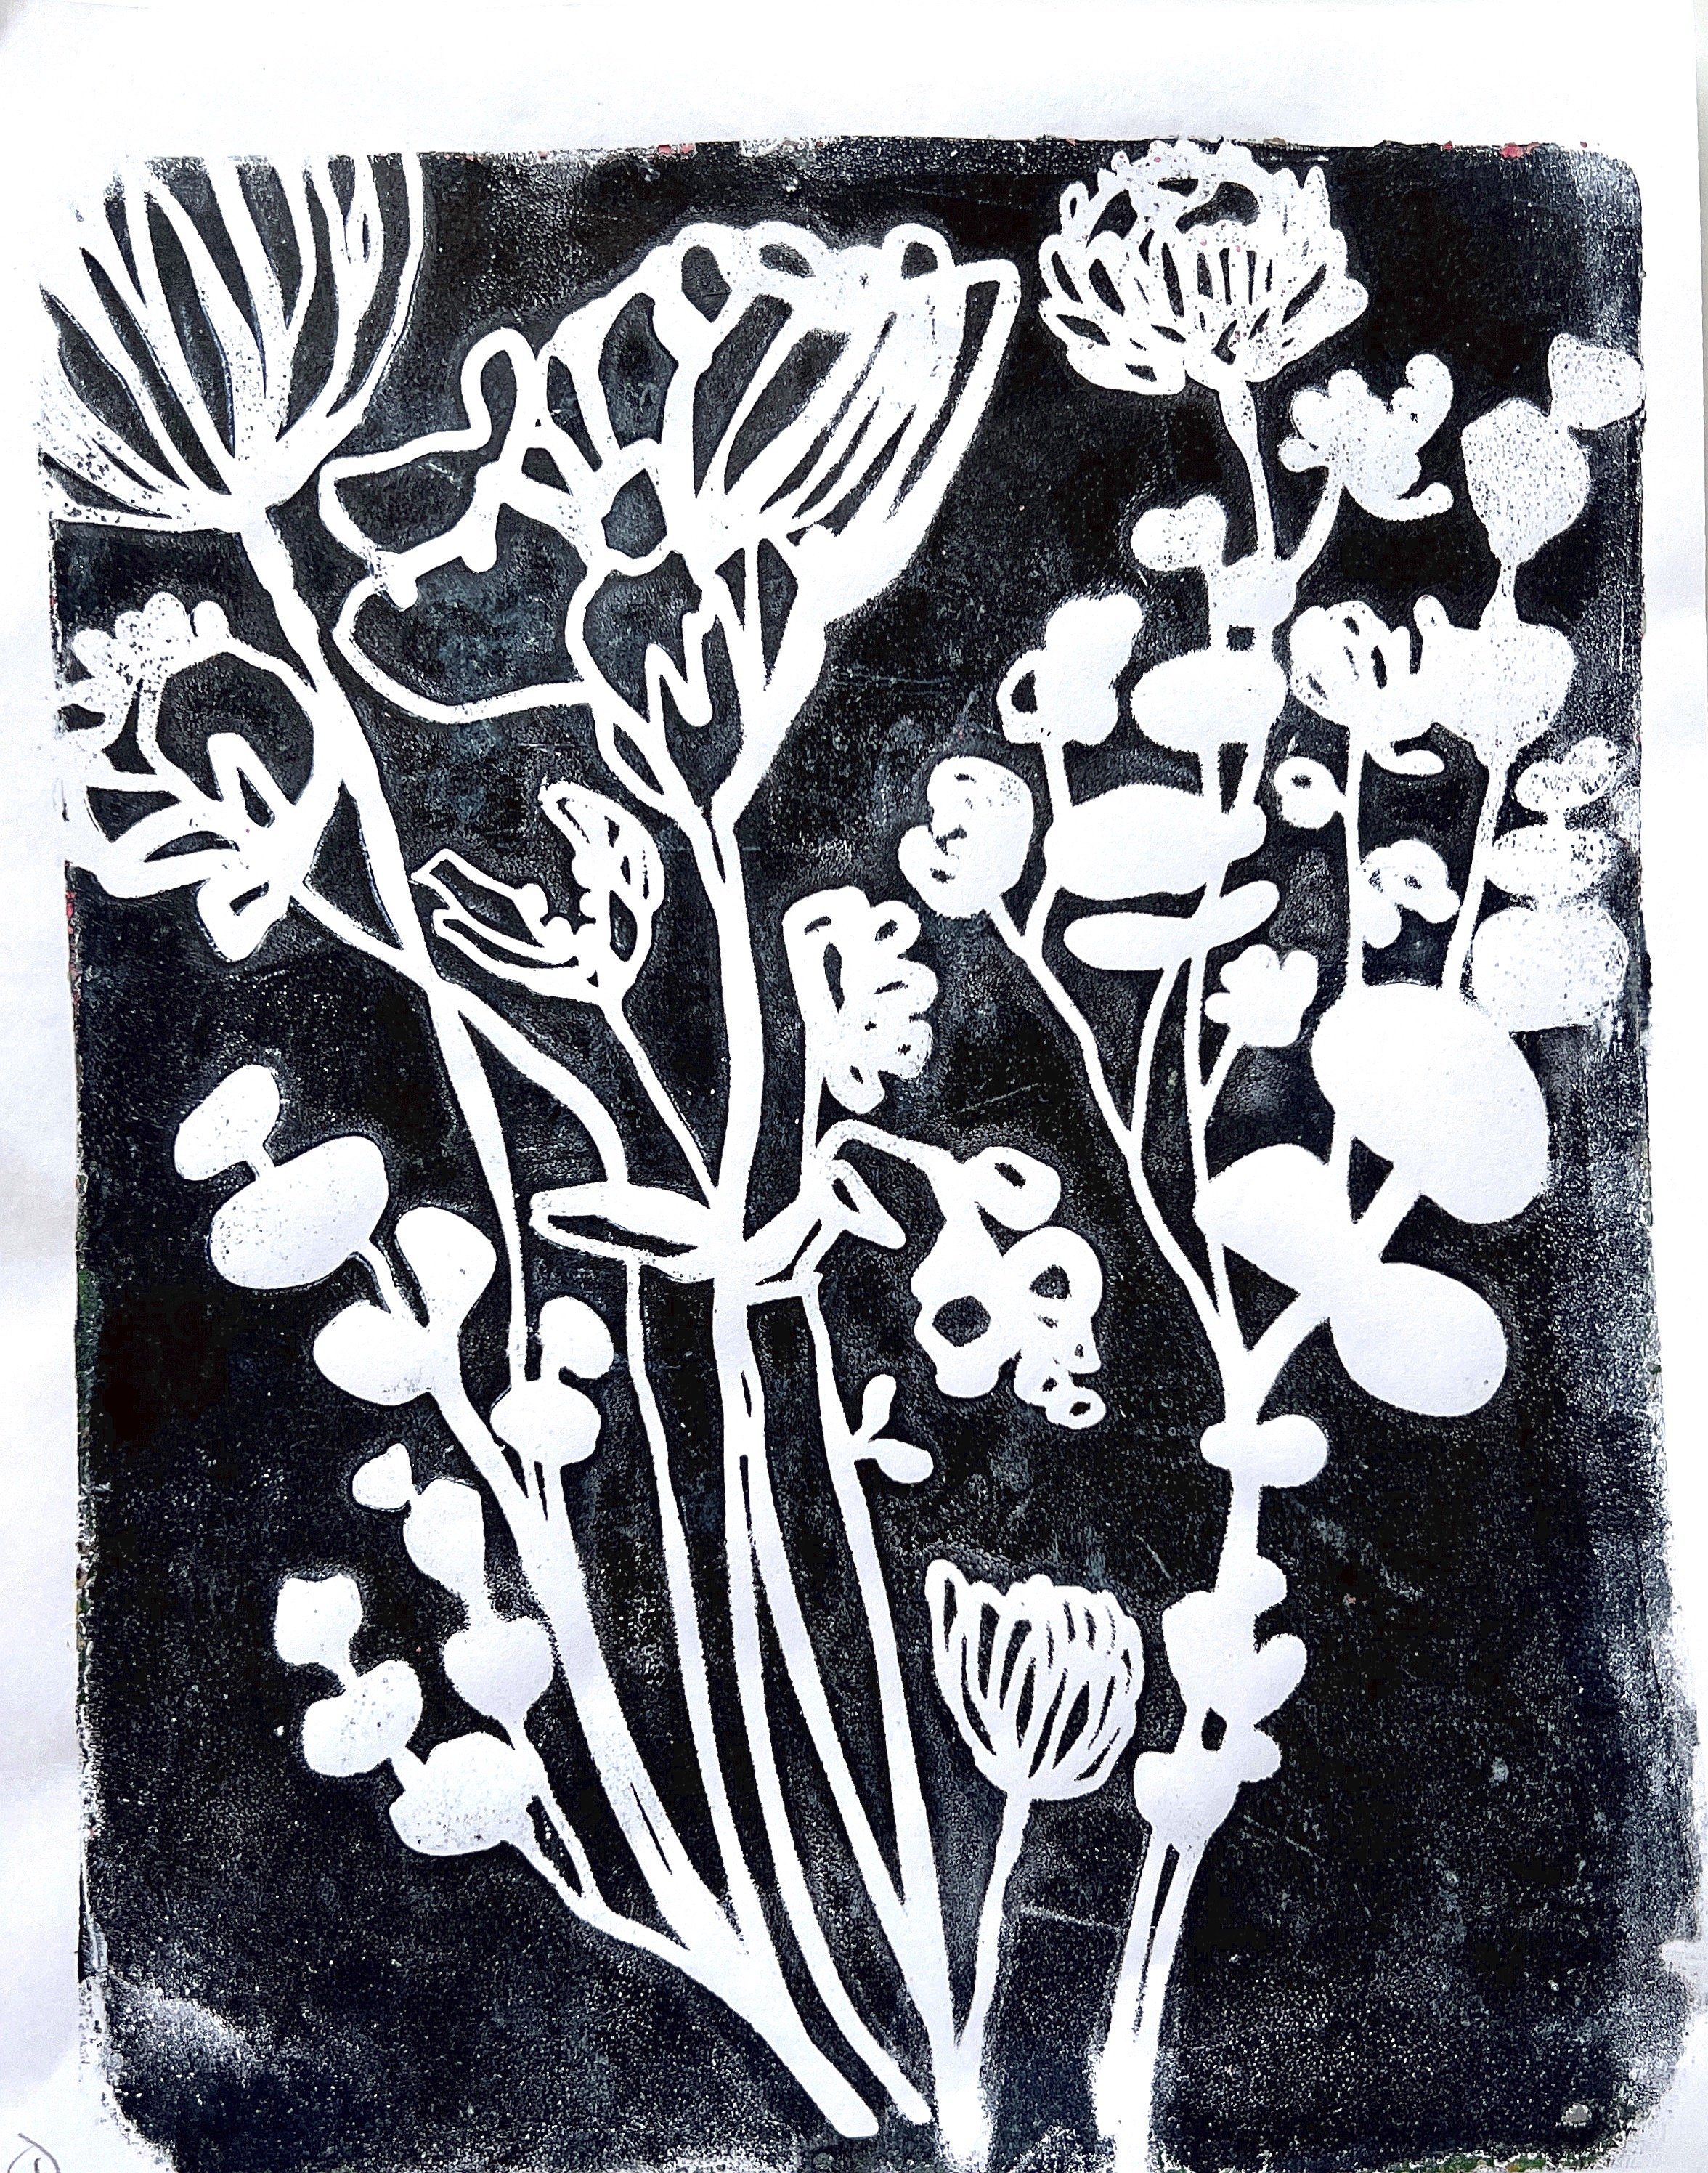
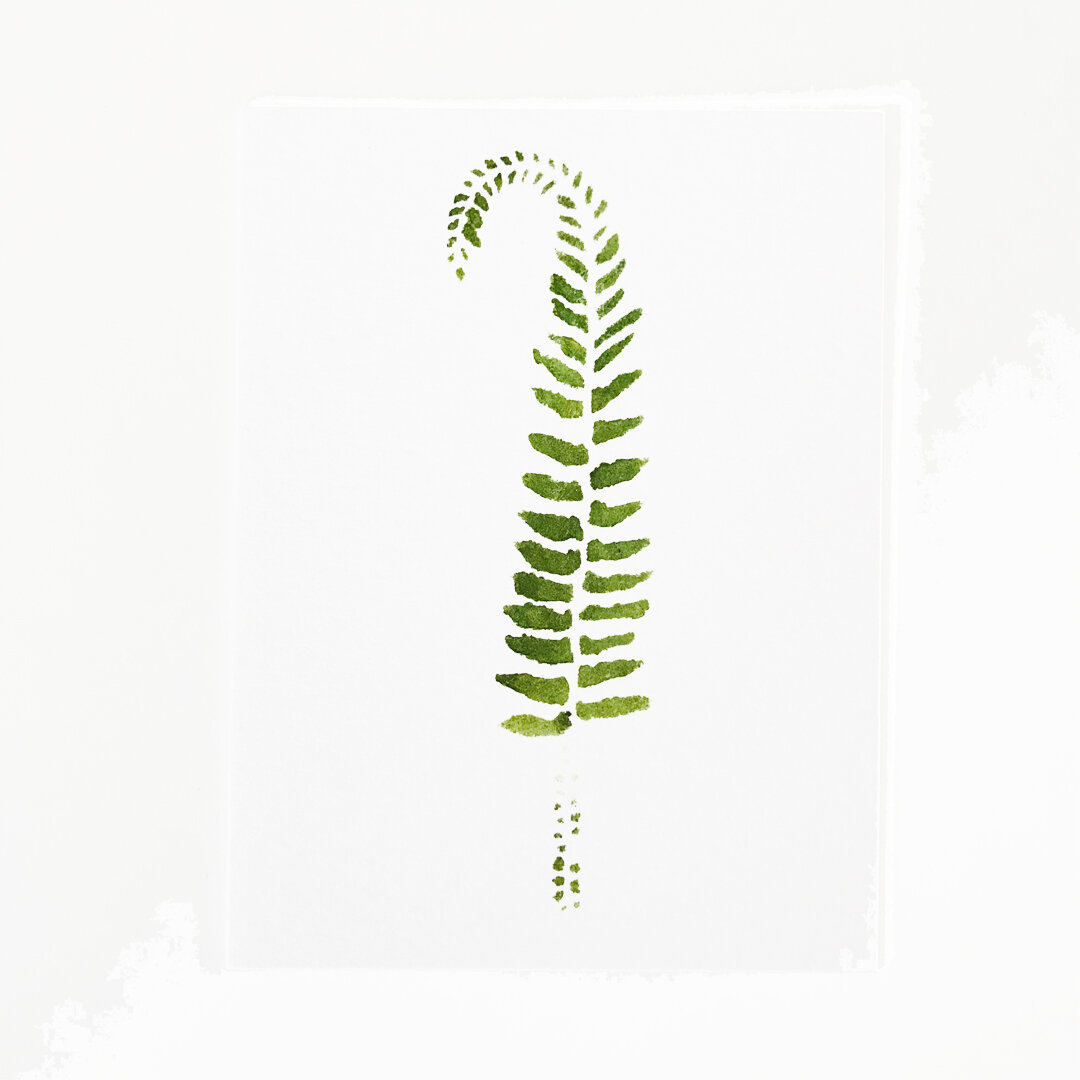
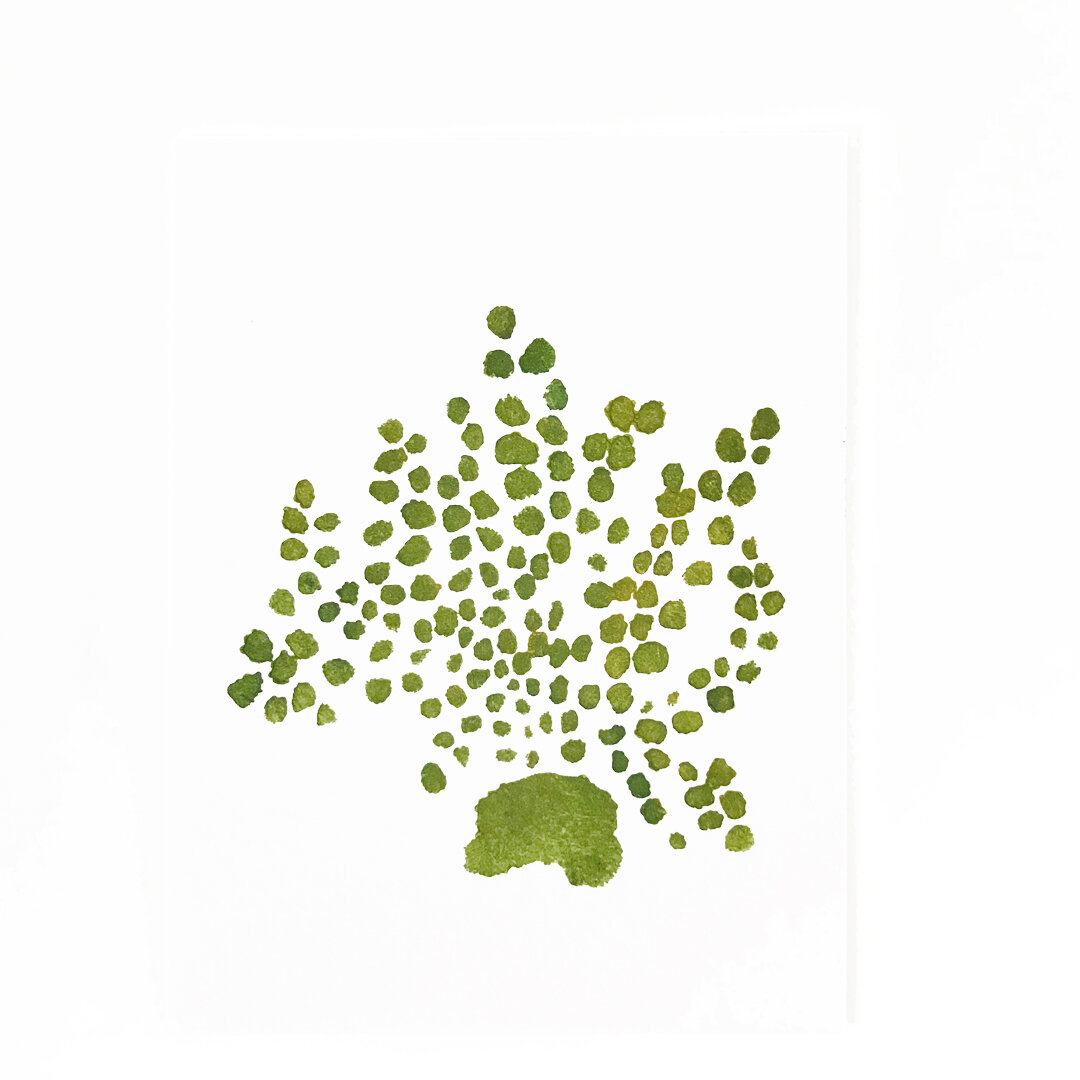
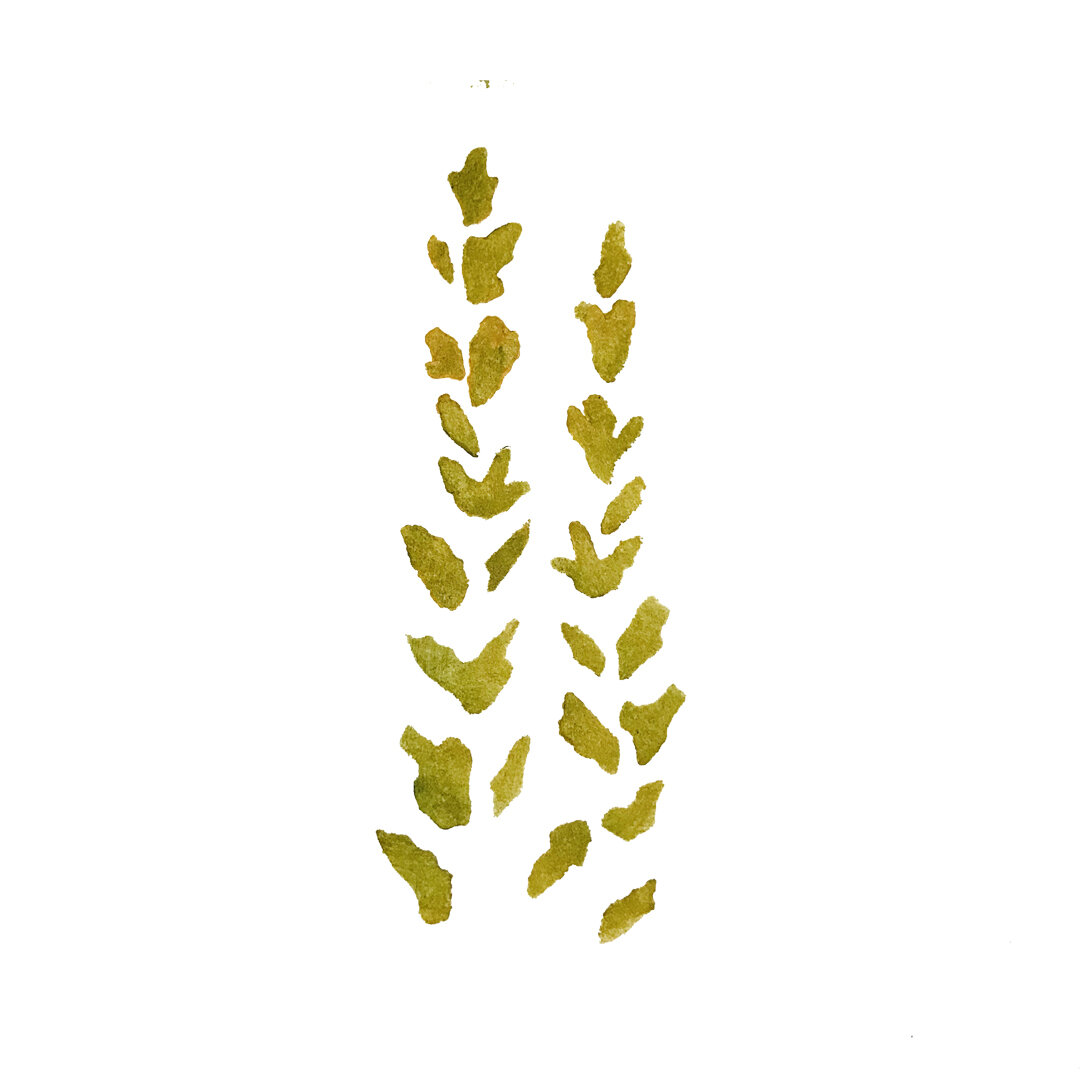
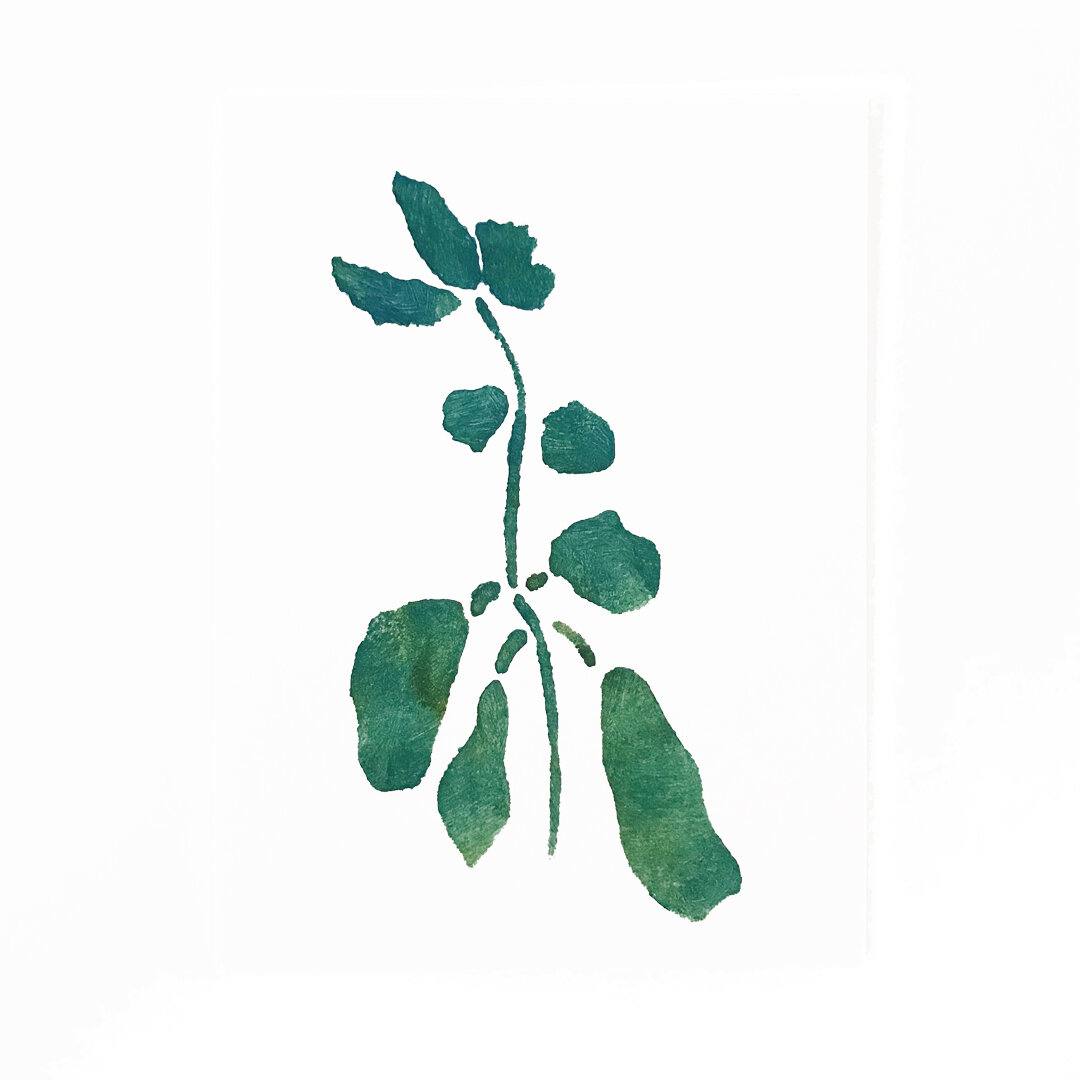
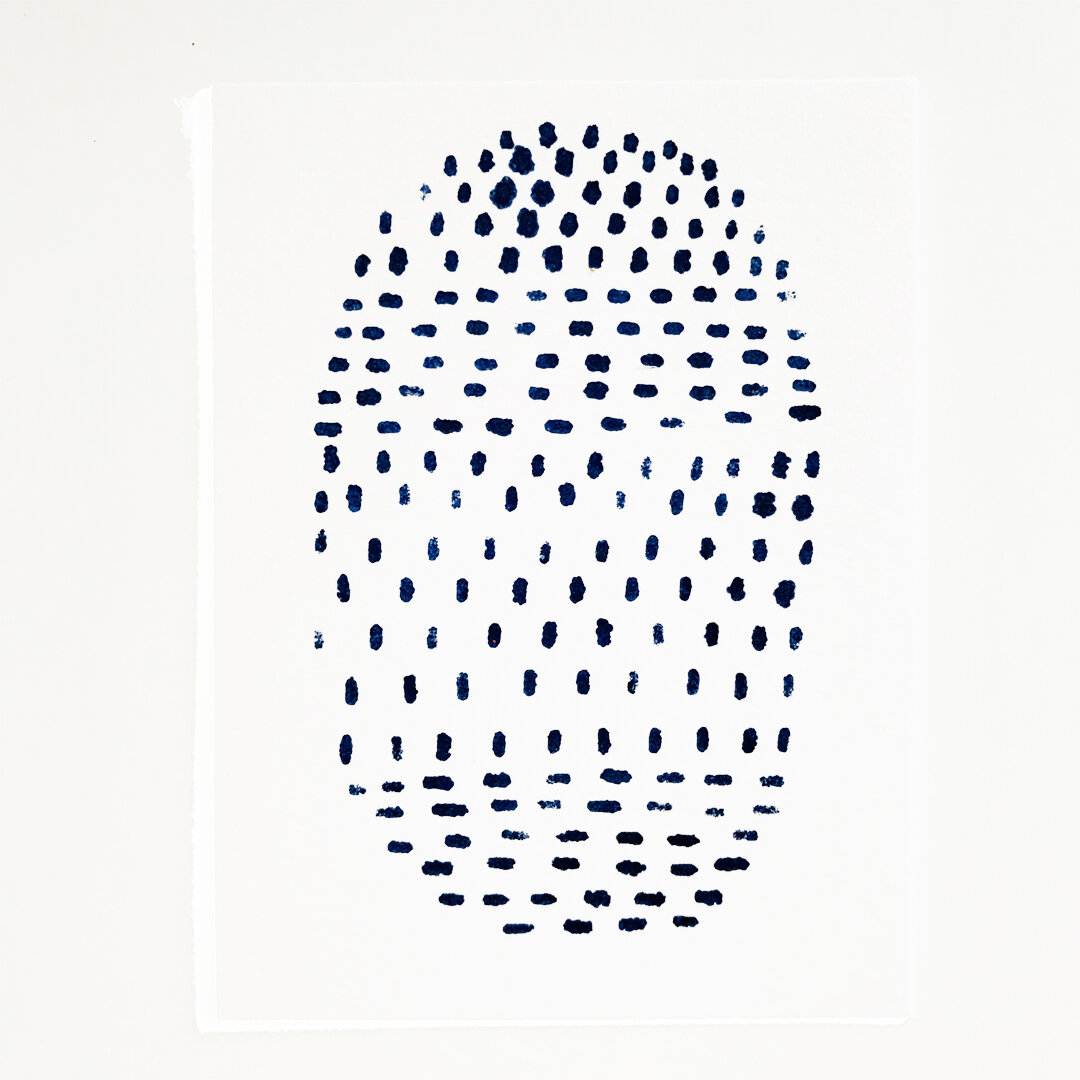
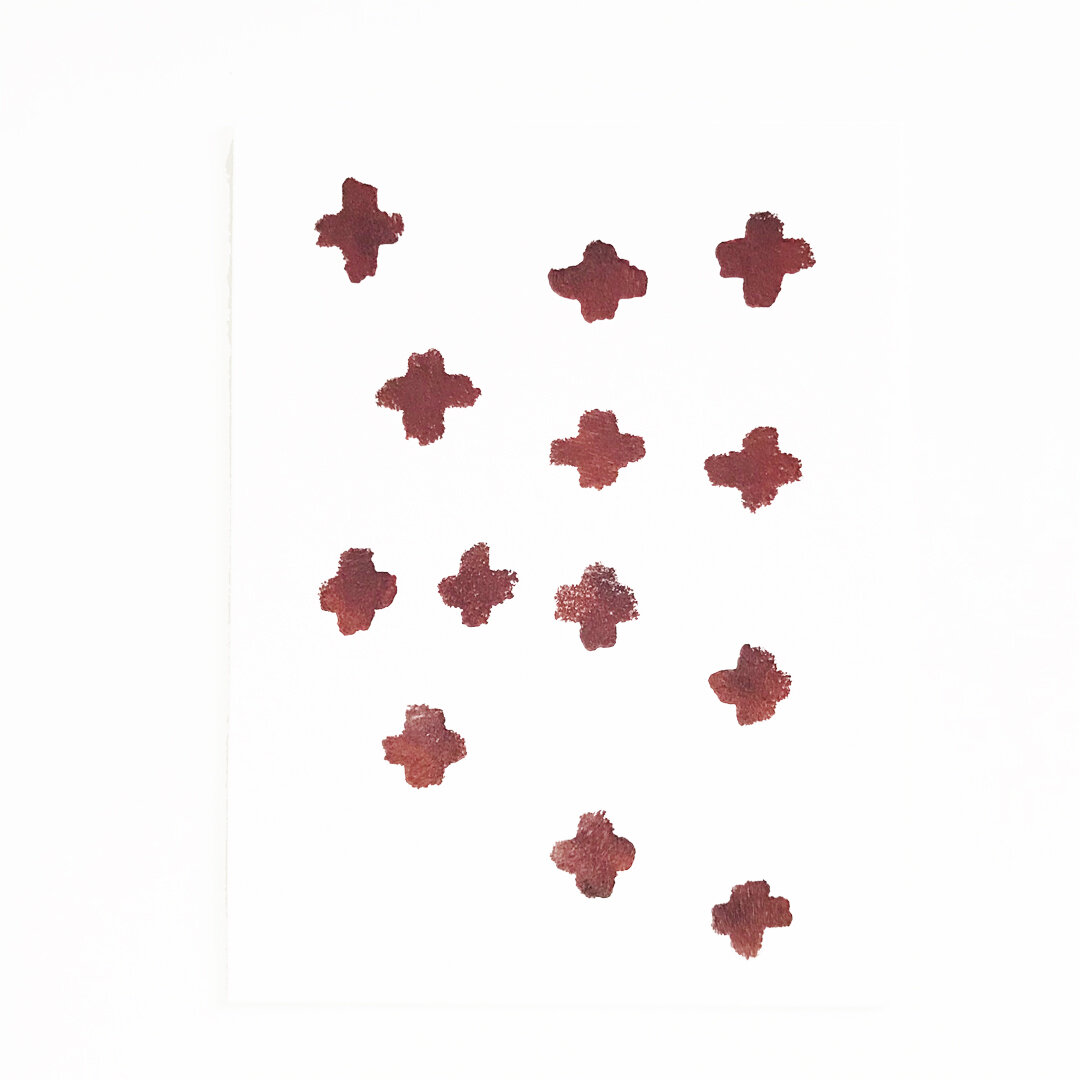
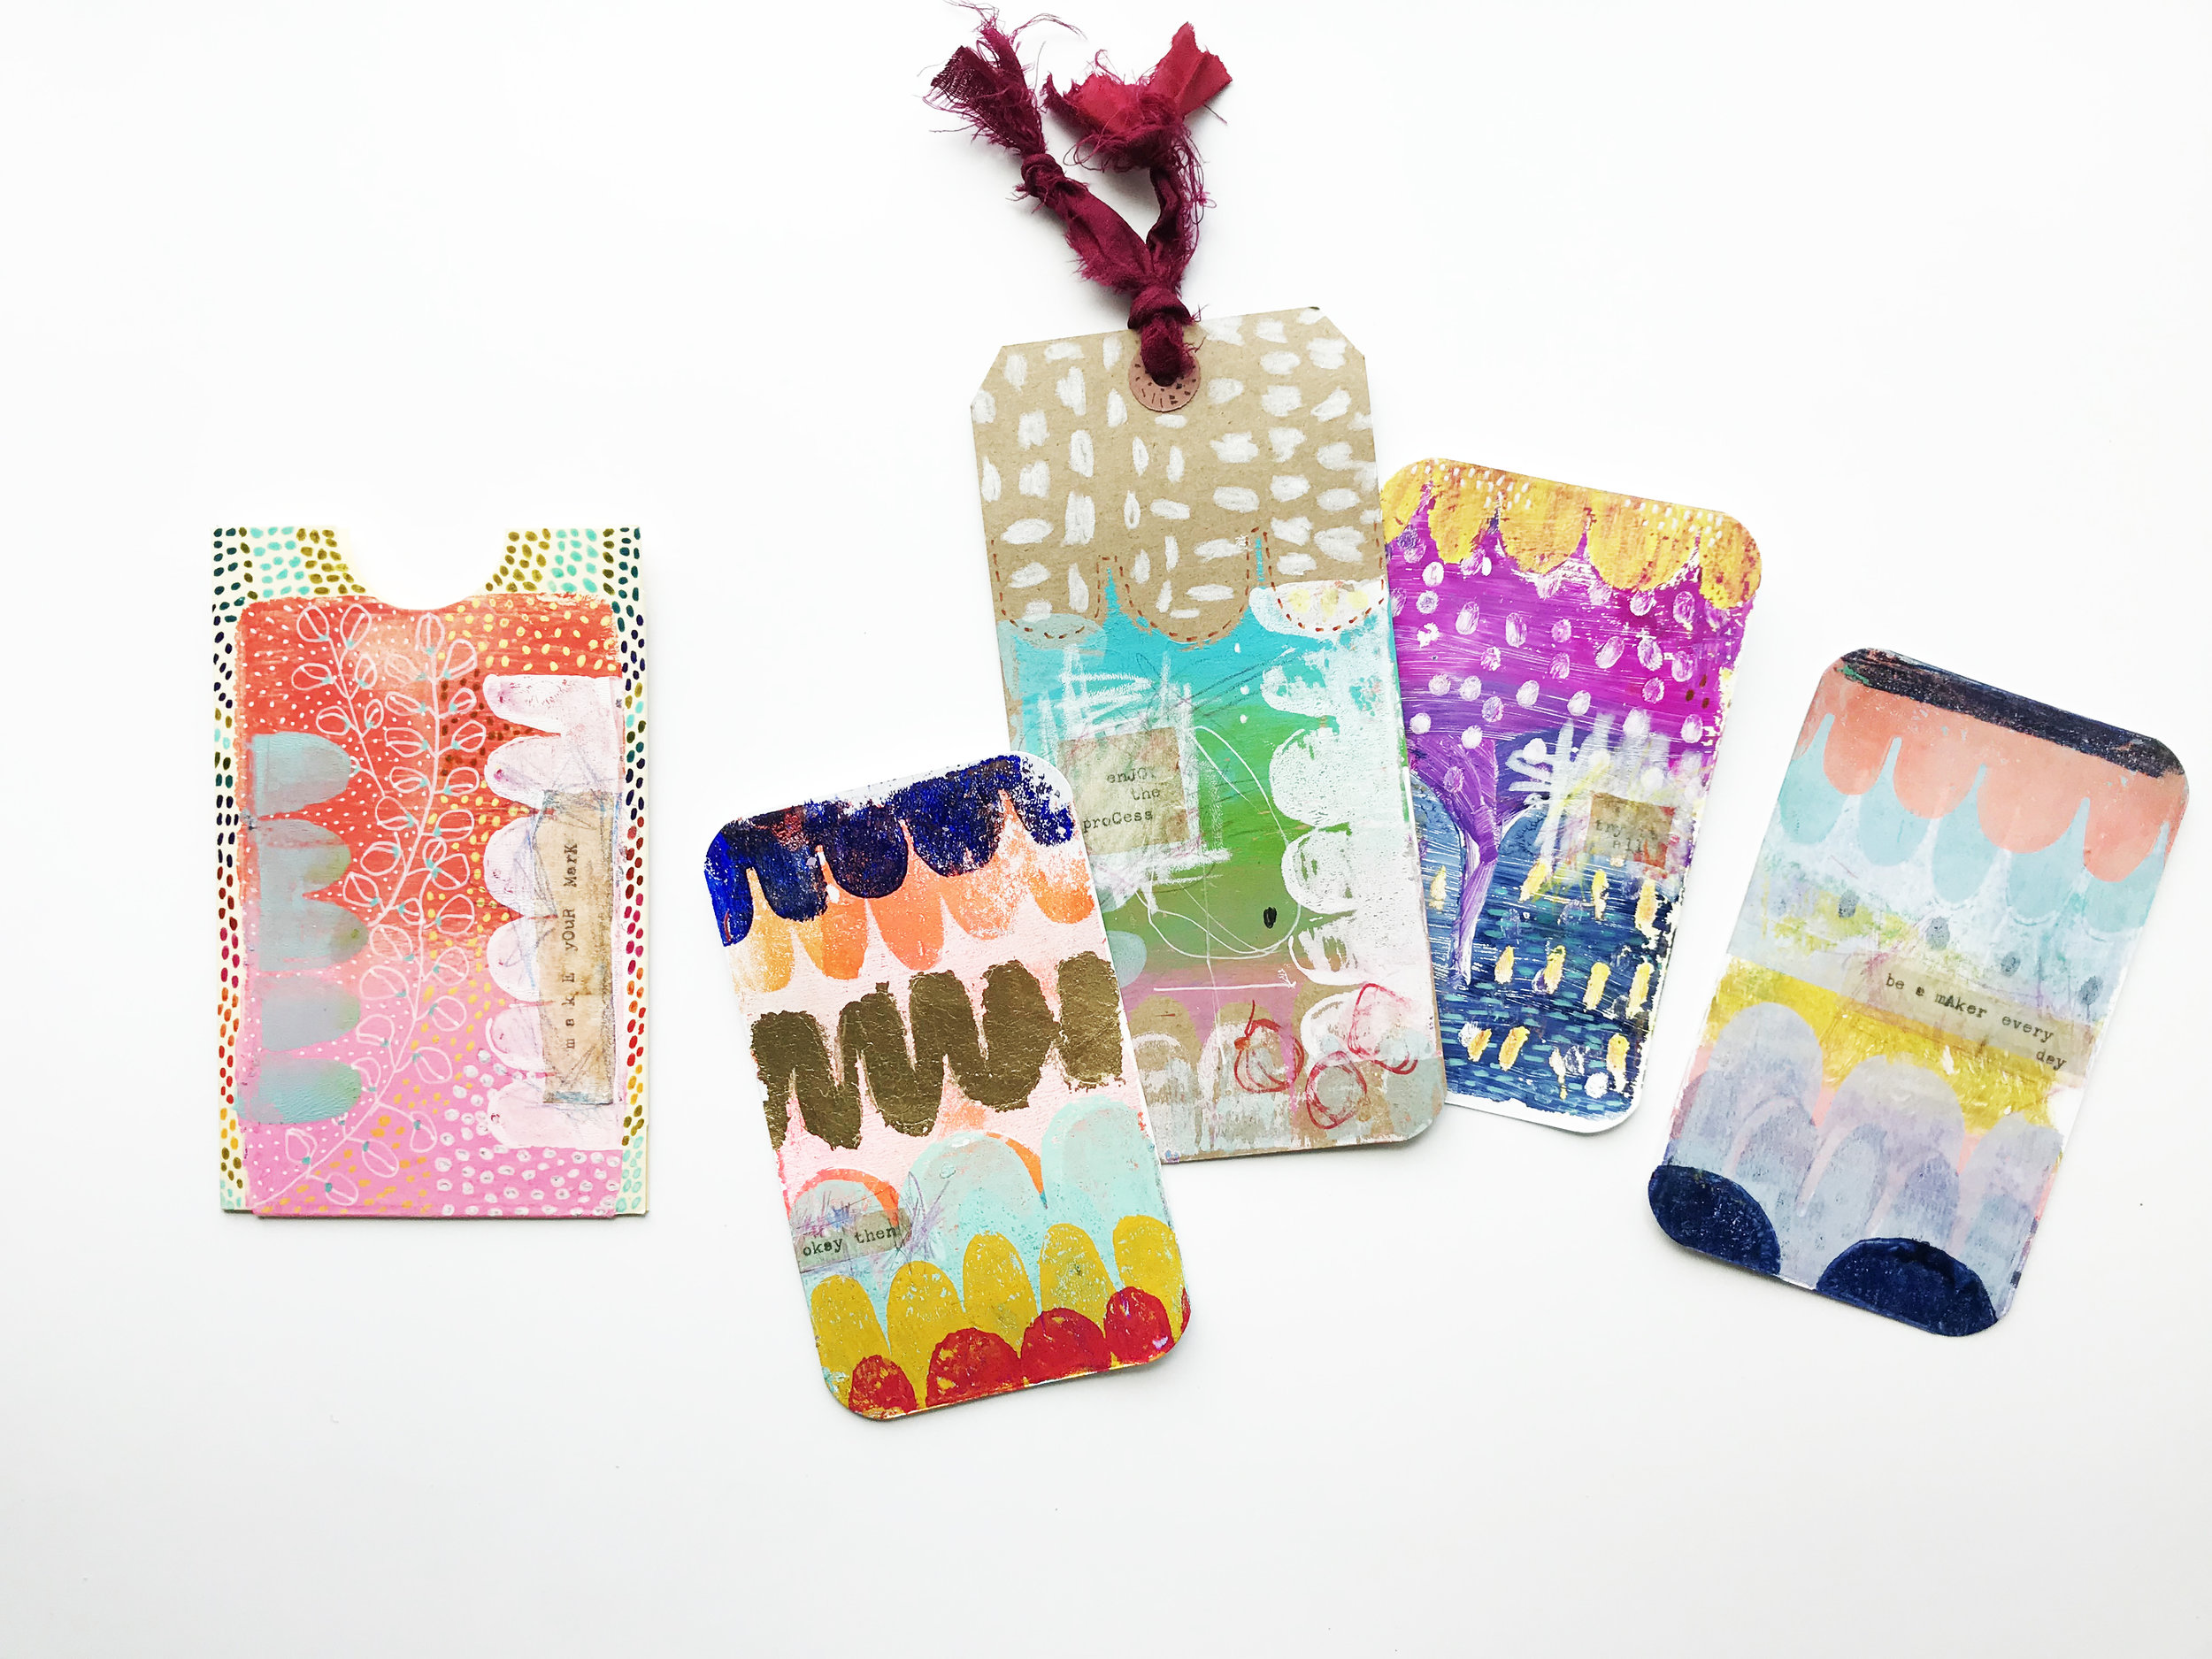
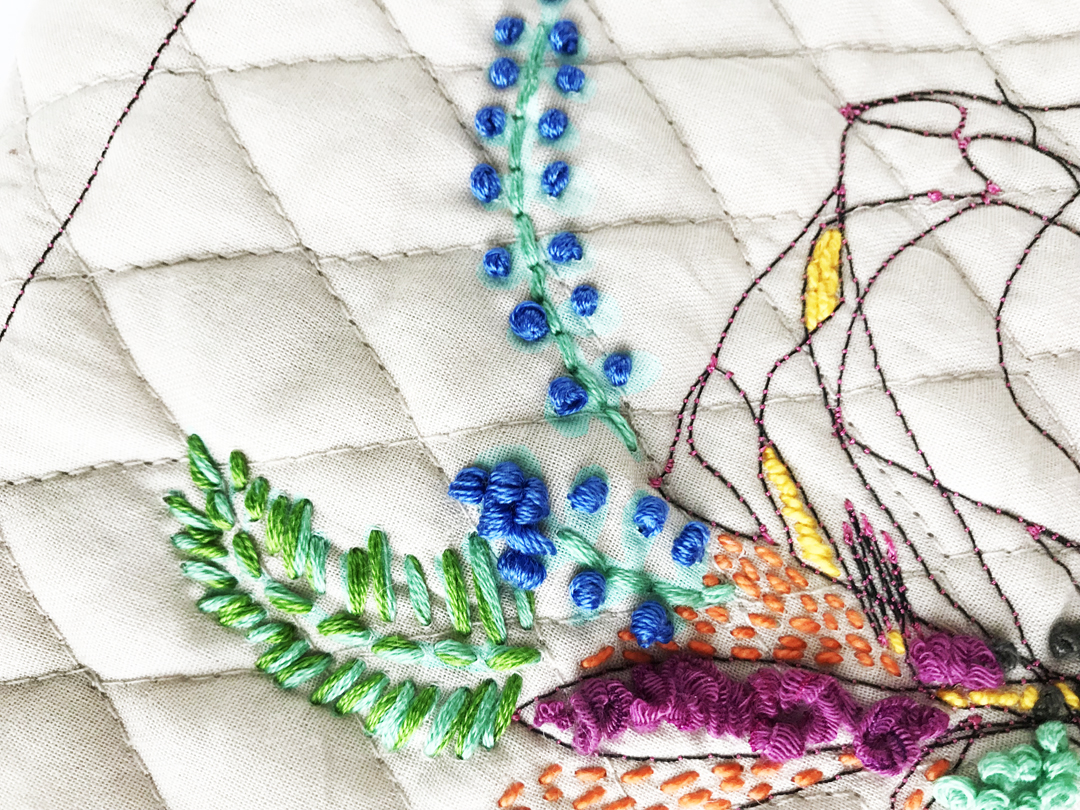
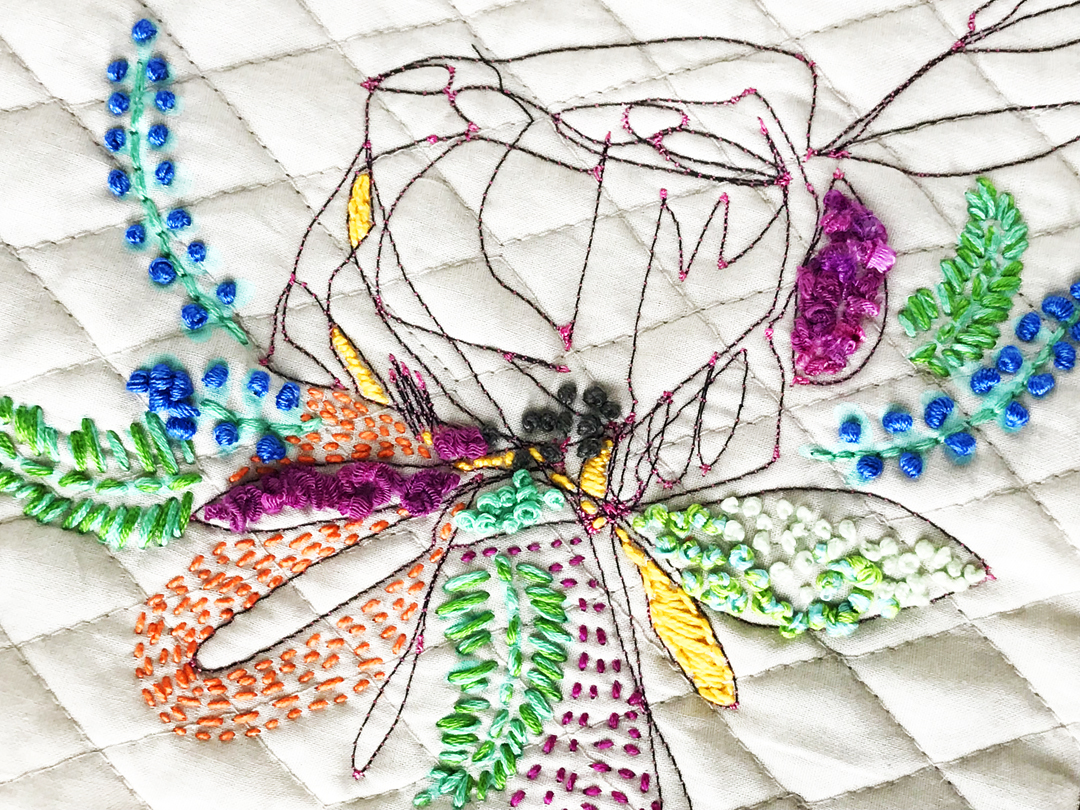
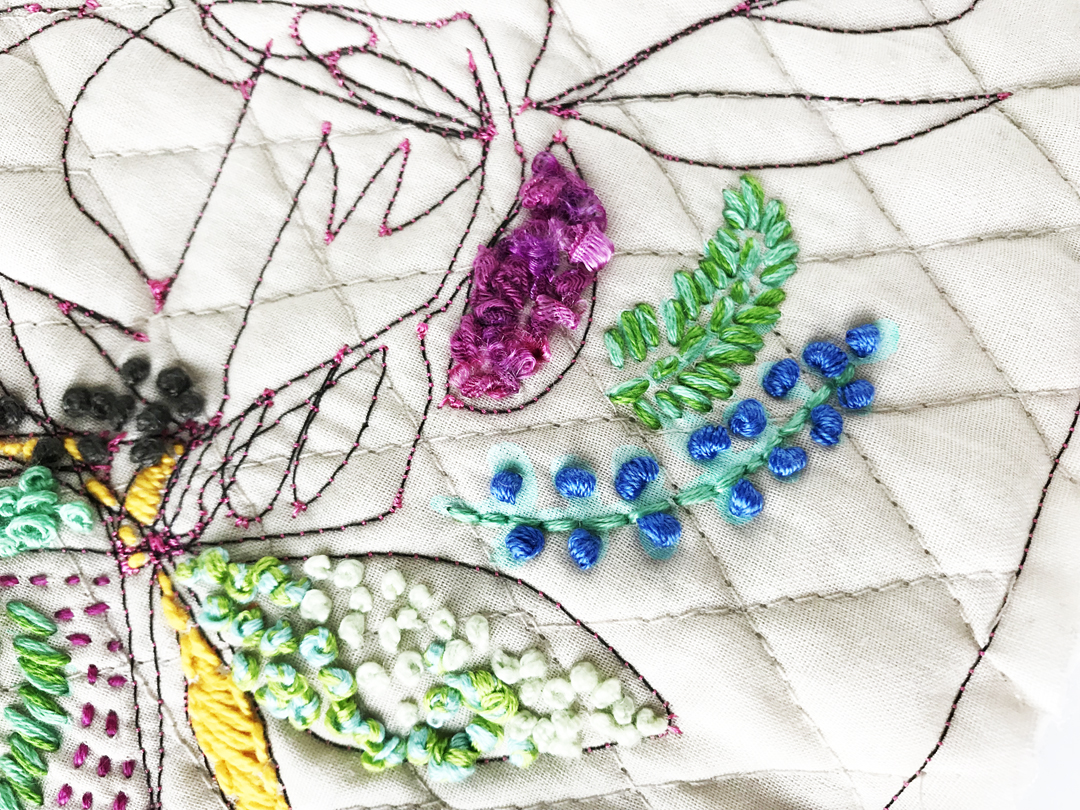
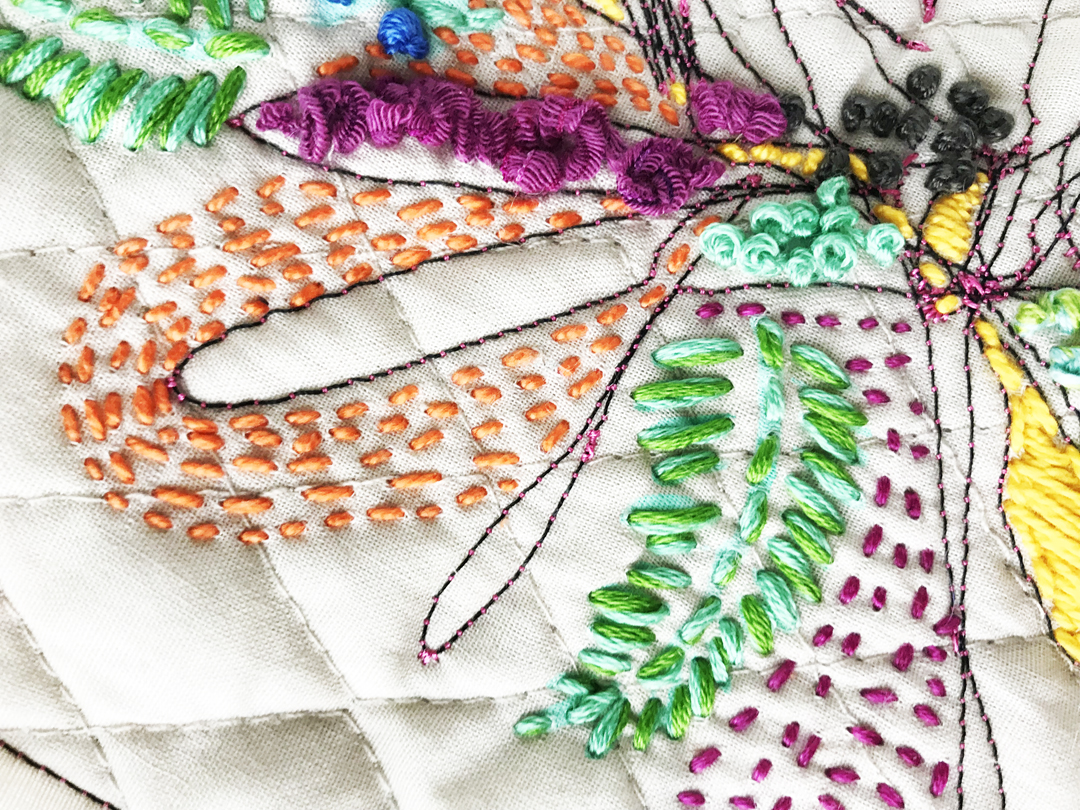
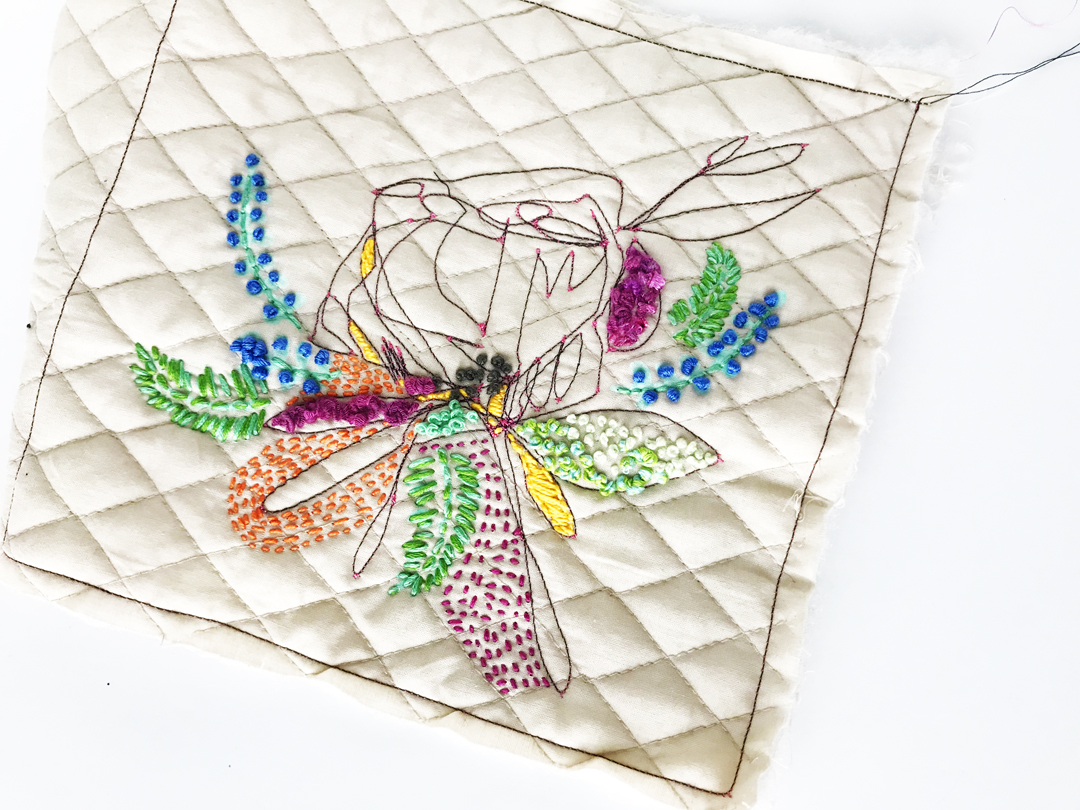
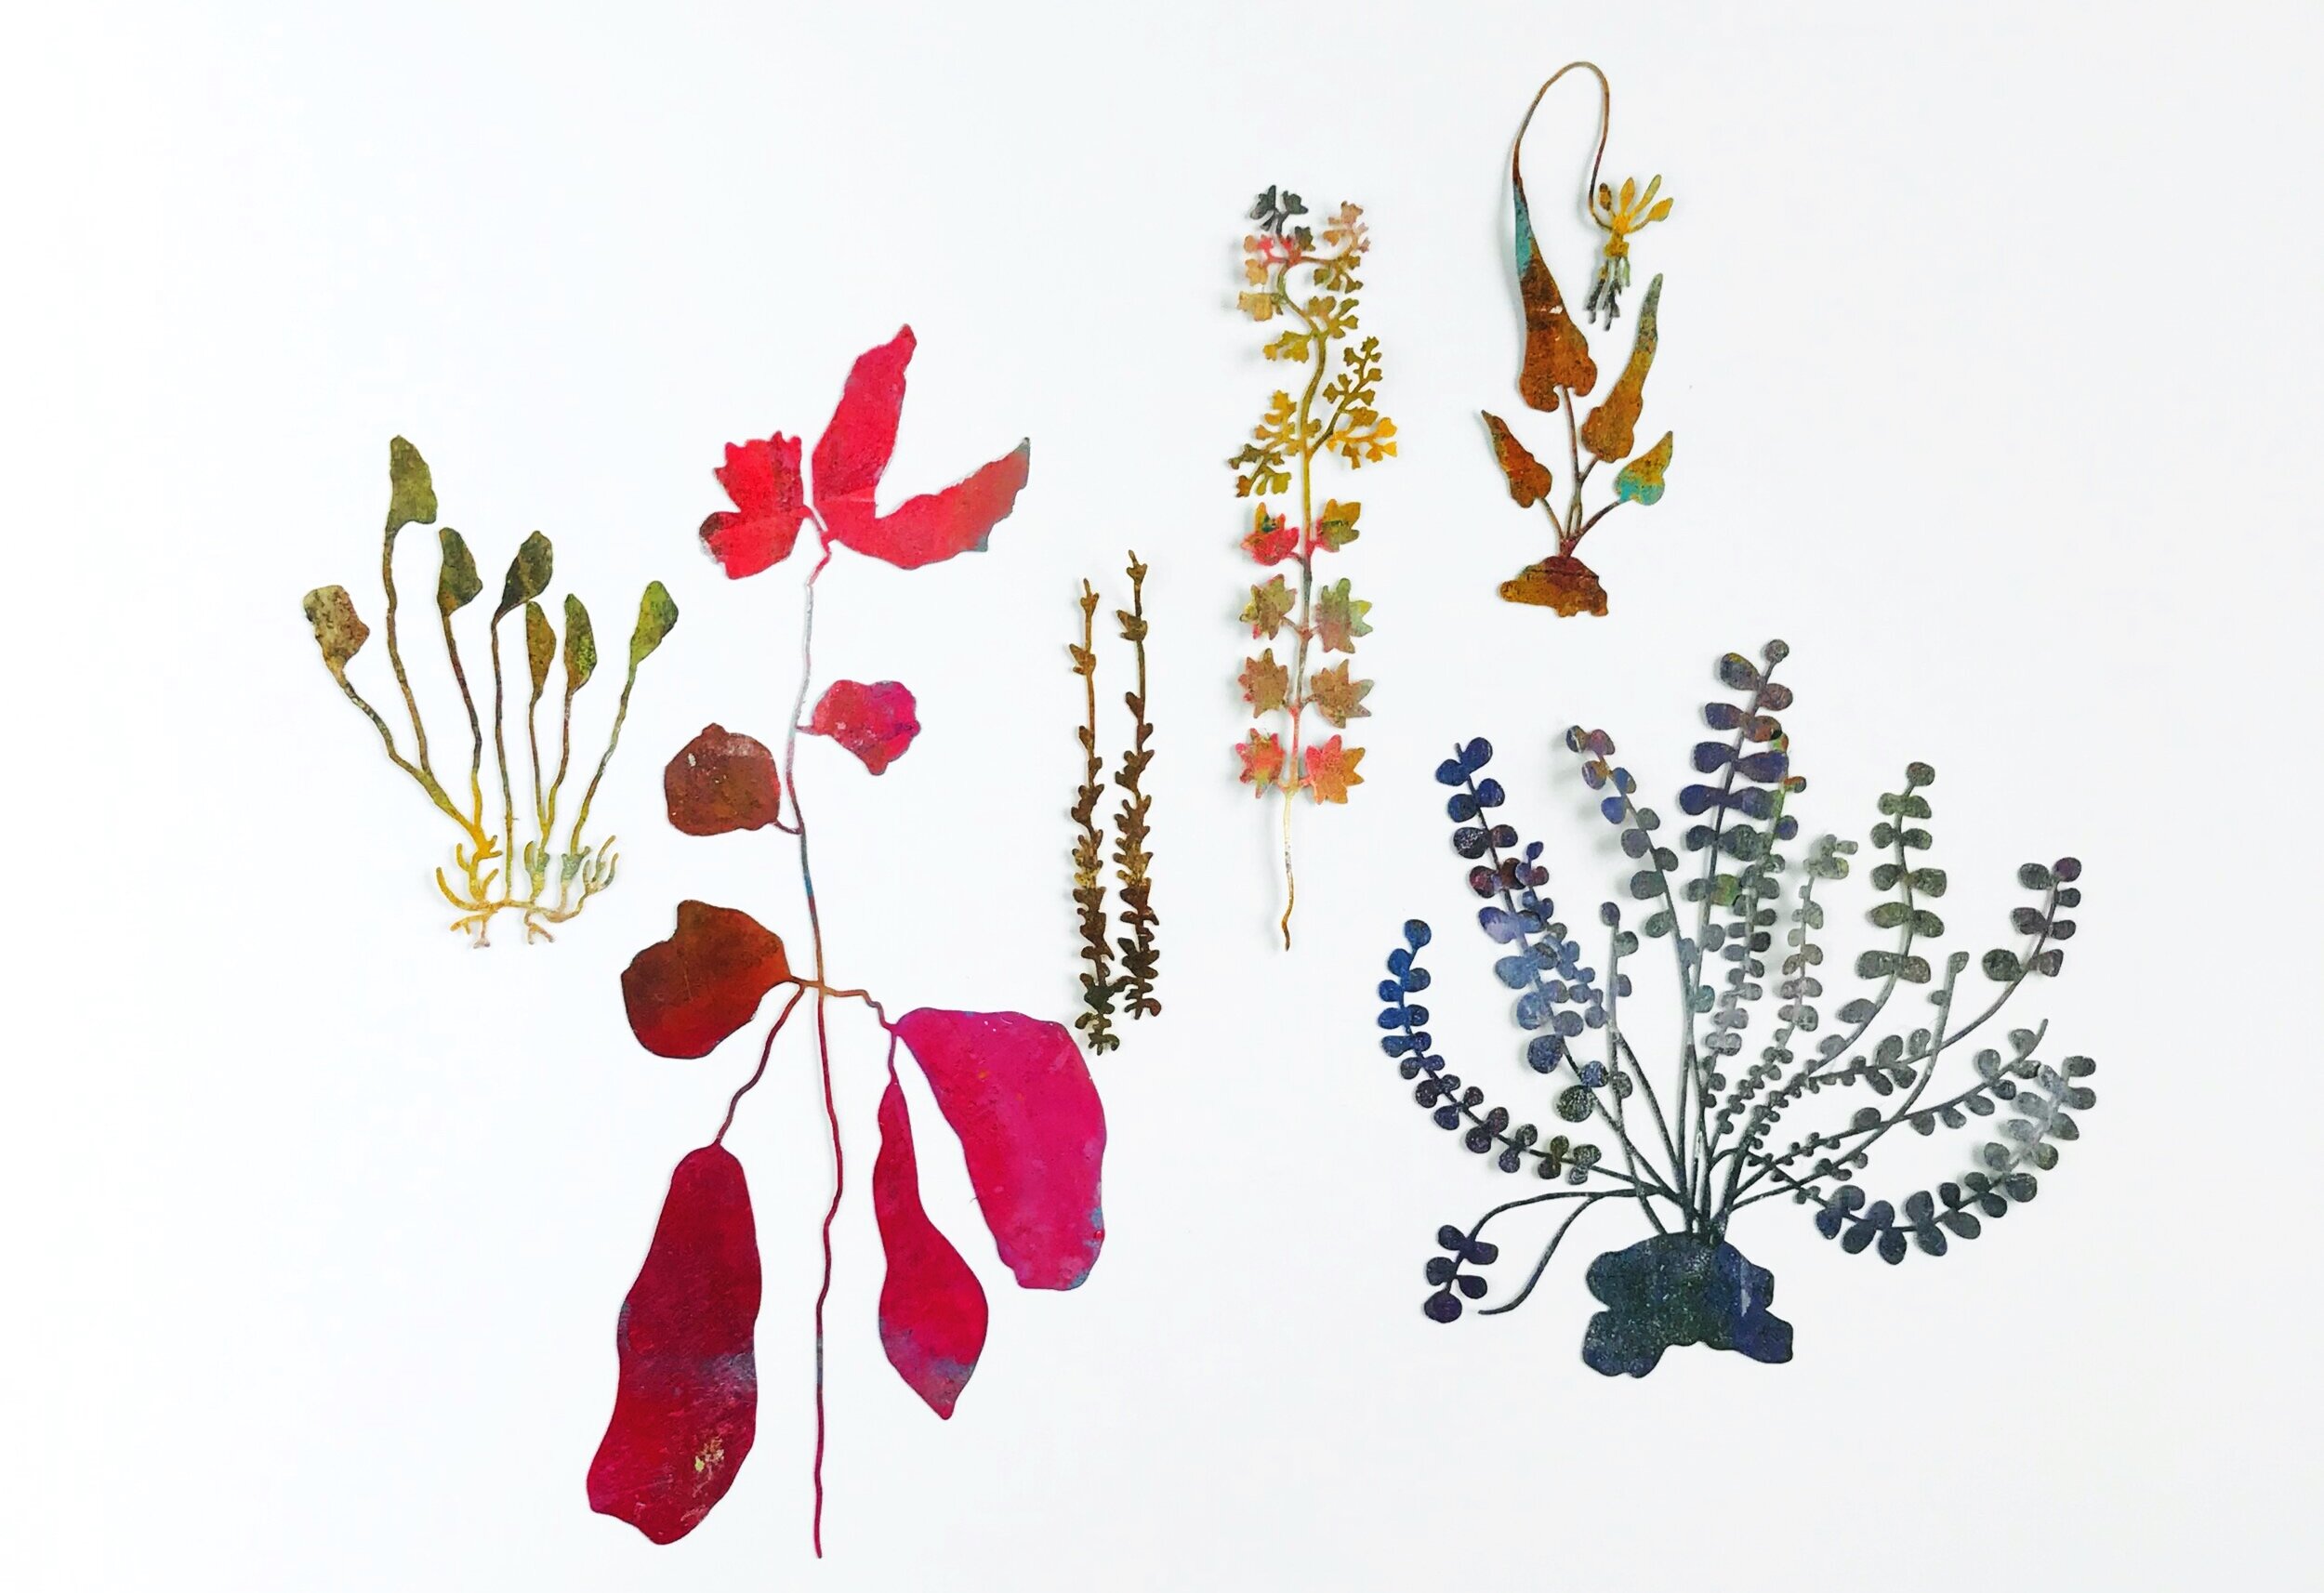
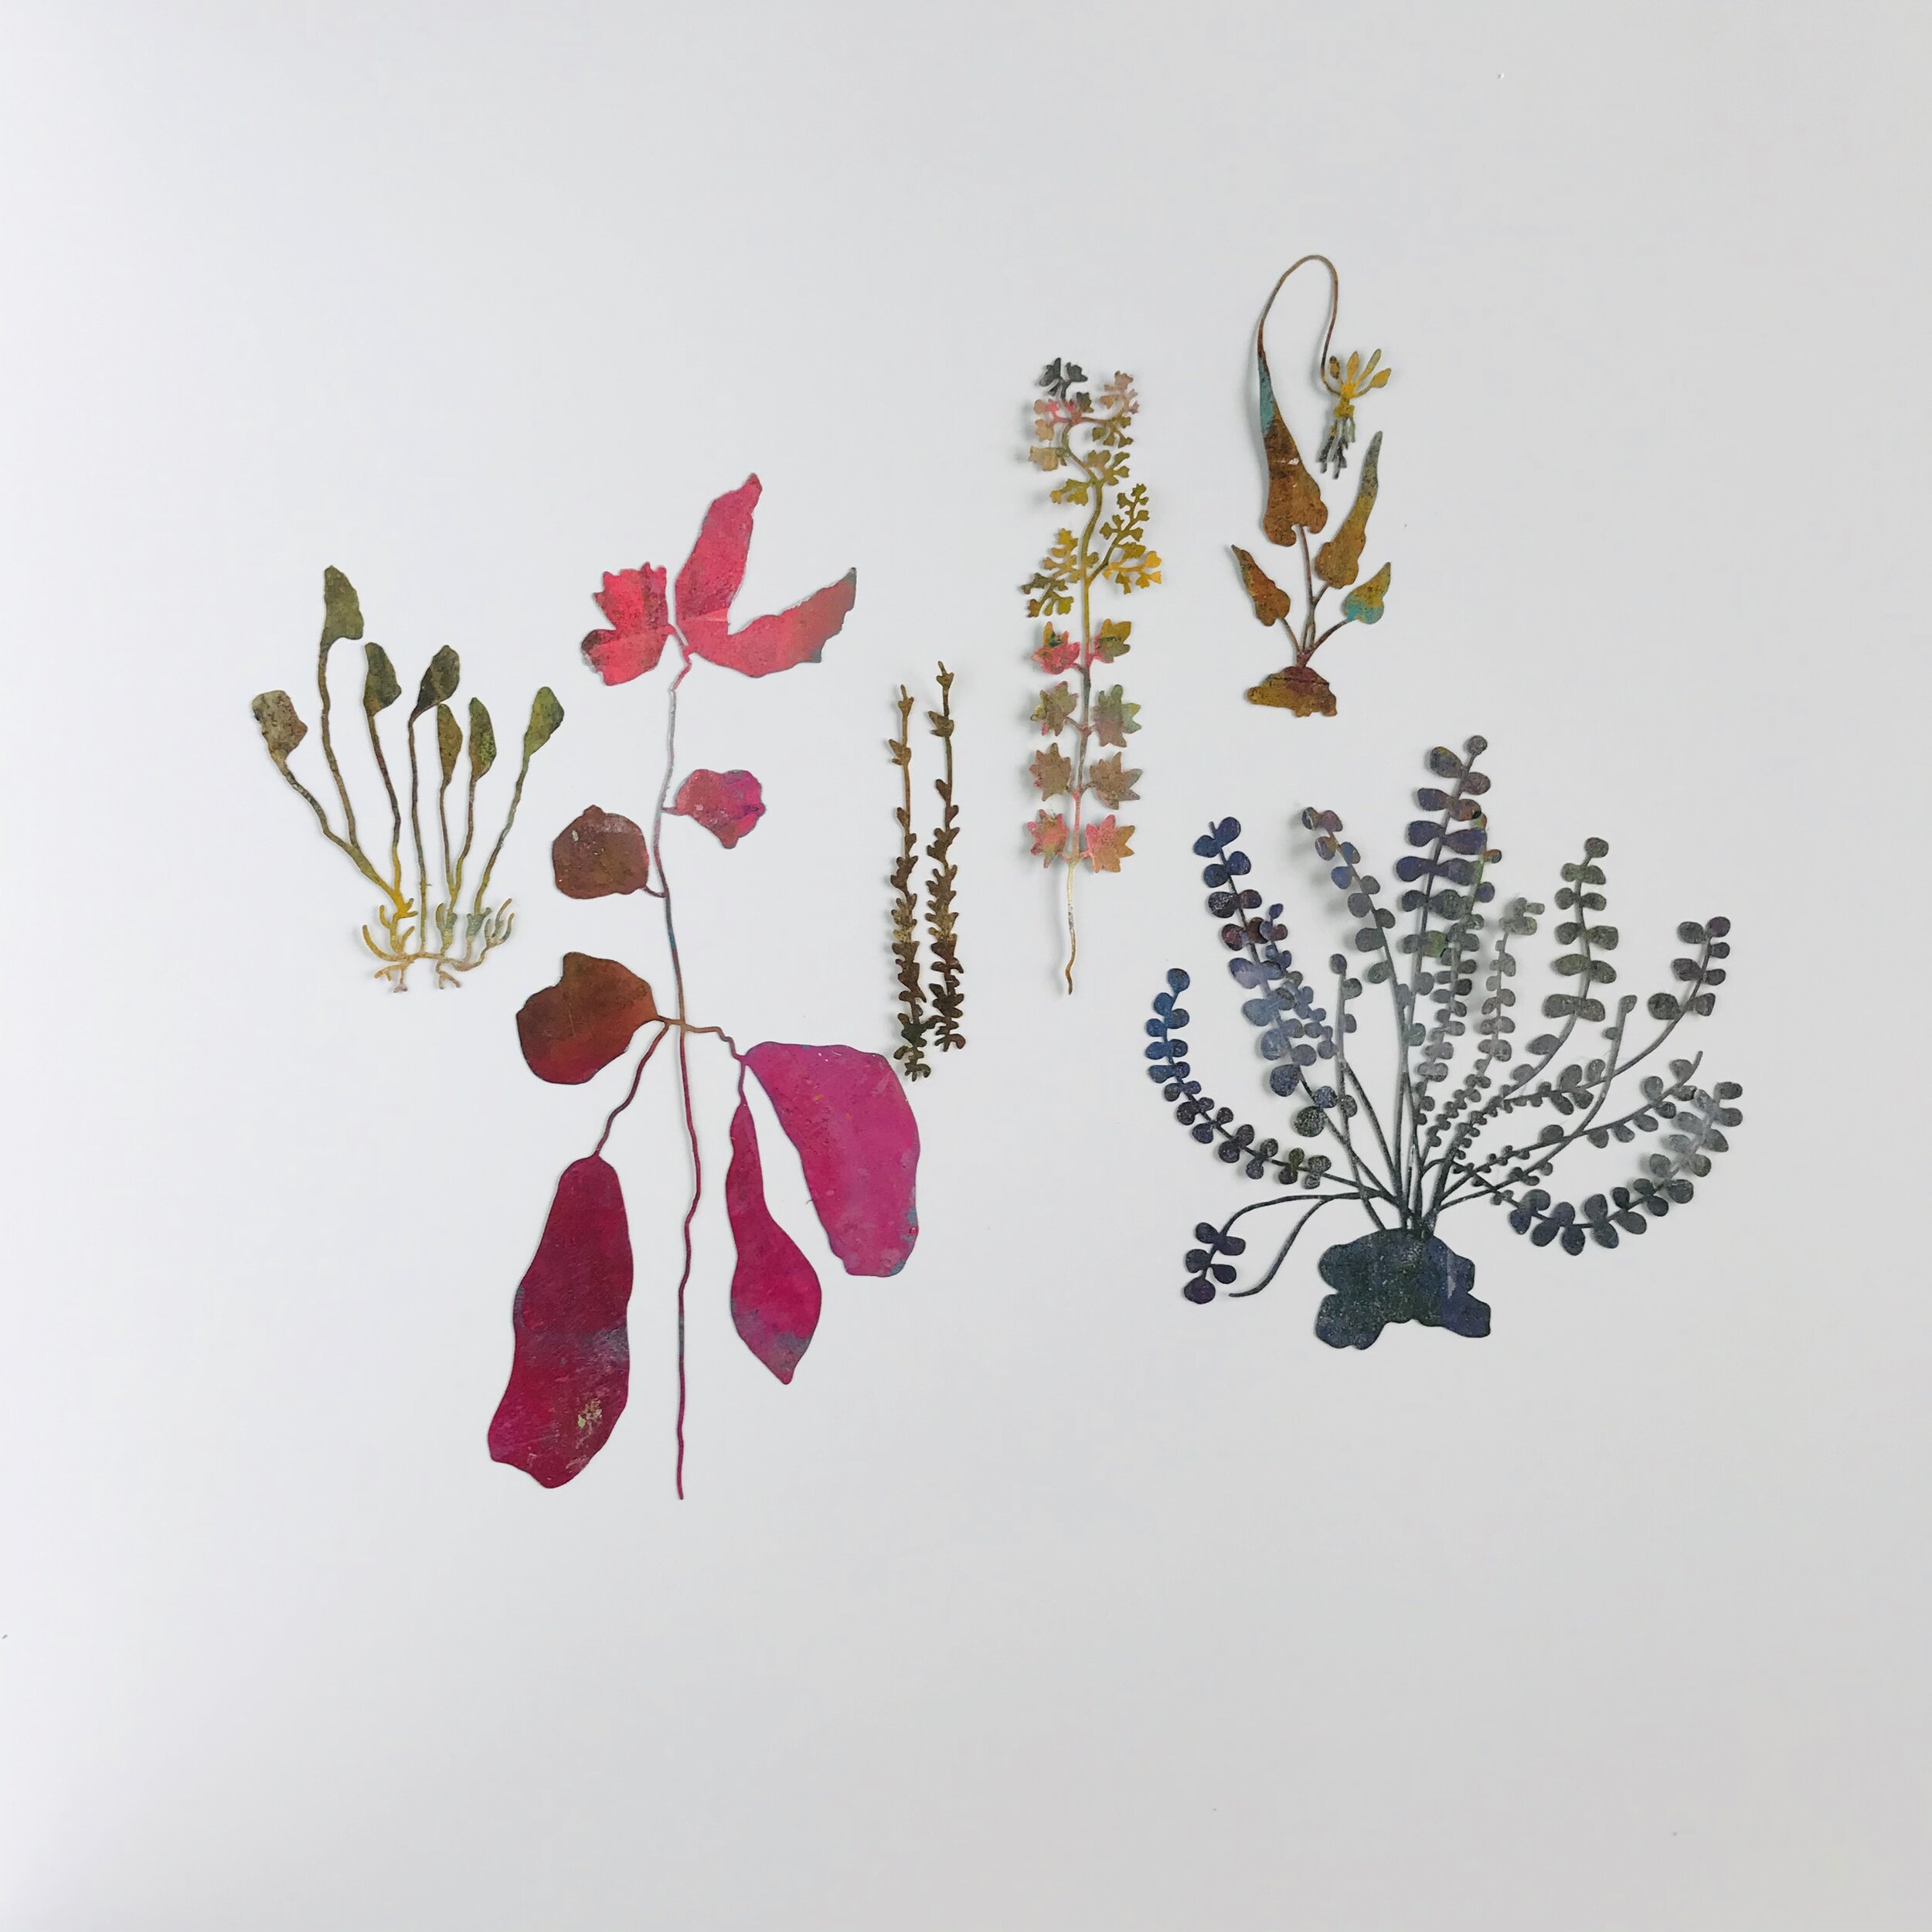
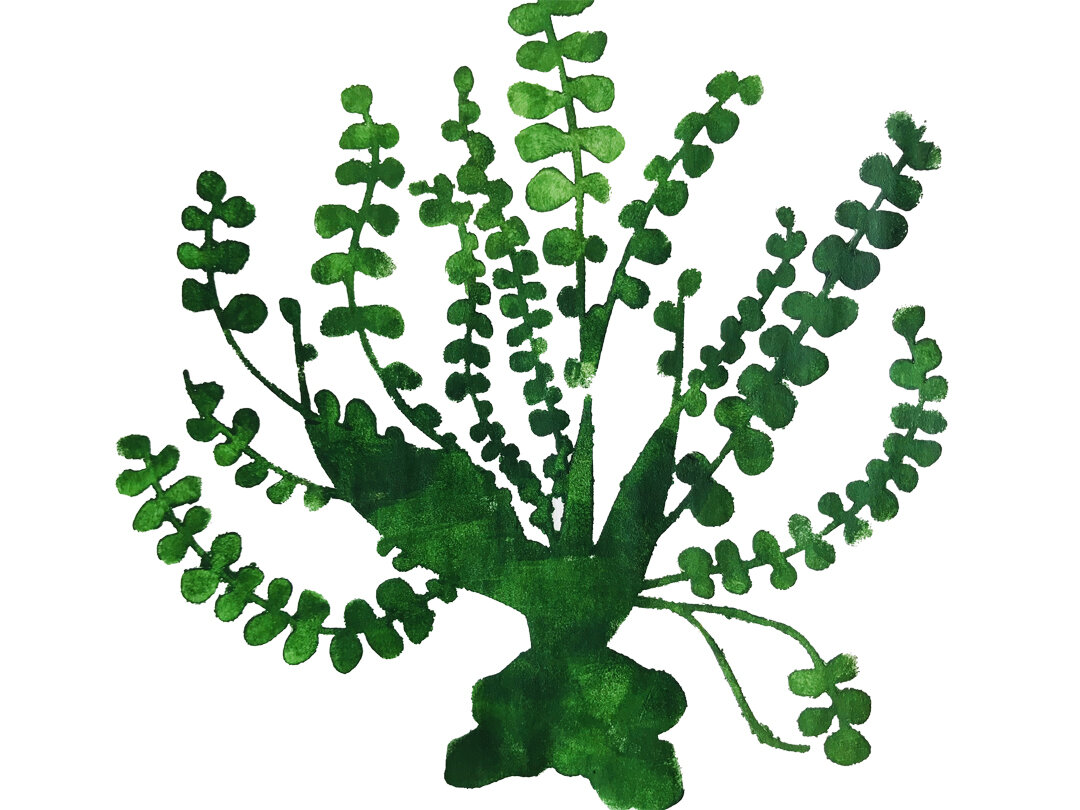
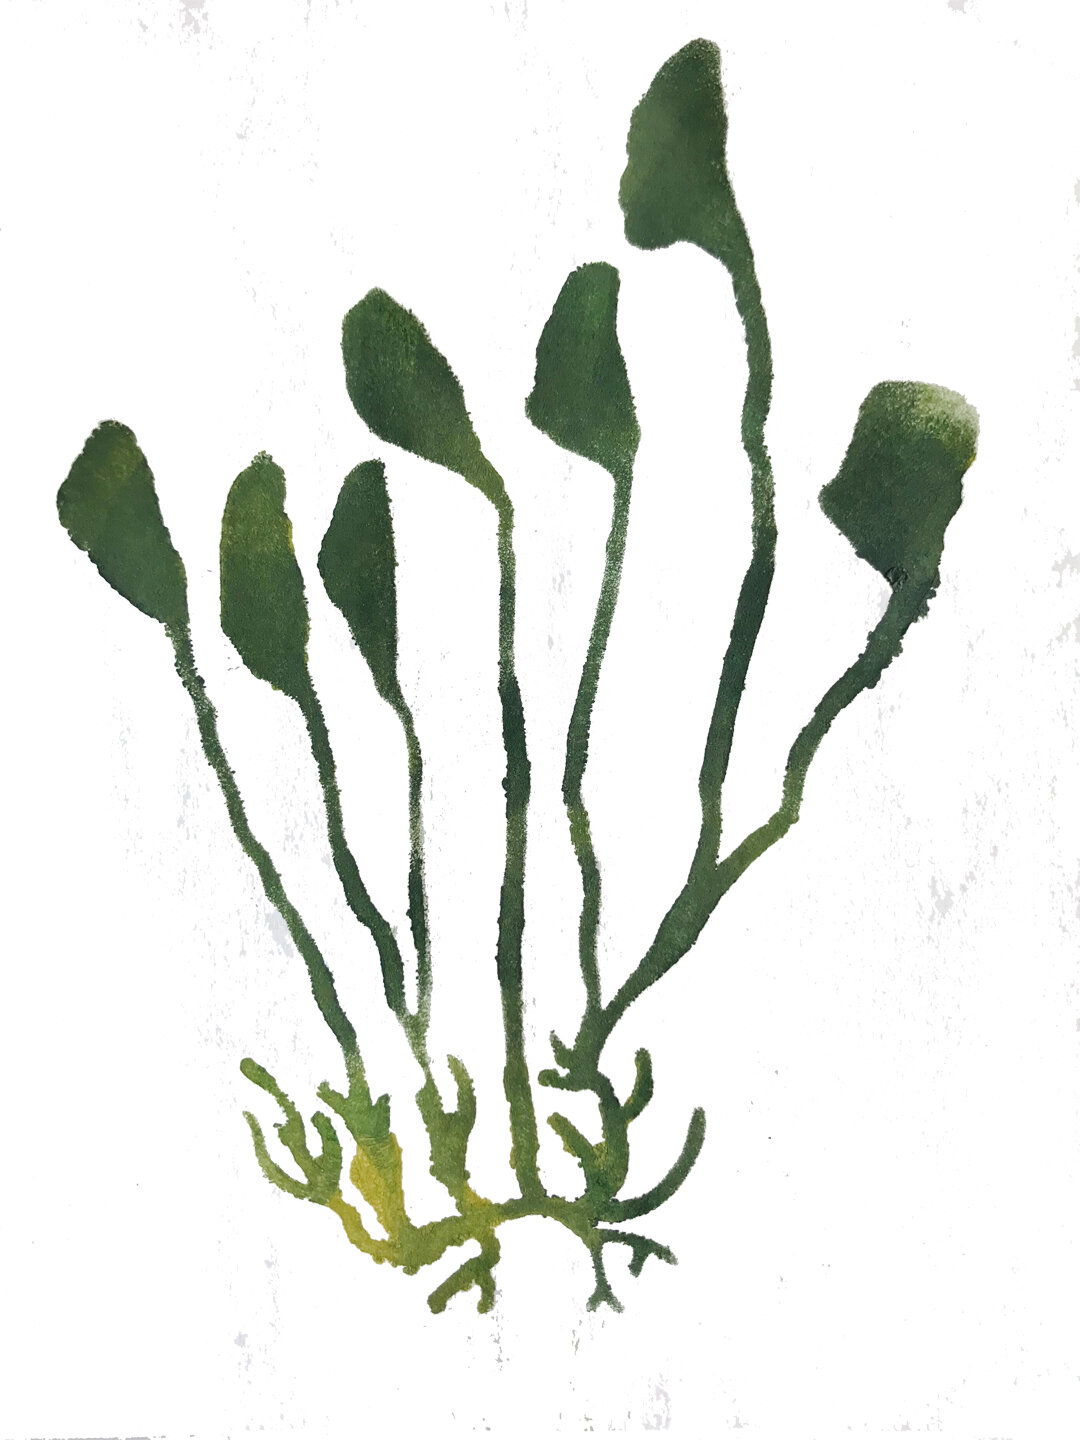
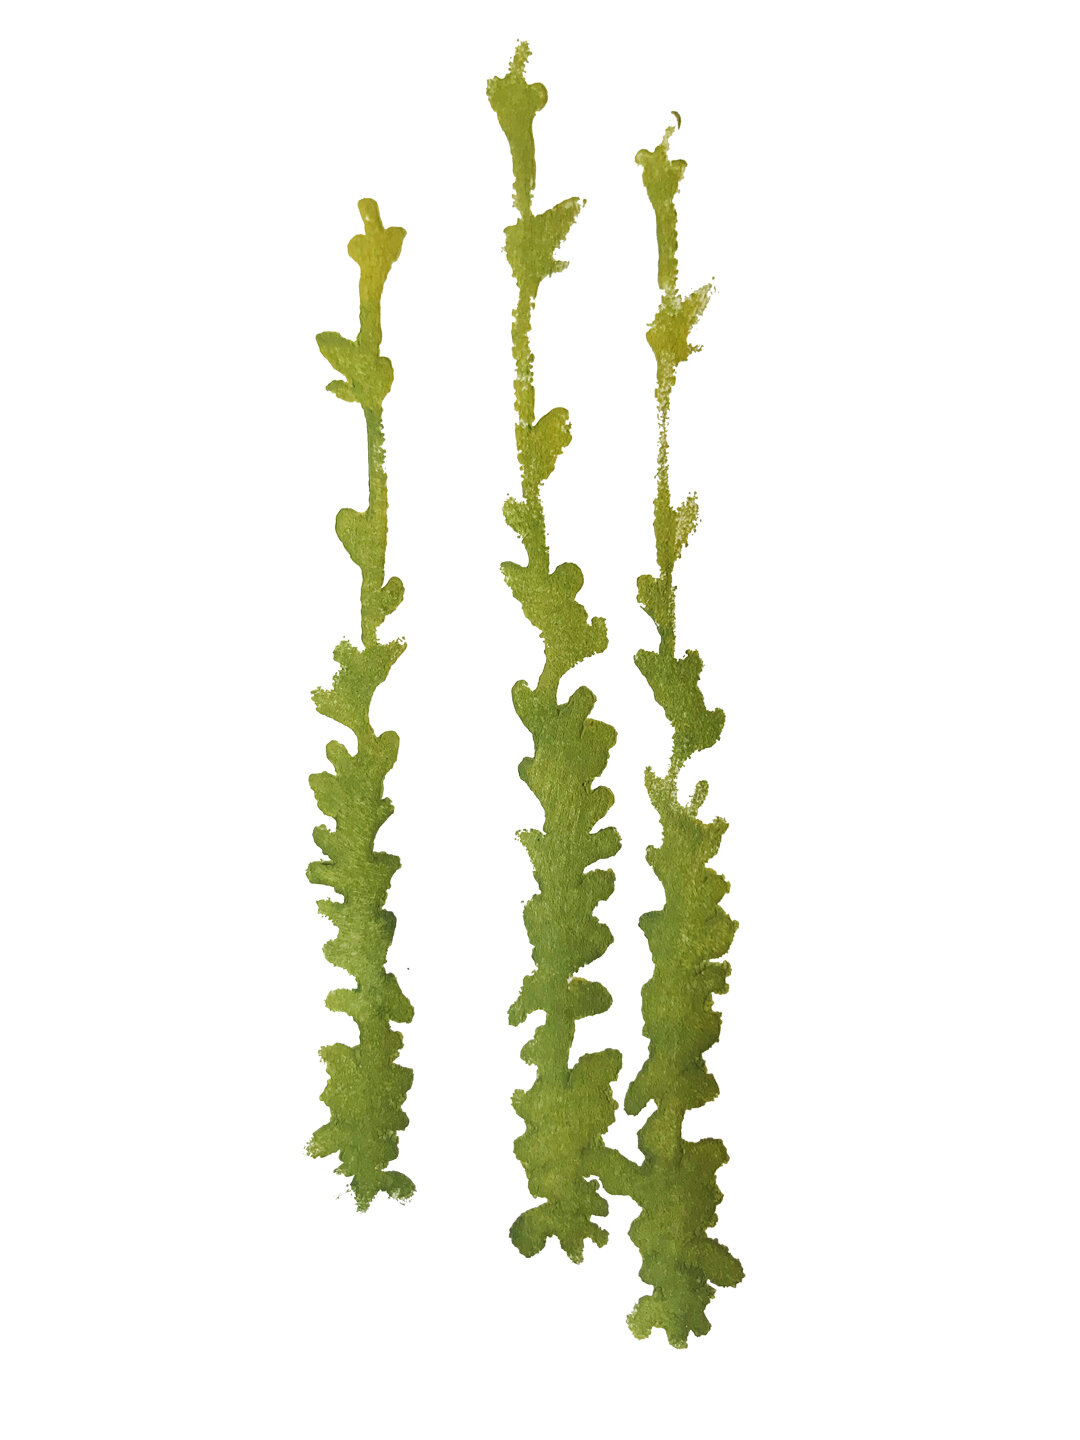
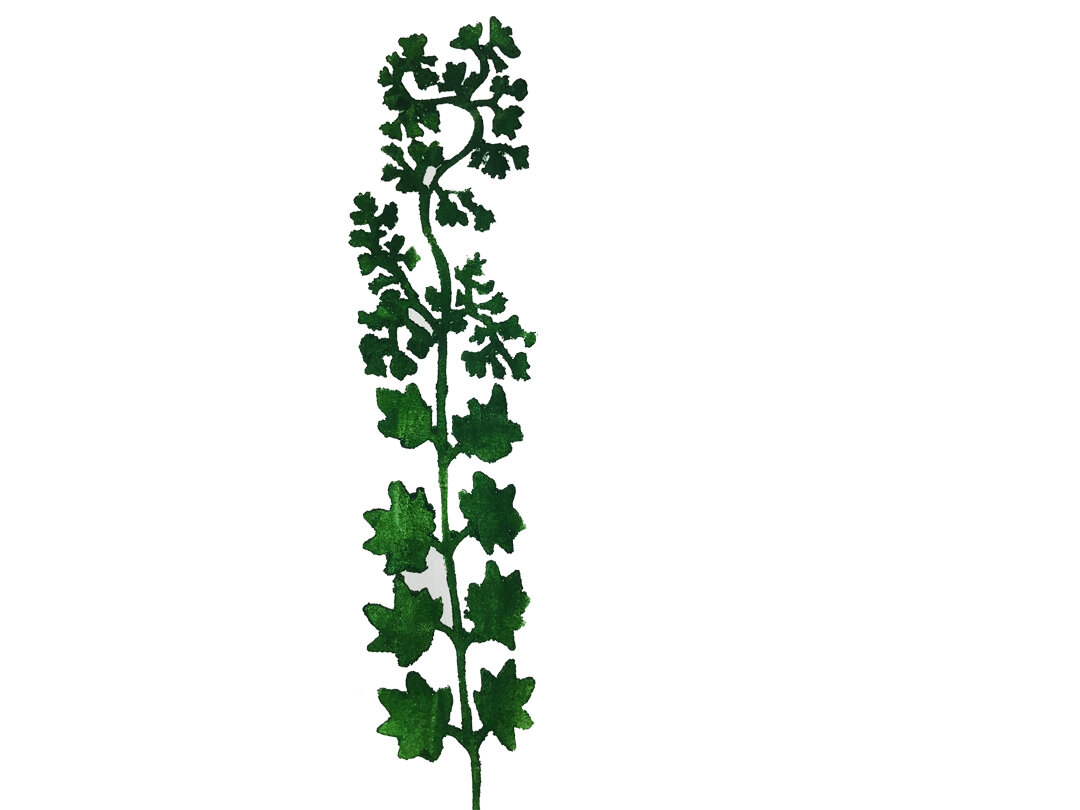
GATHERED - BOTANICAL WILDFLOWERS STENCILS & MASKS were inspired by the many rare and endangered plant species inside the Botanic Gardens Conservatory. These dainty, intricate plants begged to be sketched with their interesting roots and delicate leaves, petals and stems. Once home I took what I had studied and combined it with what I knew about some of my favorite plants to create these all new botanicals. Left to right: Uprooted Stem, Giant Maidenhair, Lady Slipper, Wild, Indigo, Columbine, Hartford Fern.

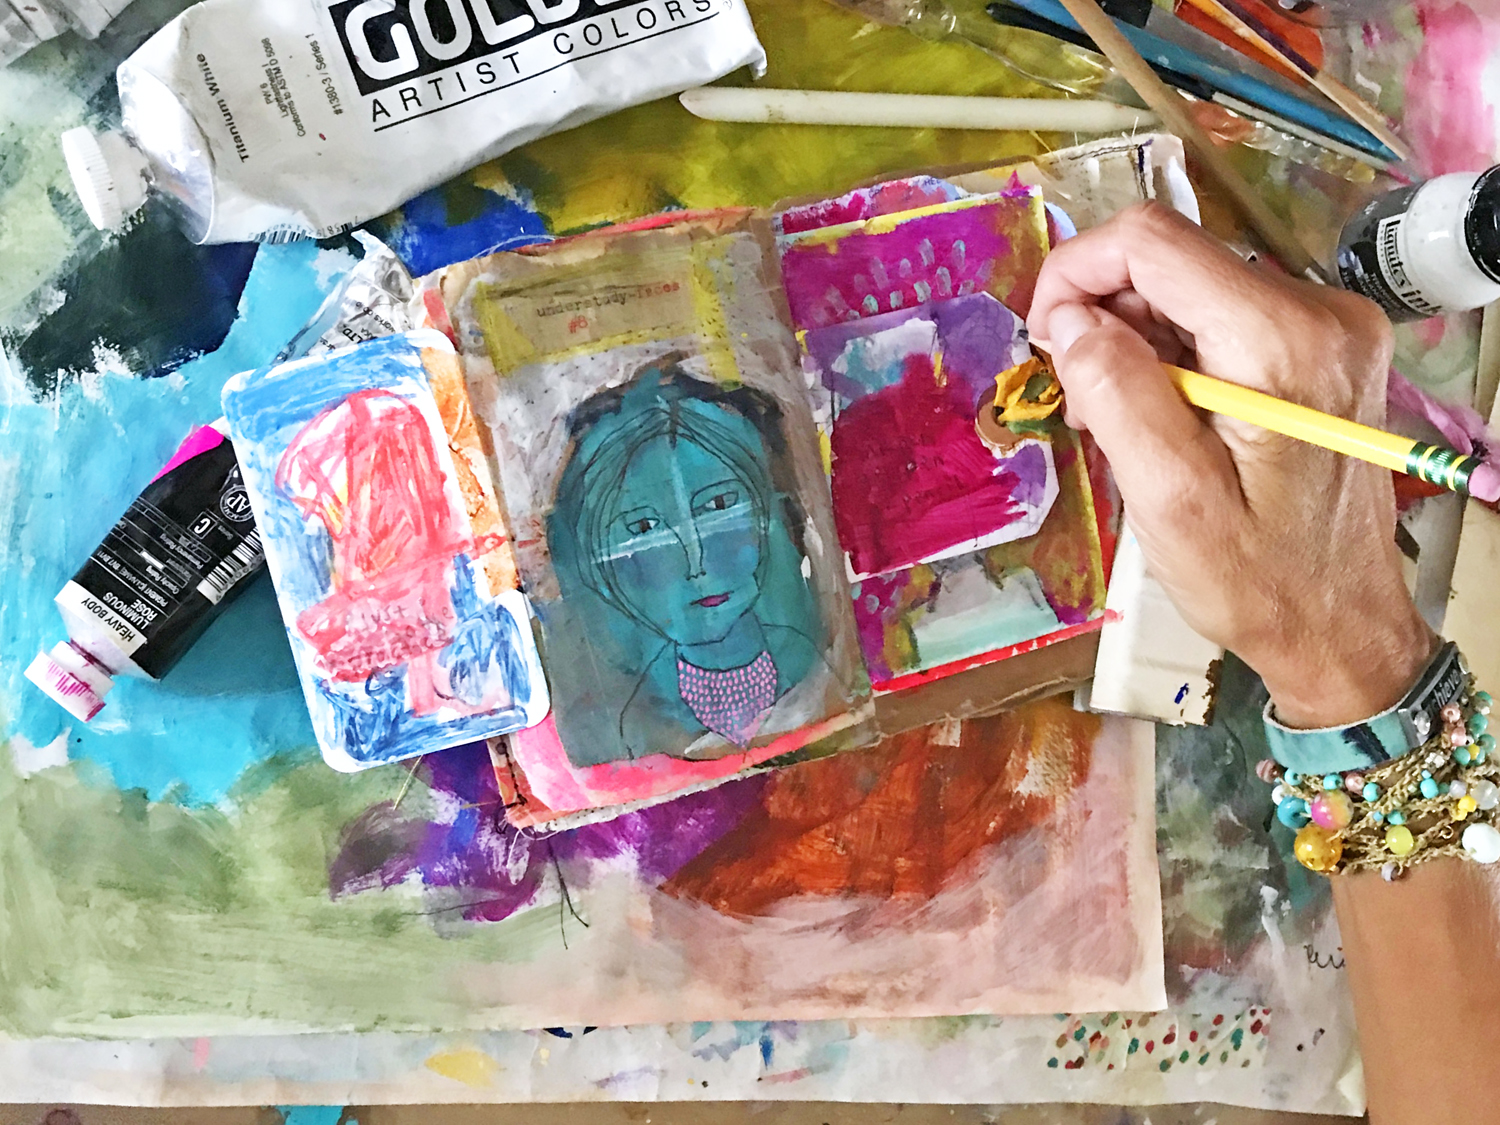
Learn how I use these beautiful botanicals with my Gelli Plate to create gorgeous papers for my journals, collage work, and more, in the free art process video below!
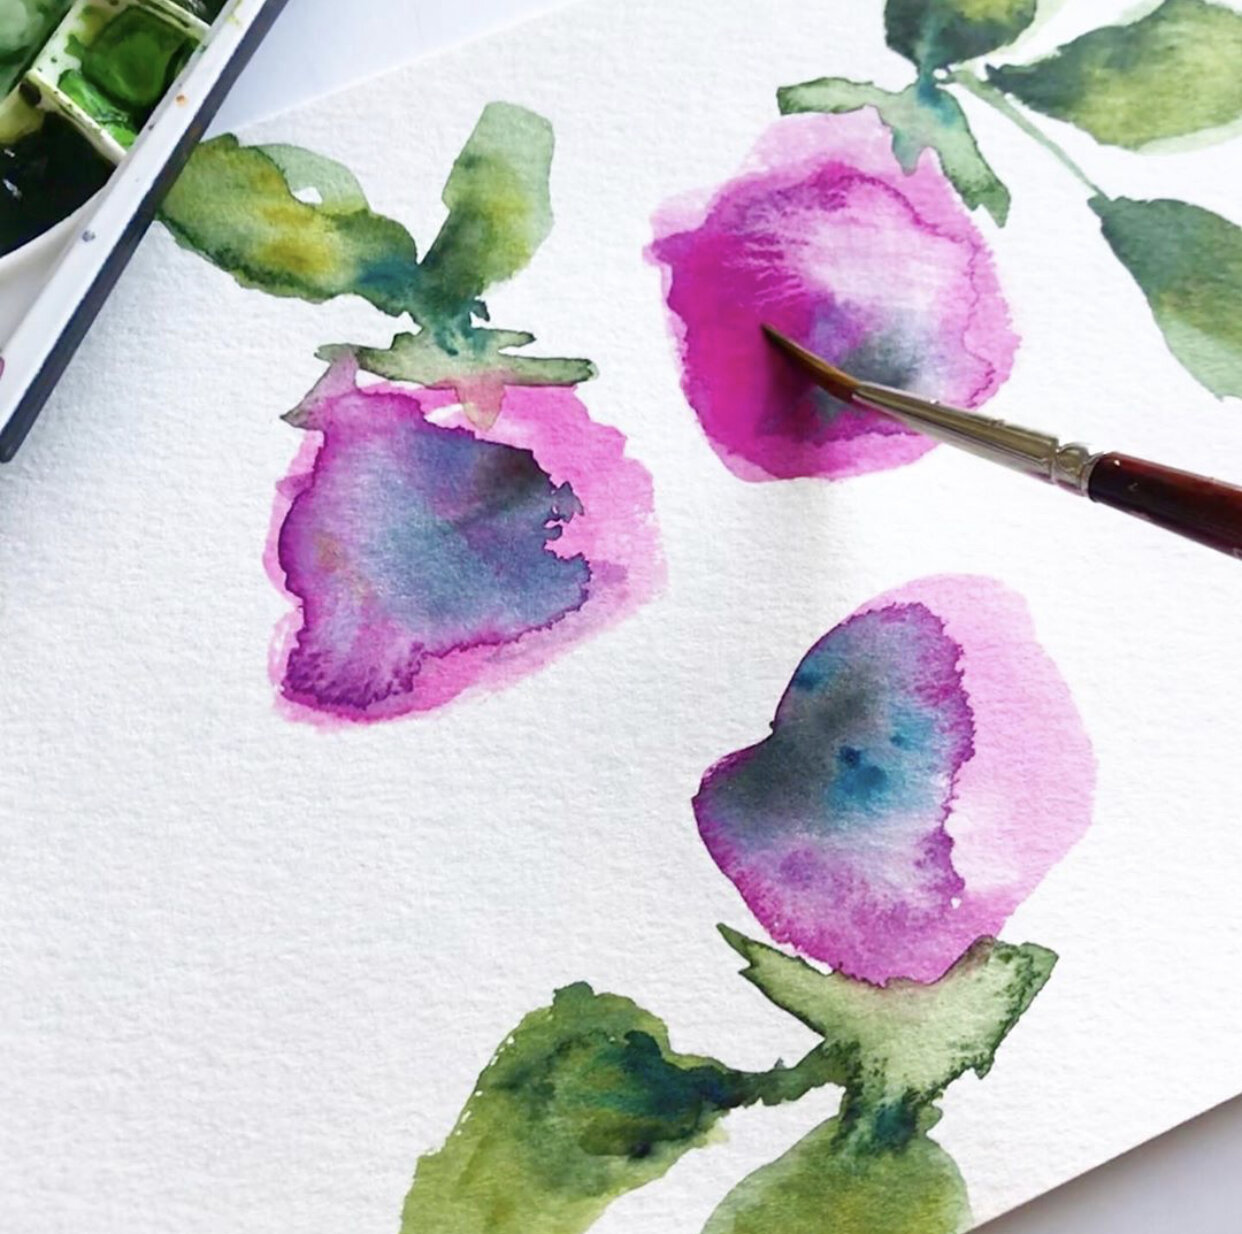
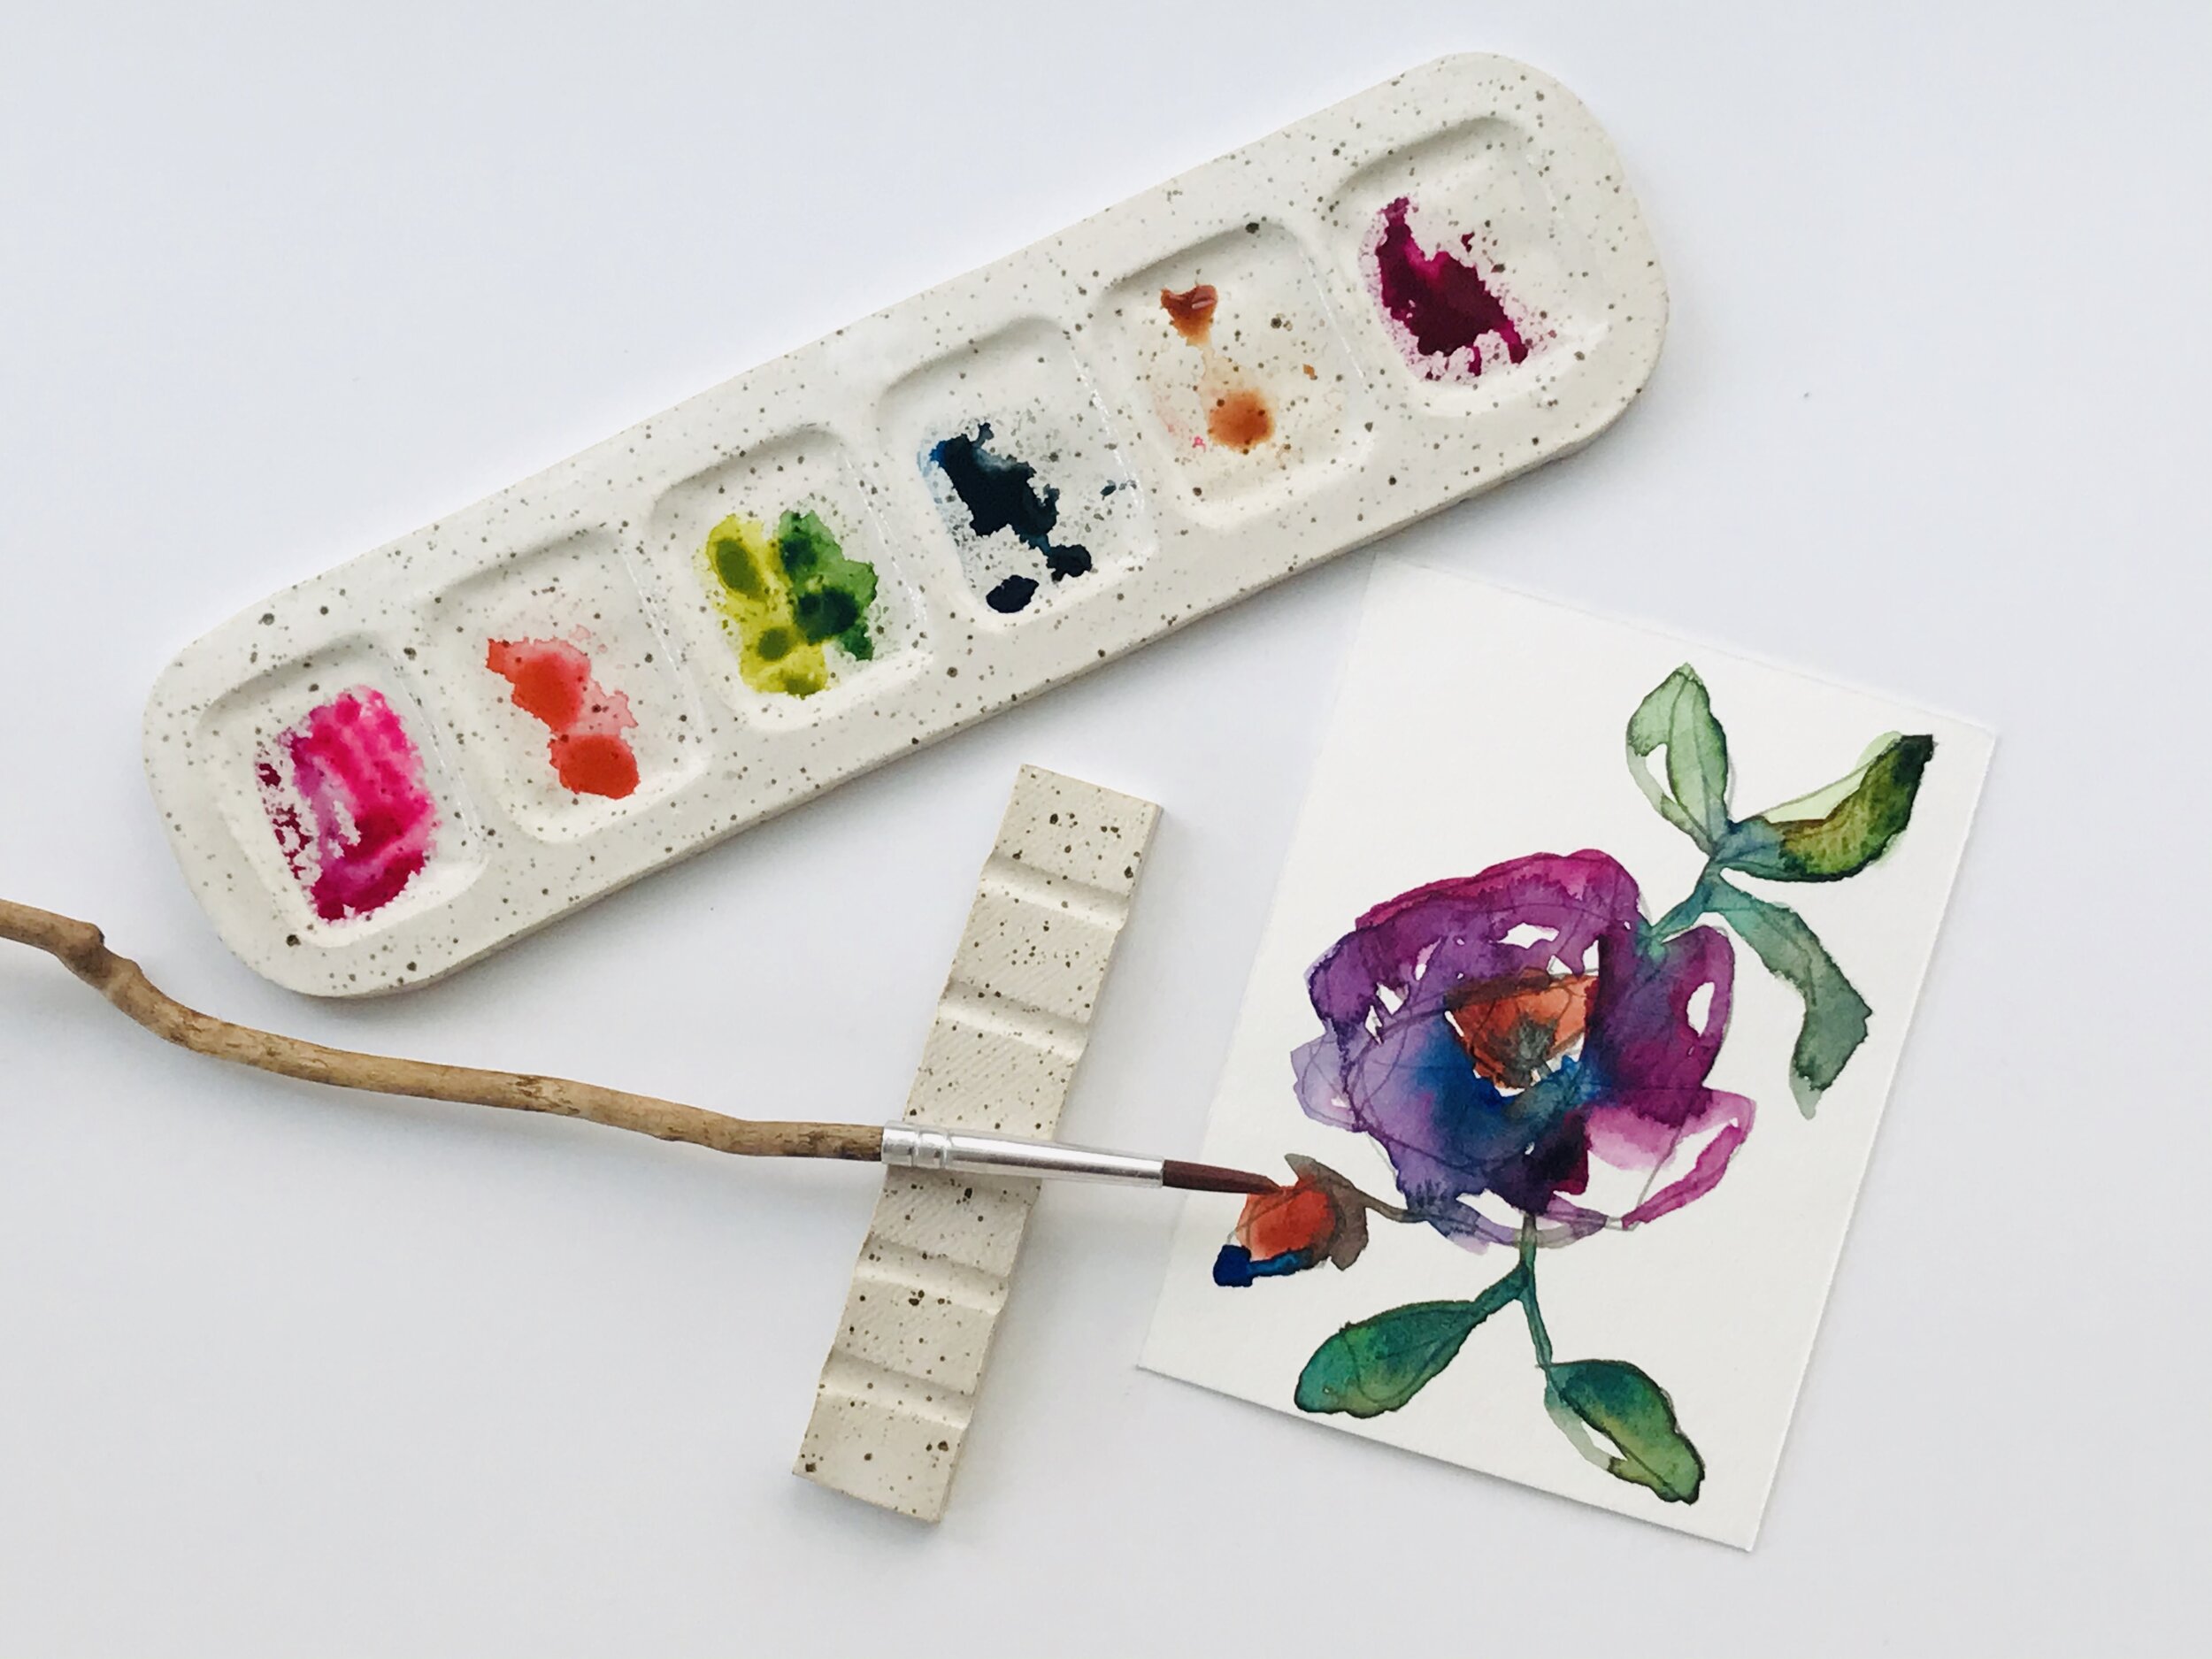
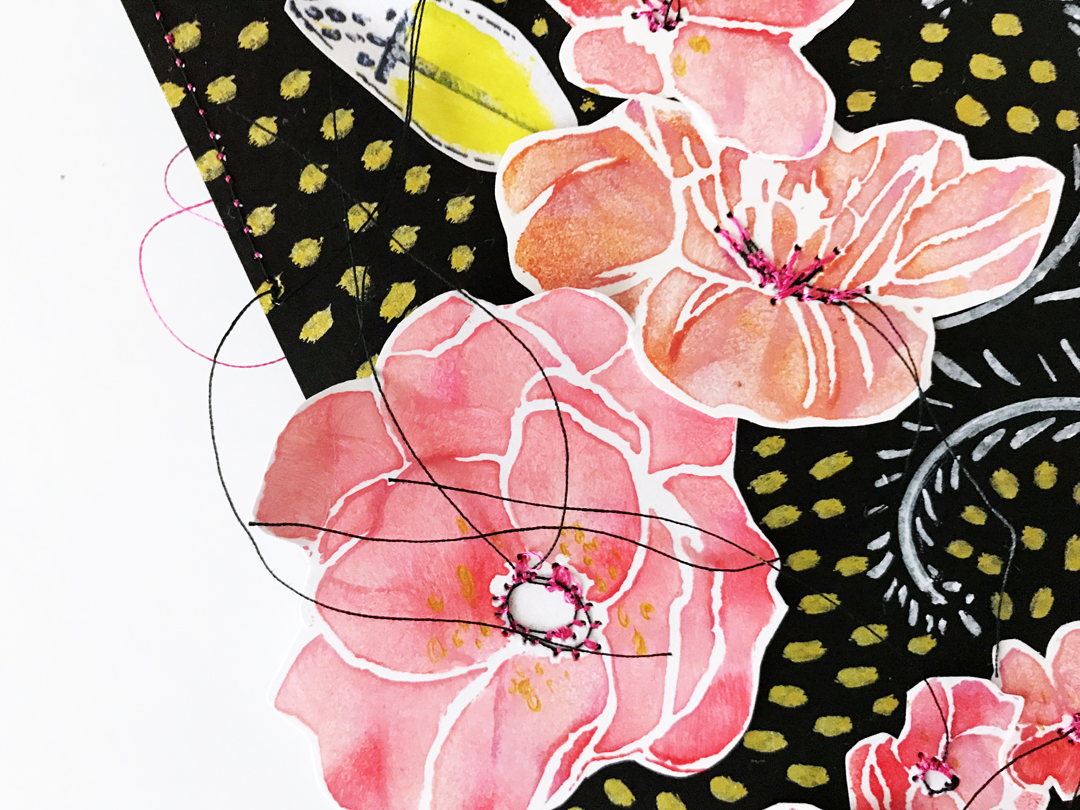
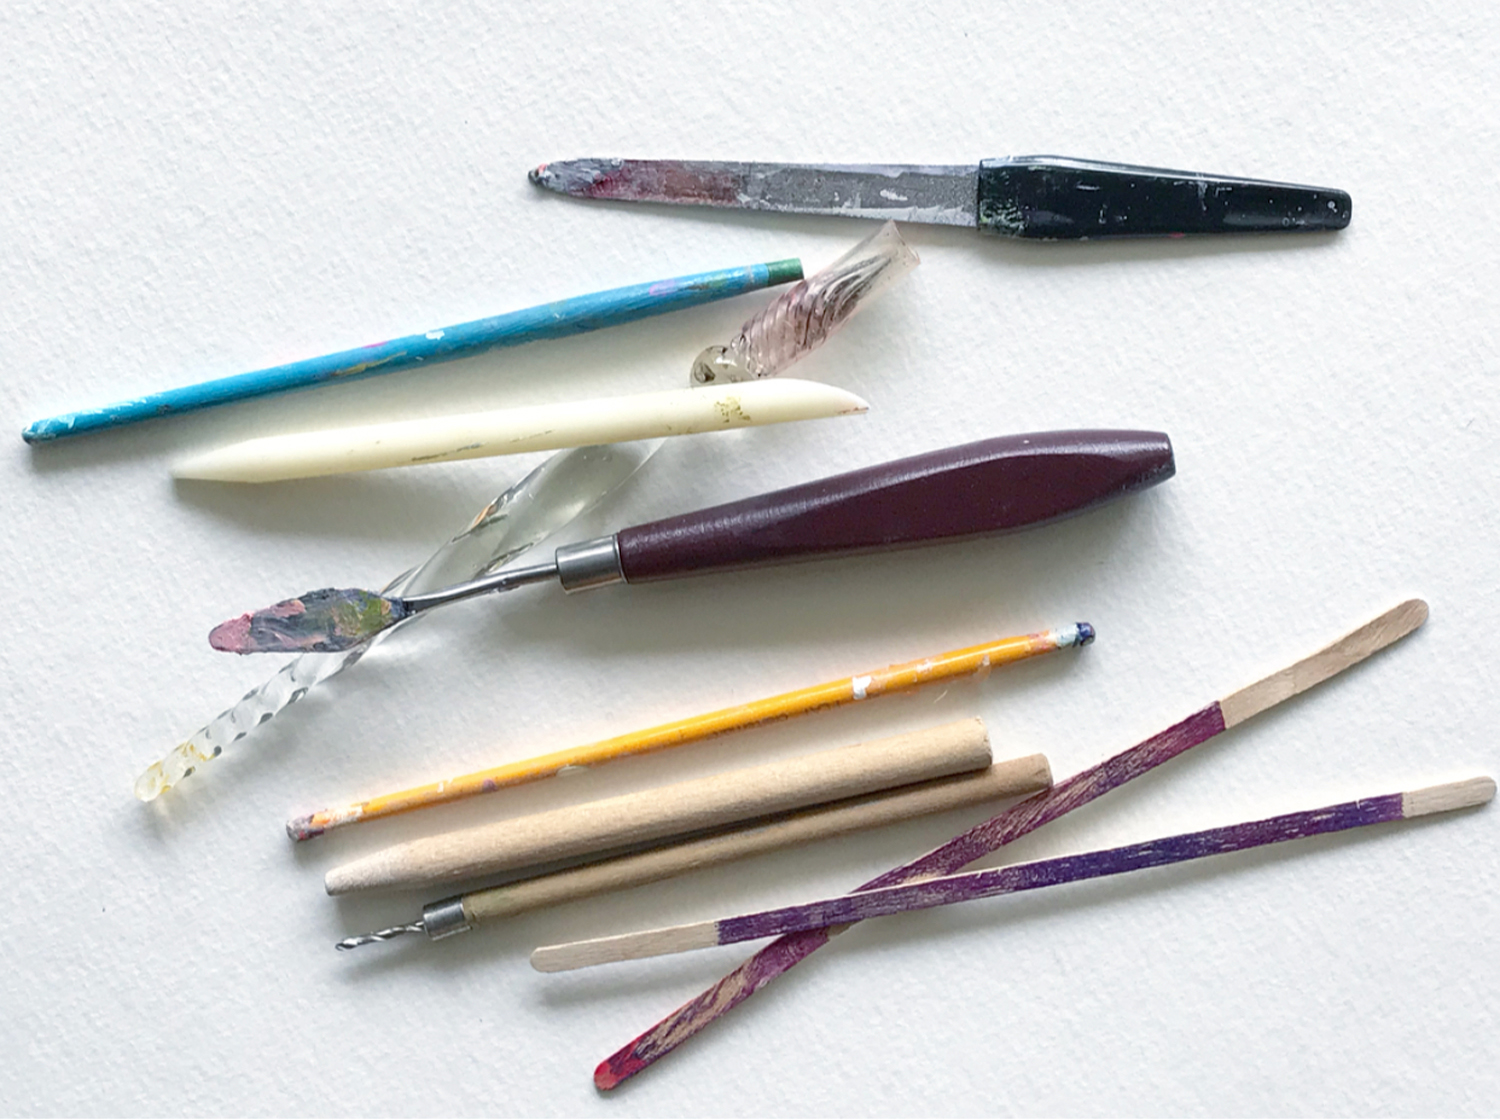
And learn my favorite tips for cutting apart those delicate masks in the video below.

Insider Artist Tips

Best Watercolor Supplies for Beginners

IMG_5703.jpg

Watercolor is a medium that grabs you and refuses to let go.  Once you have experienced the magic of sheer colors bleeding into each other, it is very difficult to go back to the opaque mediums.  Getting started in watercolor can be challenging without two very important things:

sandi text box.png

We can help with both!  Let’s get you painting!

THE RIGHT SUPPLIES are vital to your success! Supplies will make or break your watercolor experience. When you hit a plateau that you can’t get over, it is usually because of your supplies not your talent! Let’s talk about the right supplies for you…

THE RIGHT SUPPLIES are vital to your success! Supplies will make or break your watercolor experience. When you hit a plateau that you can’t get over, it is usually because of your supplies not your talent! Let’s talk about the right supplies for your success.

BEGINNERS-

PAPER: We recommend 2 types of paper for the beginner. One to practice on and become comfortable and one to move to when you are ready to start painting rather than just practicing.

BRUSHES: Brushes are very personal. We tried a LOT of brush before I figured out what we like. Start with a nice multi-use round brush. I like a size 6 because I generally paint small rather than big. If you are ready for big, then move up to a 10 or 12.

PAINT: This is where you can very easily start hoarding and collecting - or is that just us? If you are not sure you are going to love watercolor and you just want to try, get a student grade, pre-filled pan palette. It’s inexpensive, pre-filled, EASY. When you are ready for the better watercolors, let us introduce you to the vibrant, sheer, wonderful colors of Mijello Mission Gold. Liquid watercolors are known for their concentrated, vibrant colors in a bottle.

MIXING PALETTE: For the smoothest mixing a porcelain ( or ceramic) palette is the way to go. If you have a white plate in your dish cupboard - try it! Granted plastic is fine for new beginners.

sandi text box 3.png

If you are working on a watercolor paper block, you are all set to go. Otherwise you are going to want to tape down your paper to prevent buckling, I like the clipboard and tape method. This works for paper around 8.5” x 11”.

After 2 years of intensive study of watercolor, there were so many tips, techniques and tricks that we wish we had known from the beginning. How much frustration and time would we have saved? So, we got busy creating the workshop we wanted when we were beginners. And to have it in two very different styles would have been a dream come true.

Pocket.doc Workshop


Pocket.doc | a little place for the big things in your life

Rae Missigman & Sandi Keene present their biggest, most involved project ever created. This is the one that almost broke them. It’s that big! This greatly anticipated class meets the needs of the modern storyteller, art creative and record keeper. Sandi & Rae redesigned the method for documenting and expressing our narrative.

Twenty step by step videos with 200+ minute of demos, instruction, tips & hacks, shopping tours and assembling the best portable work station you have ever seen. Just as we do in our best selling class, Pocket Journals, we will build your Pocket.doc from scratch.

Downloads, checklists, art elements -oh my! We have created a 25 page e-book housing a crazy amount of downloads, PDFs and At A Glance check-lists to give you all the choices. Fire up your printer!

Community? Oh yeah, we know how important this is so we have opened a private Facebook group where you can share ideas, inspiration and downright brilliance with your fellow Pocket.docers. #startingamovement Instagram is our perfect place for daily sharing of completed works of art #pocketdoc #pocketdocmania @sandikeene @raemissigman #lookatthis

Is that all? Nope! We will be offering additional downloads, techniques, flip-throughs and more throughout the year while we all work together in our Pocket.docs

Pocket.doc - a little place for the big things in your life


Mono Print Stencils & Masks

GUESS WHAT? I HAVE A NEW STENCIL COLLECTION

Mono printing has always been a favorite art medium of mine and for as long as I have been printing I have been cutting and preparing my own stencils out of assorted papers and cardboards. I have a fondness for abstract, minimalistic prints and so my hand cut versions of stencils and masks were mostly organic in shape and size.

While I loved the look and feel of my hand cut stencils, the mediums that I added to my printing plate only allowed me to re-use the paper versions a handful of times before I needed to cut replacements. I knew I wanted to create something that I could use over and over again.

This set of Mono Print Stencils and Masks was inspired by my favorite hand cut variations and were created in a way that allows you to work on a variety of printing plate sizes. Whether you are working small and using just one tiny mask or working big and creating larger patterns out of multiple masks you are sure to love this set!

This new collection which is one 9x12 cut apart stencil with nine mini stencils/masks will be perfect for all of my Pocket Journal pages as well as other projects. From tags to art journal pages to my favorite stitching projects I can’t wait to add these minimalist style scallops to everything. Hop on over to Stencil Girl Products now to see this and other collections of mine today.

WATCH HOW I LAYER THESE STENCILS TO CREATE ART NOTES

QUICKSTART WATERCOLOR

QUICKSTART WATERCOLOR - FOR THE MIXED MEDIA CREATIVE


Quickstart Watercolor - For the Mixed Media Creative

Jump into watercolor with Rae Missigman & Sandi Keene as we explore basic watercolor techniques to add to your mixed media toolbox. Create simple shapes and washes, discover the exciting world of color mixing and how to avoid/work through common difficulties with this challenging medium.  Then put your new skills to work as we study leaves and florals and create a Quickstart Blossom piece that mixes watercolor with ArtMarks and collage. Finish up with a start to finish project with Sandi and one from Rae each in their own style.

Highlights:

  • 24 videos

  • 5+ hours of instructions

  • First in a series of Quickstart Watercolor classes

  • Tips, tricks, shortcuts

  • Downloads featuring our favorite supplies

  • Our first ever Bloopers reel

Rae and Sandi (creators of the wildly popular workshop, Pocket Journals) love collaboration blending Rae’s quirky, ArtMark filled style with Sandi’s clean, more traditional approach.  Together they give you two takes, two styles, two bonus pieces of watercolor whimsy. Join us for over 5 hours of instruction, demonstration and projects as we bring our friendship and joy of creating into your art space.


GET A TASTE OF CREATIVE // WATCH THE VIDEO PEEK

Pocket Journals

Discover the charm of working tiny with giant creativity! 

After many requests, Rae & Sandi have created a mini workshop to teach you how to create your own tiny journals. 

Join us for 13 instructional videos building your journals plus 2 BONUS videos demonstrating how to work small. Full of tips and shortcuts with loads of possibilities, you will walk away with three pocket sized art journals ready for the next 30 day challenge or anytime you want to experience the joy of working small. 


Pocket Ferns & Florals


I have some exciting news!

I have a new stencil collection!

Pocket Sized Ferns & Florals


The rural Florida countryside that surrounds my home is lush with flora and fauna. With a small art bag in hand, I love to wander the paths that weave in and out of this rich landscape making notes, sketching and painting. The repetitiveness in my work reflects the reoccurrence of greenery and blooms noted as I explored.  I find myself drawn to the willowy stalks of the ferns and the delicate petals of the wildflowers that flourish in this rich warm climate. From the early morning curled heads of the maidenhead ferns to the drooping afternoon blooms of the cabbage rose, I found irresistible subjects dotting the protected habitat encircling my township.

I am in love with the small sizes of these new botanical themed stencils and masks. They will be perfect for all of my Pocket Journal pages as well as other projects. From tags to art journal pages to my favorite stitching projects, these are going to take all of floral images to the next level!

Hop on over to Stencil Girl Products now to see this and other collections of mine today.

my top ten tools

MY TOP TEN TOOLS FOR CREATING

Tools a Mark Maker Loves Most

“Artists are usually ardent collectors and lovers of art supplies. Rae Missigman, author of Paint, Play, Explore: Expressive Mark-Making Techniques in Mixed Media is certainly one. In her studio, vintage pots, tins and containers overflow with brushes, pencils, inks, mark making tools and more. She loves being surrounded by the tools that enable and empower her to create. She shares the top ten art supplies that she would not want to live without, and starts with her insights on how to stave off the temptation to buy-buy-buy your way to creativity.”

Rae_Missigman_top_10_tools_desk_1.jpg

New or Old or Both

I rarely replace my supplies for new ones, but instead cycle through my favorites, adding to them one paint color, one pencil, one creamy pastel at a time.

In avoiding the temptation of always having what is new on the art store shelves I find myself staying true to my style, creating with the tools and colors that are unique to my work.

I have always been a firm believer that you have to observe and experiment with a wide assortment of supplies before you can really speak to what your favorites might be. Once I discovered what my go-to’s were I set out to work with them every day. I encourage you to explore a variety of tools–to really dig into what they can offer you as an artist and become acquainted with each one–before curating your own special collection. And now on to  my top ten favorite art materials!

1. Paint Brushes

I have jars and tins full of paint brushes in all shapes and sizes. The one thing that nine out of ten of these brushes have in common is the budget friendly price point. ( I love this set and buy it over and over again) Whether I am scrubbing paint onto a canvas or leaving them to soak in a water jar overnight, I am hard on my brushes. By opting for these less expensive tools I am free to use them as I choose with out worry of ruining them in the process.

Rae_Missigman_top_10_tools_1_brushes.jpg

2. Pencils

This might be the most basic mark maker I own and it could well be my favorite. Whether I am scribbling, making marks or journaling, pencils are a workhorse of a tool and I use them to begin and end all forms of mixed media projects. I like number 2 pencils for scribbling and water soluble pencils for abstract marks using water. I also love these chunky mechanical pencils with their extra thick lead for art journaling.

Rae_Missigman_top_10_tools_2_pencils.jpg

3. Art Papers

There is this delicate foundation that almost everything I create is built upon and it is paper. My favorite papers are those that I collect and repurpose, such as deli paper, metro maps, and brown bags. Nothing is off limits and I will recycle almost anything once. While I reach for these most often, my collection also contains a healthy assortment of vintage papers, book pages, magazine sheets and copies of my own artwork. One of my favorite art papers for painting on is deli paper for the transparent qualities it has when adhered to another surface.

Rae_Missigman_top_10_tools_3_papers.jpg

4. Mark Makers

I am a mark maker by nature and so I will reach for just about anything to use as a tool for inking, etching and scrubbing. Small twigs and bits of cardboard, the end of a paint brush or pencil top, metal files, and old pen nibs are some of my favorites when adding a unique set of marks to my work. Palette knives are great for making big chunky swipes of texture too.

Rae_Missigman_top_10_tools_4_mark_making_tools.jpg

5. Water-Soluble Pencils

The combination of both saturated and movable color makes these one of my go to art tools. I reach for these unique pencils when I want to add tinted shadows or create colorful etched marks in paint. When packing my “on-the-go” art kit these lightweight and travel friendly tools are the perfect substitution for paint or ink. I love this set for all the colorful options.

Rae_Missigman_top_10_tools_6_watersoluble_pencils.jpg

6. Oil Pastels

These are the colorful tools I employ to create deeply saturated layers of color on the backgrounds and foundation layers of my work. They blend easily and come in a wide variety of hues. Pastels are soft, chunky, and blendable, making them the perfect choice when I am sketching faces as they allow me to easily manipulate the added colors. Some oil pastels, like this rich set, can be very pricey due to the rare pigments used to create the intense colors, but this is a very affordable set that I use everyday!

Rae_Missigman_top_10_tools_5_oil_pastels.jpg

7. Waxed Linen Thread

I love to hand stitch my own art journals. Whether I am working with paper, fabric, or leather, this pliable and colorful thread allows me to create stitches that are strong, smooth and forgiving in nature. I love the age old feel it adds to even the most modern stitched projects. I love how I can get this lovely thread in so many beautiful colors like these.

Rae_Missigman_top_10_tools_7_waxed_linen_thread.jpg

8. White Heavy Body Paint

The most reached for paint on my cart is this heavy bodied medium. It is my go to paint for mixing color, adding texture, layering marks and etching into all of my canvas work. My favorites are Golden Heavy Body, Liquitex Heavy Body, and Liquitex Basics. Liquitex also makes this wonderful soft body paint.

Rae_Missigman_top_10_tools_8_white_heavy_bodied_paint.jpg

9. Grease Pencils

These durable and budget friendly pencils are amazing tools that allow me to build layers of marks that stand up unfailingly to wet mediums such as paint and ink. Grease pencils come in an assortment of colors, but I reach for the black and white most often as they pack a powerful punch when adding a bit of contrast to a colorful piece of art.

Rae_Missigman_top_10_tools_9_grease_pencils.jpg

10. Paint & Ink

Color plays a significant role in my work so I find that acrylic paint and ink are the two mediums that I reach for most often when creating. Acrylic inks are permanent, deeply saturated and highly fluid in nature. I use a mix of high flow, fluid, and heavy bodied paints, all of which come in a wide range of colors and are permanent when dry. These tools are what I reach for to build layers of color and marks in all of my pieces. My favorites are Liquitex Inks, Golden Fluid Paints, and Holbein Luminous Acrylics.

Rae_Missigman_top_10_tools_10_paint_and_ink.jpg

Find Your Favorites

Art supplies are key to creating but with so many to choose from it can be difficult to know where to start when it comes to curating your own list of favorites. My advice? Observe what there is to offer, explore the tools you have, and experiment daily.  There is no better way to fall in love with your supplies.

“Rae Missigman is an artist-instructor and a mixed media powerhouse. She is also the author of Paint, Play, Explore: Expressive Mark-Making Techniques in Mixed Media.”

Disclaimer: Some of the above links may be affiliate links

5 prompts to keep you creative

5 ASTONISHING ART TECHNIQUES

As artists, we tend to stick to what we know. We gravitate to what feels natural, and we take comfort in the familiar. But what about the practice of trying new things? What about the exploration and the experimentation? What about the growing and stretching that gets us thinking creatively?

It’s easy to become stagnant in our art explorations, but attempting something new is often difficult. We tend to push it aside to work on things that come easy, things that we have mastered, things that make more sense to us. To help me overcome the fear of the hard stuff, I have learned to dedicate time to the straightforward tasks of both practicing what I enjoy and digging in and doing more difficult work.

Don’t get stuck in a creative rut! These art prompts will help you feel energized and inspired.

Don’t get stuck in a creative rut! These art prompts will help you feel energized and inspired.

I am committed to growing and stretching as an artist, and sometimes that means taking my craft and turning it inside out. It means examining it under a microscope. It means breaking it down and building it back up again to be different and better and unique. This can be a fun and easy exercise in keeping your artwork fresh and unique—if you know how to begin. I like to use a simple series of prompts to keep me motivated when it comes to getting out my creative comfort zone.

1. Create With Your Eyes Closed

This can mean drawing, sketching or doodling, making marks, or filling in areas with color. The sole purpose of this exercise is to just put marks to paper and let go. By challenging myself to work with my eyes closed, I am able to get creative without fear of following set rules. This practice usually yields results that are interesting, if not childlike, but I am always surprised at how much I am able to see without really seeing.

Allow yourself to create without rules or restraints.

Allow yourself to create without rules or restraints.

2. Let Color Be Your Guide

The stress of always having a plan before I sit down to create can be paralyzing. To help loosen up, I like to let color be my creative guide. Surrounding myself with paints, inks, and mark-making tools in all of my favorite hues is sometimes the only inspiration I need to get started. My favorite way to get going is to add big, loose washes of color to sheet after sheet of paper. Not only do I relax my creative muscles this way, but I also build up my collage paper stash in the process.

Sometimes painting vast swaths of color can be among the art prompts you need to start to feel creative again.

Sometimes painting vast swaths of color can be among the art prompts you need to start to feel creative again.

3. Revisit Your Own Art

We tend to look outside of ourselves when it comes to searching for inspiration, but to create pieces we love, we should be taking another look at our own work. As a rule, I am my own worst critic. Maybe we all are, but it doesn’t have to be that way. I might be tough on myself in the creative moment, but when I revisit my art, I realize that my own work has the power to inspire me over and over again. Instead of scrolling through digital art boards or watching countless hours of videos, I have trained myself to flip through my own art journals, to study my own paintings, and to explore new ideas through simple art exercises. Getting to know your own art better can be a huge catalyst for inspiration.

Reflecting on your own work is a great way to get re-inspired to make more art.

Reflecting on your own work is a great way to get re-inspired to make more art.

4. Consider a Change of Scenery

My art studio is the best place for me to create, but that doesn’t mean I always feel inspired when I sit down to work. When I feel unproductive, my first instinct is to blame the art or the tools. But the truth is that our surroundings can play a big part in our creative mood. And while I love my studio, getting out of it sometimes is the best recipe for renewed energy. Even a simple change, like stepping outdoors or moving to a favorite chair near a window, can elevate my thoughts and help new ideas swim to the surface of that ever-elusive inspiration pool.

To jump start your creative mojo, change your surroundings. Try creating outside or choose a different spot to work.

To jump start your creative mojo, change your surroundings. Try creating outside or choose a different spot to work.

5. Repetition Is Your Best Friend

If you love something you’ve done, do it again. I tell myself this at least a dozen times a day. I think we all question our creative efforts when we see the wide world of art around us. We seem to think that we need to be constantly shifting and changing our work to stay present in the art world, but I have learned that the more I try to change my work, the less it reflects who I am as an artist. When I repeat what I love, I am happy. That doesn’t mean I can’t learn new things, it just means I need to repeat the parts of my art that complete me as an artist, no matter what medium I explore.

Revisit and recreate aspects of your art you love while trying new techniques. Download some of my colorful original artwork that you can use in your own art!

Revisit and recreate aspects of your art you love while trying new techniques. Download some of my colorful original artwork that you can use in your own art!

Rae Missigman, mixed-media artist, author, and instructor, is known for her vivid colors, intricate layering, and signature repetitive art marks. She believes that creativity can be accomplished in bite-size pieces during even the busiest of days, and she strongly encourages all artists to fearlessly do what they love. Rae lives in central Florida, sharing her love of all things handmade. See more of Rae’s work at RaeMissigman.com.

Rae’s new book is here! Paint, Play, Explore is packed with incredible art prompts, techniques, and ideas for innovative mixed-media artwork.

STAY INSPIRED - 5 PROMPTS

5 ART PROMPTS FOR STAYING INSPIRED

1. Turn ordinary items into extraordinary art tools.

Let your surroundings inspire you. Pick up everyday items and put them to work as your tools when you create. Choose items like twigs, pool noodles, and laundry sheets. Each of these items can be fashioned into something new and useful as you creative, a twig becomes a stamp, a cut of noodle is now a mark maker and a laundry sheet is transformed into a beautiful collage element.

working big pg 128_step 8 inset photo.jpg

In my book Paint, Play, Explore, I will share my top choices for objects that can easily be repurposed so that each of us can create in a unique and interesting way. One of my favorites? A makeup wand. It makes bold strokes and interesting lines when dipped in acrylic paint and applied to your substate of choice.

mascara .jpg

2. Let go and don’t overthink.

The biggest hurdle for most mark makers is learning not to overthink the process. Practice and experimentation are key to getting over this obstacle. We need to learn to stop second guessing ourselves as artists and begin trusting our instincts as we push through the creative process.

I recommends experimenting with your tools and mediums you rarely reach for when you are creating. Resists are a great place to start. Do some tests with different resist tools to get familiar with the concept of working blind. Make notes about which resist mediums are your favorites. Colorless or clear wax crayons, masking fluids, and rubber cement are all great choices for testing out this interesting medium.

updated_WaxCrayonResist+page+70.jpg

3. Start with texture.

Fill a background with color and you no longer have a blank page. But fill it with texture and you have so much more to work with. In the video Art Journaling Exercises: 15 Creative Prompts, I share a “ build your background technique” where you use the art of collage to set up a base that is both visually pleasing and full of physical texture. Begin with a stack of random papers. Gather text, book, and patterned paper. Next, tear the sheets into smaller bits and adhere them to Bristol paper using gel medium. Don’t overthink the process, but instead reach for pieces blindly.

working big pg 127_step 5.jpg

Allow the papers to overlap, creating ridges and valleys in your foundation. This will create beautiful color variations once you begin to add a layer of color to your surface. Once your substrate is fully covered and dry, paint your collage with a 1 to 1 ratio of gesso and glaze. Let dry fully. This creates a nice workable surface for mark making. Once you are comfortable with the process move on to other substrates such as canvas panels and art boards.

4. Don’t forget about the words.

I believe that words are an important part of our creative process. Whether hidden or front and center words have to power to draw the viewer in to a work of art. Read more about why I believe art journaling is a key component when creating here - “Art Journaling: The Wings to Get Started” in the May/June 2018 issue of Cloth Paper Scissors magazine.

updated_revisit it artwork_7.jpg

Words are the all-important strands that tie the page together. Type, stamp, or hand letter them; just get them on the page. If you aren’t a fan of your handwriting try using modern tools such as stamps and stencils. You can also print or cut words to form a collage style element of journaling in your work.

5. Learn to embrace color—lots of color.

Color is what makes my artistic heart sing. My studio, a neutral palette by my standards, is the perfect contrast to what I create everyday in the form of saturated marks and lines. In the video Building Beautiful Layers: 10 Abstract Painting Techniques I share lots of ways to build bold color when working on your favorite art project.

updated_HandOnMarks Pg 42 .jpg

One of my favorite art techniques begins with nothing more than a drop of ink. Simply dot the top of your work surface with ink and allow the ink to roll down with the help of gravity. Add a few strokes of a complimentary acrylic paint, mixed with white, blending it around the ink drips as you go. Let the two mediums mix as you work them down the surface, creating beautiful gradations of color.

working big pg 127_7.jpg

EASY DIY COLLAGE PAPER

COLORFUL LAYERED & DISTRESSED // EASY DIY COLLAGE PAPER

I love creating my own collage paper and always reach for my stencils when I begin to create a new stack. Often times I will use my Gelli Plate® to layer paint and stencils to make busy colorful papers, but there I am times when I need paper fast! Today I am sharing a super easy trick for creating papers that are just as colorful and busy as those I create using my Gelli Plate® but can be created in just minutes with nothing more than paint and stencils, and a handful of household items. The bonus to this method is the papers have a lovely distressed finish on them making them one of my favorite collage papers ever!